When you're setting up your solar cooker, you'll need reliable tools to catch those rays just right. A Digital Solar Angle Protractor offers precise 360-degree measurements, while a Magnetic Mirror Alignment Gauge guarantees perfect reflection angles. The Laser Reflection Guide helps verify your setup using the law of reflection, and a Solar Path Calculator tracks the sun's position within 0.5 arc minutes. A Light Beam Measurement Device confirms your focus point, while a Reflector Position Compass aids in true north alignment. For on-the-go adjustments, a Portable Angle Finding Tool lets you make quick corrections. Let's explore how each tool can transform your sun-powered cooking game.
Digital Solar Angle Protractor

When positioning solar equipment for cooking, a digital solar angle protractor serves as your most precise measurement companion.
You'll get accurate readings across a full 360-degree range, with impressive resolution levels of 0.01° for angles between 0-10° and 0.1° for angles between 10-90°.
The device's 'ALT ZERO' and 'HOLD' buttons let you capture differential readings and freeze measurements while you're adjusting your solar cooker. The substantial 500-hour battery life ensures reliable operation during extended outdoor cooking sessions.
You can even recalibrate the tool yourself and export data through the RS232 interface. The clear LCD display guarantees you won't misread critical angles.
Whether you're setting up for morning or afternoon cooking sessions, you'll appreciate the protractor's accuracy of ±0.05° for level measurements and ±0.1° for plumb measurements at 20°C.
Magnetic Mirror Alignment Gauge
You'll find the magnetic mirror alignment gauge indispensable for setting precise reflection angles in your solar cooking setup, thanks to its high-precision measurement capabilities that can pinpoint ideal positions for maximum sunlight capture.
The adjustable magnetic mounting system lets you quickly attach and reposition the gauge on metal surfaces of your solar cooker, ensuring stable measurements even in windy conditions.
The gauge's built-in angular position guide helps you swiftly confirm your reflector alignments without complex calculations or guesswork. For expert guidance on using these tools, reach out to Technical Support for detailed tutorials and documentation.
Precise Reflection Measurement Capabilities
To achieve ideal solar cooking results, precise reflection angles are essential, which is where the magnetic mirror alignment gauge proves invaluable. You'll get accurate measurements within ¼ wavelength of light across a 50mm diameter area, ensuring excellent sunlight reflection for cooking.
The gauge's 2½-inch circular mirror surface, ground parallel to within 3 arcseconds of the contact surface, lets you measure both incident and reflection angles with exceptional precision. You can easily verify that these angles are equal, following the law of reflection. The single cemented magnet on the back provides stable mounting during all measurements.
The device's magnetic attachment means you'll be able to work on any flat surface while maintaining perpendicularity to your line of sight.
Using the gauge's alignment holes and markings, you can fine-tune your beam orientation through an iterative process, maximizing your solar cooker's efficiency.
Adjustable Magnetic Mounting System
The magnetic mounting system takes precision measurement to the next level through its robust yet flexible design. You'll find the 2½" diameter mirror equipped with a strong neodymium magnet that's cemented to its back, ground parallel within 3 arcseconds of the reflecting surface. Similar to adjustable tilt mounts used in marine solar installations, this system enables optimal angle positioning for maximum sun exposure. For non-magnetic surfaces, you can easily add mounting brackets while maintaining the same precise adjustability. The system's versatility shines in field calibrations, where you'll need to make real-time angle corrections for your solar cooking setup.
| Feature | Benefit |
|---|---|
| Magnetic Back | Quick attachment to metal surfaces |
| Parallel Ground Surface | Guarantees 3 arcsecond accuracy |
| Kinematic Mount | Allows pitch and yaw adjustments |
| Center Stability | Ideal performance at mid-range |
| Locking Mechanism | Maintains precise positioning |
Quick Angular Position Guide
Precise angular positioning begins with a magnetic mirror alignment gauge that streamlines the setup process for your solar cooker.
You'll find these mirrors typically measure 2-1/2 inches in diameter, with a surface that's flat within ¼ wavelength of light. The magnetic backing lets you quickly attach and adjust the gauge while maintaining parallel alignment within 3 arcseconds.
To use the gauge effectively, you'll want to check the reflection of light back to its source. When the reflected image aligns perfectly, you've achieved ideal positioning.
For noontime meals, point your cooker's front panel eastward; for evening cooking, face it westward. Remember to make periodic adjustments as the sun moves across the sky to maintain maximum sunlight capture throughout your cooking session.
Laser Reflection Guide
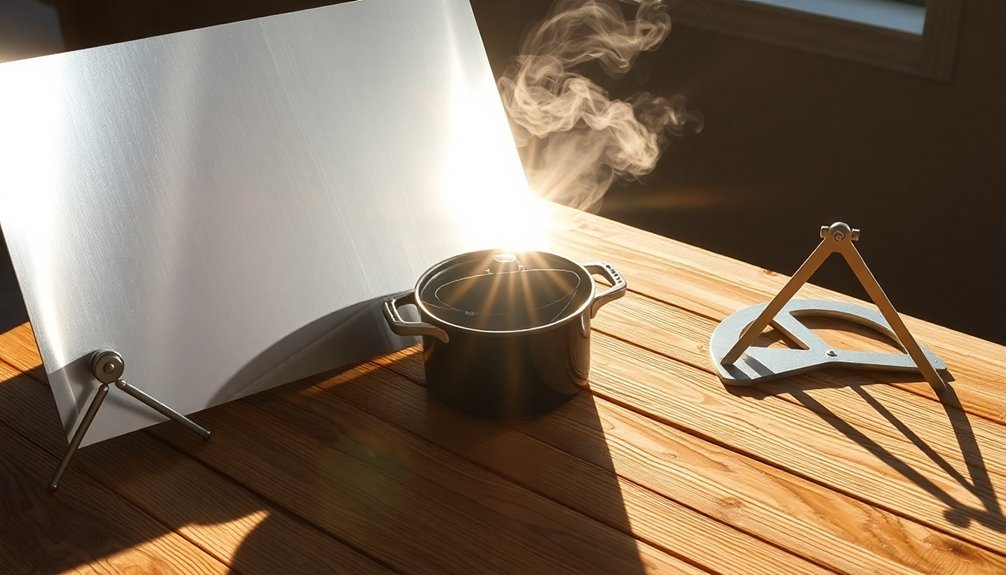
Understanding laser reflection principles helps you master the art of solar-powered cooking alignments. You'll need to grasp the fundamental law of reflection: the angle at which sunlight hits your reflective surface equals the angle it bounces off.
When positioning your cooking setup, verify the incident ray, reflected ray, and normal line all lie in the same plane.
To maximize efficiency, you'll want reflective surfaces with high reflectivity – aim for materials like silver-coated aluminum foil, which offers 94% reflectivity. Use a protractor to measure angles from the normal line, helping you achieve precise alignments.
For best results, set up your reflectors in a multi-mirror configuration, similar to heliostat systems. This allows you to track the sun's movement and maintain consistent heat concentration on your cooking surface throughout the day.
Solar Path Calculator
Building on principles of reflection angles, solar path calculators bring scientific precision to your sun-powered cooking setup.
These tools use advanced algorithms like PSA to track the sun's position within 0.5 minutes of arc, helping you maximize solar energy collection.
You'll need to input your location's coordinates and time zone to get accurate calculations of solar altitude and azimuth angles.
The calculator then shows you exactly how the sun will move across your sky throughout the day. This information is essential for positioning your solar cooker at the ideal angle for maximum sunlight absorption.
Whether you're planning a single meal or setting up for all-day cooking, these calculators help you anticipate the sun's path and adjust your cooker's position accordingly, ensuring you get the most efficient heat collection possible.
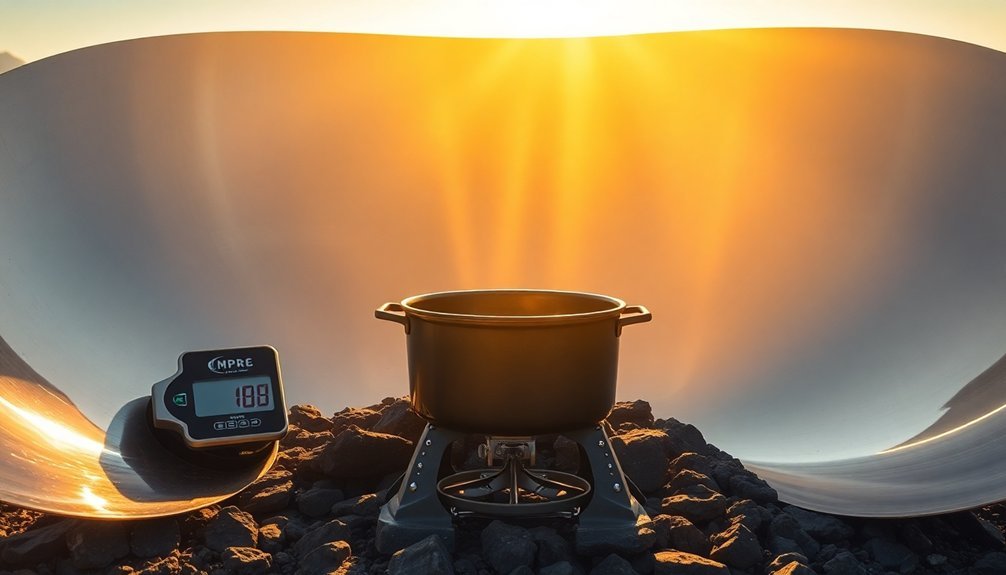
Light Beam Measurement Device
Light beam measurement devices serve as vital tools for achieving pinpoint accuracy in solar cooking setups. You'll need these instruments to measure critical angles like the zenith, solar altitude, and incidence angles to position your solar cooker perfectly.
When using these devices, you can track the sun's 15-degree hourly movement and adjust your cooker's position accordingly. For precise measurements, you'll want to combine the device with vector drawing programs to visualize sunlight reflection patterns.
Draw green lines to map reflected beams and locate ideal focal points for your cooking pot. Remember to factor in daylight savings time and seasonal variations when taking measurements.
For safety, make certain your measurements guide the concentrated sunlight directly to your cooking vessel, avoiding any risk of accidental burns or fires.
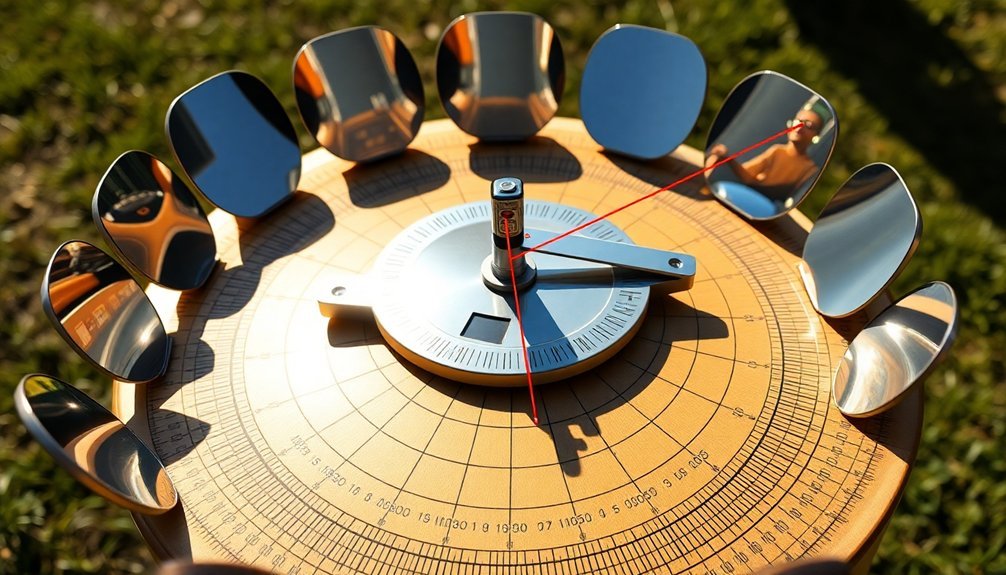
Reflector Position Compass
You'll find accurate sun tracking easier with a reflector position compass that combines geographic azimuth readings with precise angle measurements.
Your quick setup begins by aligning the compass with true north and adjusting your solar cooker's position based on the sun's current location, typically requiring updates every 30 minutes for peak performance.
The compass's built-in protractor lets you calibrate reflector angles at 60 degrees for standard configurations, while SunCalc software can help verify your manual measurements for maximum solar input.
Direction Finding Made Easy
Finding the ideal direction for your solar reflector starts with mastering basic navigation skills. You can easily determine cardinal directions using the Shadow Stick Method. Just place a pointed stick in the ground and mark its shadow's end with two sticks at 15-minute intervals. Connect these marks to create your west-east line.
Since the sun moves east to west in the Northern Hemisphere, you'll know the shadow moves west to east. The shadow points north, while the sun indicates south. Once you've established these directions, you can properly position your reflector.
To verify accuracy, use a compass and practice this technique at home before relying on it outdoors. This natural navigation method helps you optimize your reflector's placement for maximum solar efficiency.
Precise Solar Angle Tracking
While basic direction finding sets the foundation, precise solar angle tracking takes your reflector's performance to the next level.
You'll need to take into account two key angles: the zenith angle between the sun and vertical, and the angle of incidence where sunlight meets your reflector's surface.
For ideal results, you'll want tracking accuracy within 0.5° to 1°. Today's electronic solar compasses offer this precision without magnetic interference concerns.
They're particularly useful when you're adjusting your reflector throughout the day, as the sun moves both east to west (180°) and changes elevation (0°-90°).
Quick Calibration Setup Tips
Before starting your reflector's compass calibration, selecting the right location is essential for accurate readings. Choose a spot away from metal objects, magnetic fields, and other electronics that could interfere with the calibration process.
You'll want to avoid surfaces containing metal, including office desks or concrete with embedded rebar.
Connect your device to QGroundControl and navigate to the Sensor Setup menu. When you're ready to calibrate, follow the on-screen prompts to position your reflector in different orientations.
Make quick rotations of about 30 degrees in each direction, performing 2-3 oscillations per axis until the indicators turn green. For best results, mount any external compass away from electronic components and verify the heading estimate has stabilized.
Remember to recalibrate periodically, especially if you've moved to a new location or environmental conditions change.
Portable Angle Finding Tool
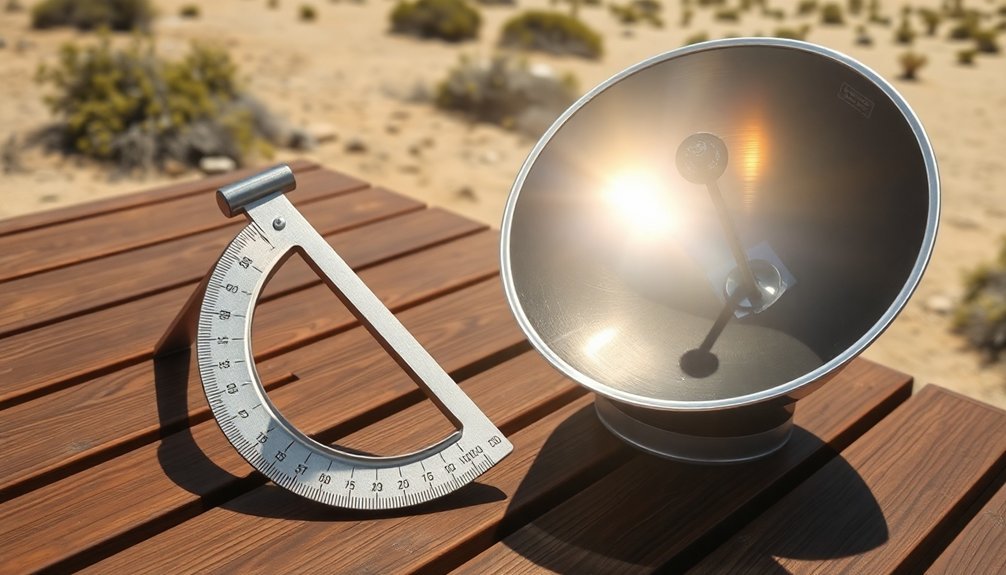
Since accurate panel positioning is crucial for solar cooking success, portable angle finding tools have become essential equipment for solar chefs.
You'll find smartphone apps are your handiest option, offering instant angle measurements by simply placing your device against the reflector's surface. These apps use your phone's built-in accelerometer to provide precise readings without any extra equipment.
If you prefer non-digital solutions, a basic protractor or angle gauge works reliably and never needs charging.
These manual tools are especially useful in bright sunlight when screen glare might affect your phone's readability. For maximum cooking efficiency, you can double-check your measurements using online calculators – just input your location's latitude to confirm you've got the ideal tilt angle for your solar cooker.
Frequently Asked Questions
How Often Should Reflection Angle Tools Be Recalibrated for Optimal Performance?
You'll need to check reflection angles daily during use, but full recalibration is only necessary when you notice reduced cooking performance or after physical changes to the cooker's position or assembly.
Can These Tools Work Accurately in Partially Cloudy Conditions?
Yes, you'll find reflection angle tools work well in partially cloudy conditions thanks to advanced sensors that detect brief irradiance bursts. They can still measure accurately when clouds partially block sunlight, though efficiency may decrease.
What Backup Power Sources Are Recommended for Digital Angle Tools?
You'll want to keep spare AAA or AA batteries handy as your main backup power source. It's smart to carry rechargeable batteries too, and store them properly in a cool, dry place.
Do Temperature Extremes Affect the Accuracy of Reflection Angle Measurements?
Yes, you'll find that temperature extremes affect your angle measurements' accuracy. Higher temperatures decrease refractive indices, changing light's behavior, while extreme cold can impact your digital tools' electronic components and displays.
Are There Waterproof Versions Available for Outdoor Cooking in Wet Weather?
You'll find waterproof solar cookers designed for wet weather. They're made with water-resistant materials, protective covers, and retractable systems. Box cookers and parabolic designs with waterproof coatings work best in damp conditions.
In Summary
You'll find these seven reflection angle tools invaluable for maximizing your solar cooking setup. Whether you're using the Digital Solar Protractor for precise measurements or the Magnetic Mirror Gauge for quick alignments, you're now equipped to capture ideal sunlight. Don't forget to regularly adjust your reflectors throughout the day. With these tools handy, you're ready to harness the sun's power for your next outdoor meal.


Leave a Reply