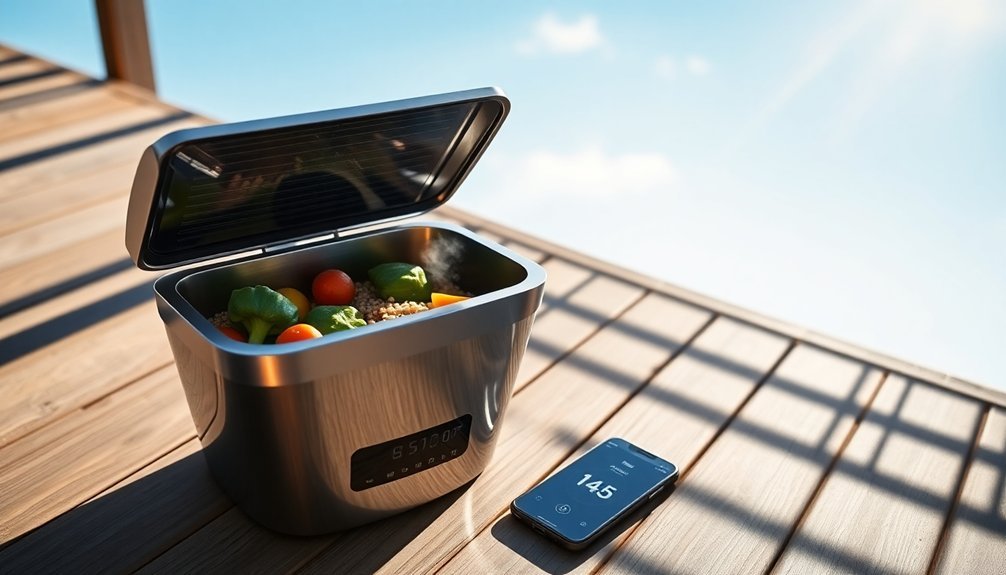
Start your solar cooking journey with these time-smart tips to make sun-powered meals a breeze. Position your solar oven facing east for morning cooking, and preheat it for 30 minutes between 10 a.m. and 4 p.m. You'll get the best results on clear days with a UV index of 7+. Pre-soak legumes and batch cook during peak sunlight to maximize efficiency. Keep your kitchen organized with labeled containers and store frequently used tools within easy reach. Monitor temperatures regularly with a digital thermometer, and maintain food safety by keeping cooked items above 150°F. These foundational steps will open up a world of solar cooking possibilities.
Early Bird Solar Setup
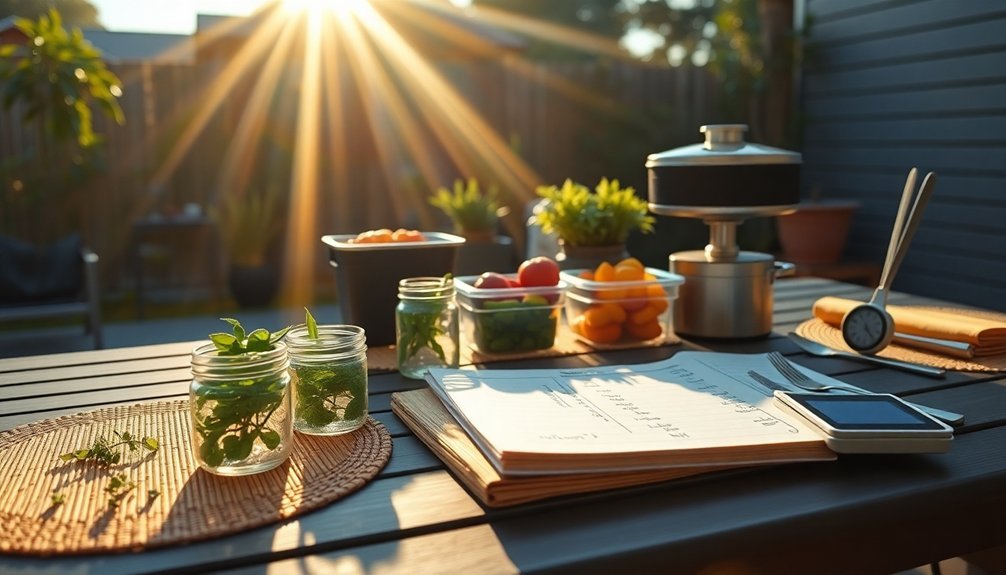
When you're planning a solar-cooked meal, starting early is essential for success.
Recycled pizza boxes make perfect solar oven containers for your sun-powered cooking adventures.
You'll want to preheat your solar oven for at least 30 minutes, ideally between 10 a.m. and 4 p.m. when the sun's energy is strongest. Check that you've got a clear, sunny day with a UV index of 7 or higher for best results.
Before cooking, line your oven's interior with aluminum foil and create a secure three-sided flap on top to reflect sunlight into the box.
Cover with plastic wrap to trap heat, creating a greenhouse effect. Don't forget to assess the sun's path to avoid any shadows during cooking time.
You'll need to adjust the oven's angle more frequently during fall, winter, and spring when the sun sits lower on the southern horizon.
Batch Cook During Peak Sunlight
To maximize your solar cooking efficiency, batch cooking during peak sunlight hours offers the best return on your time investment.
Focus on preparing large quantities of versatile ingredients like grains, beans, and ground proteins when your Sun Oven maintains steady temperatures between 325-350 degrees Fahrenheit. Using sharp knives and boards for ingredient prep will make your batch cooking sessions more efficient and safer.
Pre-soak your legumes and preheat ingredients to reduce cooking times, and don't forget to reposition your oven every 25-30 minutes for ideal heat.
You'll want to plan meals that incorporate seasonal produce and freezer-friendly vegetables, ensuring nothing goes to waste.
Store your finished dishes in portion-sized containers, and freeze extras for future use.
Remember to keep your cooked foods above 150 degrees Fahrenheit for safety, and take advantage of bulk buying discounts to make your batch cooking sessions more cost-effective.
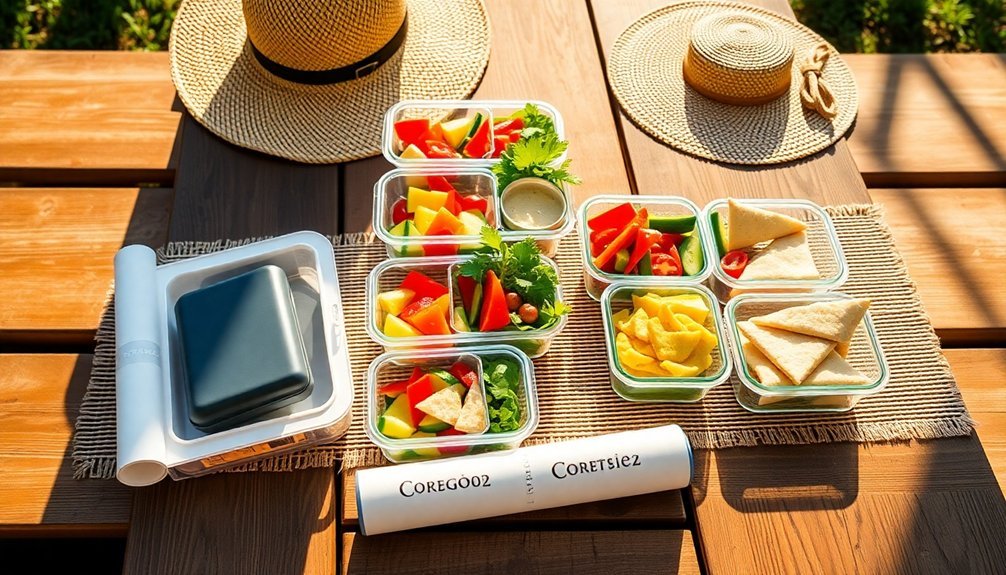
Organize Your Solar Kitchen Space
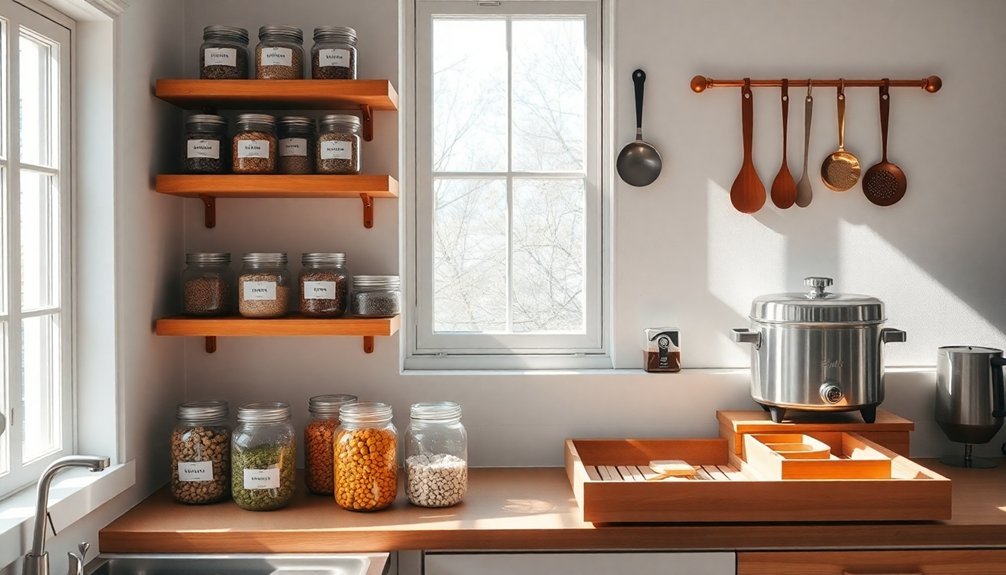
A well-organized solar kitchen space serves as the foundation for efficient sun cooking.
You'll want to maximize vertical space by installing shelving near your prep areas and using overhead racks for pots and pans. Consider adding stackable shelves beneath your sink area to double the available storage space.
Set up distinct zones for solar cooking prep, food storage, and cleanup to streamline your workflow.
Keep your frequently used solar cooking tools within easy reach, and store heavier equipment on lower shelves.
- Install adjustable shelving above prep areas to utilize vertical space
- Create dedicated zones for solar cooking tools and ingredients
- Use drawer dividers and cabinet organizers to maximize storage
- Implement a magnetic knife strip near your prep station
- Label containers and storage areas for quick identification
Don't forget to regularly assess and adjust your organization system as your solar cooking needs evolve.
Temperature Monitoring Made Simple
Keep track of temperatures by using a digital thermometer with a buffered probe sensor that'll give you more accurate readings than air temperature alone.
You'll want to check multiple spots in your solar oven, as hot zones can vary greatly across the cooking space.
For quick temp checks, use your mobile app to log readings every 30 minutes, making sure to calibrate your sensors regularly for reliable results. Most apps support shared access monitoring so family members can help track cooking progress from their own devices.
Digital Thermometer Best Practices
Whether you're monitoring food temperatures or taking health readings, mastering digital thermometer basics guarantees reliable results every time.
Start by calibrating your device using ice water or boiling water, following manufacturer guidelines. Always use clean probe covers and water-based lubricant for specific applications. For accurate readings, wait until the temperature stabilizes and verify proper placement.
- Clean the thermometer thoroughly after each use with 70% isopropyl alcohol
- Insert food probes into the thickest part, avoiding bone and fat
- Place oral thermometers under the tongue with mouth closed
- Keep infrared thermometers 1-2 inches from the target area
- Store your device properly and check batteries regularly
Remember to take multiple readings for large items and avoid temperature checks right after eating or drinking for the most precise measurements.
Hot Zone Safety Guidelines
Maintaining safe food temperatures requires a systematic approach beyond just taking readings with your thermometer. You'll need to monitor hot foods consistently throughout service, keeping them at 135°F or above to prevent bacterial growth.
| Temperature Zone | Action Required | Time Limit |
|---|---|---|
| Above 135°F | Safe to serve | Unlimited |
| 70°F – 135°F | Danger zone | 4 hours max |
| Below 70°F | Must reheat/discard | Immediate |
Keep your hot-holding equipment well-maintained and avoid overcrowding to guarantee even heat distribution. You'll want to stir foods regularly and keep them covered to maintain consistent temperatures. If your hot foods drop below 135°F for more than 4 hours, you must discard them. Remember to sanitize all equipment between uses and never mix fresh batches with foods already in service.
Quick Temp Check Methods
Successful temperature monitoring starts with selecting and using the right tools for quick, accurate measurements. For outdoor meals, choose an instant-read or thermometer-fork combo that gives you readings in seconds. Insert the probe into your food's thickest part, avoiding bones and fat, and wait for the reading to stabilize.
- Place your thermometer 2 to 2½ inches deep for larger cuts, or ¼ inch for thin items
- Clean your probe before and after each use to prevent cross-contamination
- Test multiple spots on large items to guarantee even cooking
- Check temperatures toward the end of cooking time when using instant-read devices
- Calibrate your thermometer regularly using ice water or boiling water methods
Don't forget to sanitize your thermometer between different food items, and always log temperatures immediately for safety tracking.
Multi-Tier Solar Cooking Strategy
To maximize your solar cooking efficiency, implementing a multi-tier strategy helps you coordinate different cooking tasks throughout the day.
Start by planning your meals around peak sun hours between 10:00 a.m. and 2:00 p.m., when cooking times are fastest. You'll want to prep ingredients in advance and use dark pots with tight-fitting lids for better heat absorption.
For longer cooking items, position your oven early in the day, facing slightly ahead of the sun's path. You can cook multiple dishes by staggering start times based on required cooking duration – begin with foods that need 5-8 hours, followed by quick-cooking items that take 1-2 hours.
Remember to adjust your reflectors every couple of hours in temperate zones for peak performance.
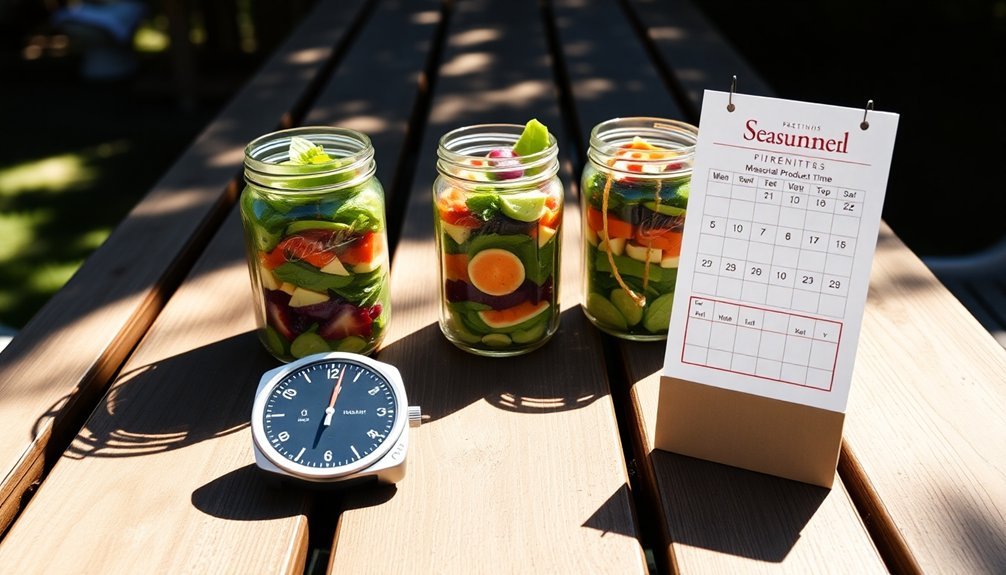
Weather-Based Meal Planning
When hot weather strikes, you'll want to rethink your kitchen strategy by choosing no-cook meals and outdoor grilling options that keep your indoor temperatures down.
Your prep methods can shift to early morning or late evening tasks, letting you assemble cold sandwiches, crisp salads, and marinated proteins without heating up the kitchen.
Making the most of seasonal ingredients guarantees you're working with peak-fresh produce while naturally aligning your meals with the weather's demands.
Hot Weather Food Solutions
As summer temperatures soar, smart meal planning becomes essential for maintaining comfort and energy.
You'll want to focus on seasonal produce and lightweight proteins while avoiding heat-generating cooking methods.
Opt for no-cook meals, batch cooking, and invigorating combinations that keep your kitchen cool and your appetite satisfied.
Transform your summer dining with these heat-smart strategies:
- Combine fresh herbs with seasonal fruits and vegetables for vibrant, no-cook salads
- Use slow cookers and air fryers instead of the oven to minimize kitchen heat
- Create versatile pick 'n' mix options like cold pasta bars or Vietnamese rolls
- Prepare spicy dishes with cooling elements, like prawns with chilled dipping sauce
- Double your dinner portions and freeze extras for easy future meals
These approaches help you maintain culinary creativity while staying cool and efficient during hot weather.
Cool Kitchen Prep Methods
Smart kitchen prep methods can revolutionize your weather-based meal planning while keeping your cooking space comfortable year-round.
You'll find success by batch cooking grains, proteins, and vegetables during cooler hours, then storing them for quick assembly later.
Make the most of seasonal ingredients by adapting your meal plans to what's fresh and available.
When it's hot, you'll want to rely on your pressure cooker, slow cooker, or grill to minimize kitchen heat.
Try stir-frying for quick, efficient cooking that won't warm up your space too much.
Keep your kitchen organized with labeled containers and essential tools like food processors and Instant Pots.
Set aside a weekly prep day to chop, marinate, and assemble ingredients.
Remember to clean as you go – it'll make the whole process smoother and more enjoyable.
Seasonal Ingredient Strategies
Successful seasonal meal planning starts with understanding which ingredients shine during different times of the year.
You'll find that summer calls for water-rich produce and light meals, while winter demands heartier, warming dishes. By aligning your cooking with nature's calendar, you'll save money and enjoy peak-flavor ingredients.
- Stock up on seasonal produce when it's most affordable and at its freshest
- Adapt cooking methods to match the weather – grilling in summer, slow-cooking in winter
- Build a seasonal pantry with preserved items from previous harvests
- Rotate your recipe collection to emphasize seasonal ingredients
- Mix fresh and preserved ingredients to maintain variety year-round
These strategies help you maintain a flexible approach to meal planning while making the most of what each season offers naturally.
Smart Solar Container Solutions
Modern solar container solutions have revolutionized how we harness and store solar energy for meal preparation.
You'll find these systems come pre-wired and pre-configured, making installation a breeze. With their intelligent inverters and LiFePO4 battery storage, you can cook efficiently even when the sun isn't shining.
You don't need extensive setup time – these containers deploy rapidly and can power up to 40 homes worth of kitchen equipment.
Whether you're operating off-grid or connected to the main power supply, you'll appreciate the remote monitoring capabilities through cloud-based portals.
The systems are scalable, so you can expand your cooking capacity by linking multiple containers.
They're also built to withstand extreme weather, ensuring your meal prep continues uninterrupted year-round.
Timing Your Solar Dishes
You'll get the best results from your solar cooker during peak hours between 10:00 AM and 4:00 PM in summer, though these hours shorten considerably in other seasons.
To make the most of morning cooking, position your cooker facing east where the sun will be mid-morning, especially if you're planning an early lunch.
When preparing breakfast or brunch, start your cooking as early as 9:00 AM on clear days, but remember to double your usual cooking times compared to conventional methods.
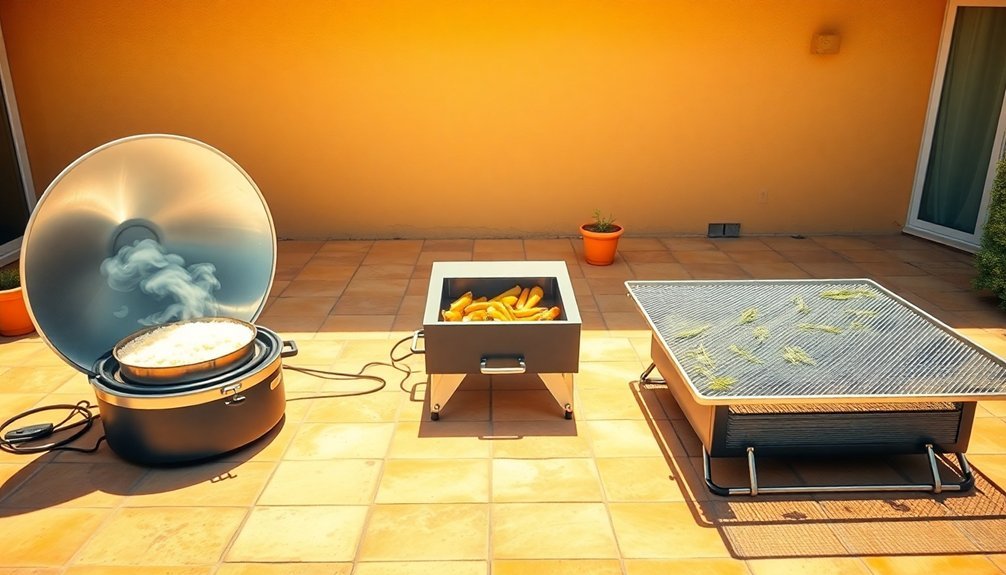
Peak Sun Cooking Hours
The key to effective solar cooking lies in understanding peak sun hours, typically occurring between 11:00 am and 3:00 pm. During this window, you'll experience ideal solar intensity of around 1000 watts per square meter, allowing your cooker to reach temperatures between 200°F and 300°F.
To maximize efficiency, position your cooker directly facing the sun and adjust it every 1-2 hours to maintain exposure.
- Track the sun's movement across your yard to determine the best cooker placement
- Monitor cooking temperatures with a thermometer to guarantee food safety
- Plan for longer cooking times on partially cloudy days
- Adjust the cooker's tilt angle to capture maximum sunlight
- Choose recipes that work well with slow-cooking methods
Remember that even thin cloud cover can greatly impact cooking times, so always allow extra time for your solar-prepared meals.
Morning Meal Strategy
Successfully timing your morning solar meals requires careful planning and preparation the night before. You'll want to check tomorrow's weather forecast and prep ingredients that need soaking or rising, like beans and bread dough, before heading to bed.
Start your morning by positioning your solar oven in a shadow-free spot and preheating it for at least 30 minutes.
While it's warming up, layer your ingredients efficiently – for example, placing hash browns at the bottom, followed by sausage and cheese. Use dark-colored pots to maximize heat absorption, and don't forget to add thermal mass like a brick to maintain steady temperatures.
Remember to rotate your oven every half hour to track the sun's movement, and keep monitoring the temperature to guarantee it stays above 200 degrees Fahrenheit for proper cooking.
Seasonal Solar Recipe Adjustments
Making seasonal adjustments to your solar recipes guarantees ideal results throughout the year, as changing sun intensities and ingredient availability require different approaches.
You'll need to extend cooking times during spring and fall when sunlight is weaker, while summer's intense rays allow for quicker preparation of dishes like open-faced omelets and sautéed vegetables.
During winter, use reflective panels to maximize limited sunlight and plan for longer cooking sessions.
- Adapt recipes to use seasonal produce like kale and squash in spring, bell peppers in summer, and butternut squash in fall
- Monitor sun exposure closely and adjust cooking times based on seasonal intensity
- Incorporate year-round ingredients like eggs and cheese to maintain consistency
- Use appropriate solar cookers for each season – panel cookers for summer, box cookers for winter
- Prep ingredients in advance to better manage varying cooking times across seasons
Solar Kitchen Time Blocks
Building on seasonal adaptations, organizing your solar cooking into specific time blocks maximizes efficiency and guarantees consistently well-prepared meals.
Start your day by preheating your solar oven for 30 minutes while you prep ingredients. You'll need to rotate your cooker every half hour to follow the sun's path, so plan your schedule around these adjustments.
Create three main time blocks: morning setup (positioning the cooker and prepping ingredients), mid-day monitoring (rotating the cooker and checking food), and afternoon completion (final adjustments and meal finishing).
You can cook for up to 12 hours daily, so use this time wisely. Pre-chop vegetables and pre-cook certain items during your morning prep to streamline the process.
Remember to position your cooker where shadows won't interfere with your carefully planned cooking schedule.
Frequently Asked Questions
Can Solar Cooking Affect the Nutritional Value of My Food?
Your food's nutritional value actually improves with solar cooking since it uses lower temperatures that preserve more vitamins and minerals. You'll also get better flavors as foods cook slowly in their own juices.
How Do I Maintain Proper Food Safety During Longer Solar Cooking Times?
Monitor your food's temperature regularly, keeping it above 140°F. Don't let ingredients sit in the danger zone. Use a thermometer, rotate dishes for even cooking, and guarantee your solar oven maintains proper heat throughout cooking.
What Backup Cooking Methods Should I Have for Cloudy Days?
You'll want to have a hay box oven for slow-cooking stews, an earth oven for moisture retention, and portable gas stoves as reliable backups. Keep conventional stovetop methods ready when solar cooking isn't possible.
Are There Specific Materials or Containers to Avoid in Solar Cooking?
You'll want to avoid shiny or light-colored cookware that reflects sunlight. Don't use heavy pots with high thermal mass, and skip aluminum foil as cookware. Stick to dark, lightweight containers with tight lids.
How Can I Prevent Moisture Loss During Extended Solar Cooking Periods?
To prevent moisture loss, you'll want to use tight-fitting lids, dark pots with proper seals, and avoid opening the cooker frequently. Adding a tea-towel under pot lids helps manage moisture without losing it completely.
In Summary
You'll find solar cooking becomes second nature once you've implemented these time-smart strategies. Start small, build your confidence, and you'll soon master the art of efficient sun-powered meals. Remember to adjust your approach with the seasons and keep refining your solar kitchen setup. By following these tips, you're not just cooking – you're maximizing nature's energy while minimizing your daily effort.


Leave a Reply