To calculate your sun-powered meal cooking time, multiply traditional recipe times by 1.5-2.5. You'll need to cook between 10 AM and 2 PM for ideal results, when the sun delivers 1000 watts/m². Quick items like s'mores take 30-35 minutes, while small meals require 3-4 hours, and larger portions need 5-8 hours. Factor in weather conditions, as humidity can increase time by 15-20%, and temperatures below 45°F add 20-30 minutes. For best results, use dark pots with lids and minimize stirring. Understanding additional solar cooking variables will help you master the perfect sun-powered meal timing.
Understanding Solar Cooking Heat Levels
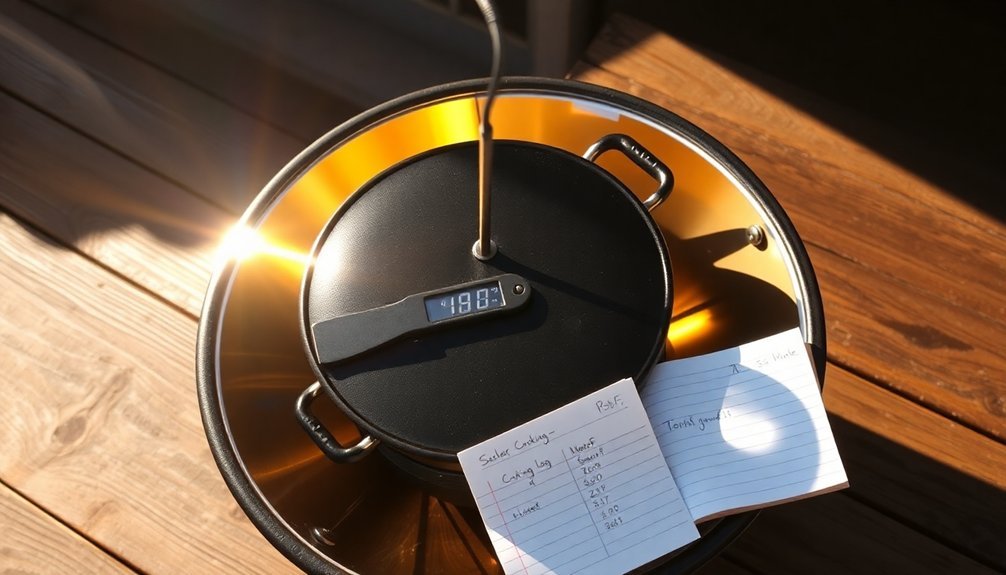
When harnessing the sun's power for cooking, you'll find that solar cookers can achieve an impressive range of temperatures from 150°F to over 800°F, depending on the design. You'll need at least 180°F to start cooking your meals effectively.
Each type of solar cooker offers different temperature capabilities. If you're using a parabolic cooker, you can reach blazing temperatures above 800°F for quick cooking. Cotton and newspapers make excellent insulating materials to help maintain these high temperatures.
Box cookers will get you up to 325°F, while panel cookers typically hit around 250°F. For mid-range temperatures, vacuum tube cookers can reach above 550°F.
Your cooking temperature will depend on factors like insulation quality, reflector panels, and environmental conditions.
You'll get the best results during summer months at mid-day, and you'll want to protect your cooker from wind to maintain peak heat.
Peak Sun Hours Matter
Success with solar cooking depends heavily on understanding peak sun hours – the time when sunlight delivers 1000 watts of energy per square meter.
You'll get the best results between 11:00 am and 3:00 pm when the sun's directly overhead. During these hours, you can bake bread, cakes, and pastries at ideal temperatures. Using vacuum tube cookers can help maintain cooking effectiveness even during cloudy conditions.
To maximize your cooking time, you'll need to adjust your cooker's position throughout the day. Point it eastward for noontime meals and westward for evening cooking.
Keep in mind that your location affects peak sun hours – places closer to the equator enjoy more consistent sunlight than higher latitudes.
Remember that weather conditions like clouds and fog will impact your cooking schedule, so you'll need more frequent adjustments during fall and winter months.
Basic Solar Recipe Time Conversions
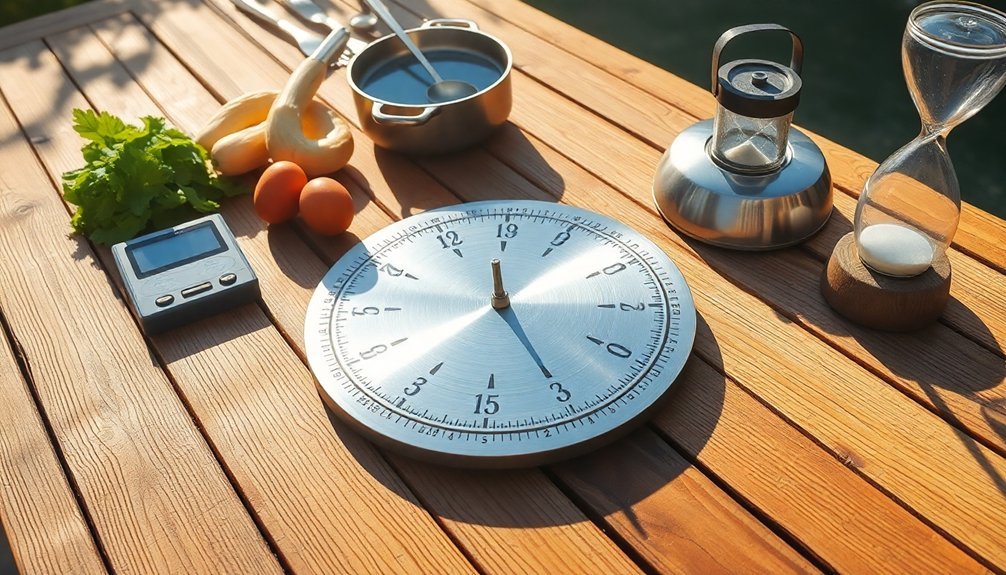
Converting traditional recipe times for solar cooking requires adjusting to longer cooking periods and variable conditions.
You'll need to multiply your standard recipe times by 1.5-2.5 to account for solar cooking's gentler heating process.
For quick-cooking items like s'mores, expect about 30-35 minutes in a pizza box oven. Small meals typically take 3-4 hours, while dense foods or larger portions might require 5-8 hours. A pizza box oven can reach temperatures of about 200°F on a sunny day.
You'll want to schedule your cooking between 10:00 a.m. and 2:00 p.m. when sun exposure is strongest.
Remember that factors like cloud cover, wind, and seasonal changes will affect your cooking duration. Keep checking your food every five minutes to prevent overcooking.
Use reflective materials and proper insulation to maximize efficiency and reduce cooking times.
Solar Temperature Control Techniques
You'll need to regulate heat through reflective panel coatings and elevated mounting systems, which can lower temperatures by up to 5°C and boost energy production by 8%.
Regular maintenance and cleaning helps prevent efficiency drops, with bi-weekly cleaning sessions generating up to 20% more energy output.
Natural cooling methods like passive airflow designs and cross-wind utilization help maintain ideal cooking temperatures while improving efficiency by up to 10%.
For precise temperature control, you can integrate water cooling systems and phase change materials that work like thermostats, maintaining steady temperatures and increasing overall performance by up to 20%.
Heat Regulation Through Panels
When optimizing solar cooking performance, proper temperature control of your panels plays a vital role in maximizing efficiency.
You'll find that reflective coatings and surface modifications can reduce panel temperatures by up to 5°C, while heat sinks and elevated mounting systems improve airflow for better temperature regulation.
For maximum cooling effectiveness, you can implement these proven strategies:
- Install silver-framed panels that run 1-3°C cooler than black-framed options
- Use water cooling systems to drop temperatures by 10-20°C, boosting efficiency by 15%
- Set up elevated mounting systems to increase airflow, reducing temperatures by 2-4°C
Natural Cooling System Design
Since effective temperature control directly impacts solar cooking efficiency, understanding natural cooling system designs is essential for ideal performance.
You'll find two main approaches to natural cooling: circulation and ventilation systems. Ground source circulation can reduce panel temperatures by 41.80% while boosting power efficiency to 8.24%.
For ventilation cooling, you'll need to guarantee proper spacing between panels and mounting frameworks to maximize airflow. This design works well for household setups in moderately warm areas.
Your location will determine the best cooling method – thermal systems work better in hotter regions like eastern Europe, while natural ventilation suits temperate zones.
If you're near the coast, you won't need active cooling for residential use, but make sure to use corrosion-resistant materials.
Thermostat Integration Methods
As solar cooking systems become more sophisticated, integrating smart thermostats provides essential temperature control and monitoring capabilities.
You'll gain precise control over your solar cooking temperatures through remote management and automated scenarios that optimize your meal preparation times.
- Install temperature sensors like the DS18B20 to monitor your solar cooker's internal temperature, ensuring accurate readings for consistent cooking results.
- Set up your smartphone app to adjust temperatures remotely, allowing you to manage cooking times even when you're away from your solar kitchen.
- Configure automated scenarios that control multiple devices, such as smart switches and valves, to maintain ideal cooking temperatures throughout different times of day.
Seasonal Cooking Time Adjustments
You'll need to maximize your solar cooking during summer's peak hours between 10 AM and 2 PM, when the sun's intensity is strongest.
In winter months, you can store solar energy in thermal batteries or heat-retaining materials during those limited sunny hours.
Plan your meals around these seasonal variations by preparing and storing food during ideal sunlight periods, then using retained heat for later cooking needs.
Summer Peak Production Hours
During summer months, you'll experience the most productive solar cooking hours between 10:00 AM and 4:00 PM, when the sun sits highest in the sky.
These extended daylight hours give you more flexibility to plan and prepare sun-powered meals without frequent adjustments to your solar cooker.
For ideal cooking results during peak summer hours, you can expect:
- Maximum solar intensity around midday, delivering about 1,000 watts of photovoltaic power per square meter
- Fastest cooking times between 11:00 AM and 3:00 PM, when the sun directly overhead powers your meals most efficiently
- Consistent cooking temperatures that let you prepare multiple dishes, from 15-minute melted butter to 4-hour rice servings
Take advantage of summer's longer peak hours by starting your solar cooking early and planning multi-course meals throughout the day.
Winter Energy Storage Plans
When winter's shorter daylight hours challenge solar cooking, implementing effective energy storage plans becomes essential for maintaining consistent meal preparation. You'll need to utilize thermal energy storage (TES) systems that can retain heat for up to three days, ensuring your cooking remains reliable despite limited sunlight.
Install clay-coated carbon bricks and aluminum pipe heat exchangers in your solar cooker to maximize heat retention. These components work together with flowing thermal liquids to maintain temperatures up to 280°C for extended periods.
You can start cooking early in the day, store the captured heat, and continue meal preparation even when the sun isn't directly available. For best results, position your cooker in a south-facing, obstruction-free location and adjust it frequently to track the sun's movement throughout the shorter winter days.
Weather Impact on Cooking Duration
Weather conditions greatly affect your outdoor cooking duration and efficiency, whether you're using a solar cooker, grill, or smoker.
You'll need to adapt your cooking times based on humidity, temperature, and altitude to achieve the best results.
High humidity slows down your cooking process and can make foods tougher, while cold weather increases cooking duration due to reduced heat retention.
At higher altitudes, you'll face unique challenges with cooking times and food consistency.
- If you're cooking on a humid day, expect your grilling time to increase by 15-20% due to reduced heat transfer.
- When temperatures drop below 45°F, add 20-30 minutes to your standard smoking times.
- Above 3,000 feet elevation, you'll need to adjust both temperature and timing, as water boils at lower temperatures.
Direct Versus Indirect Sunlight
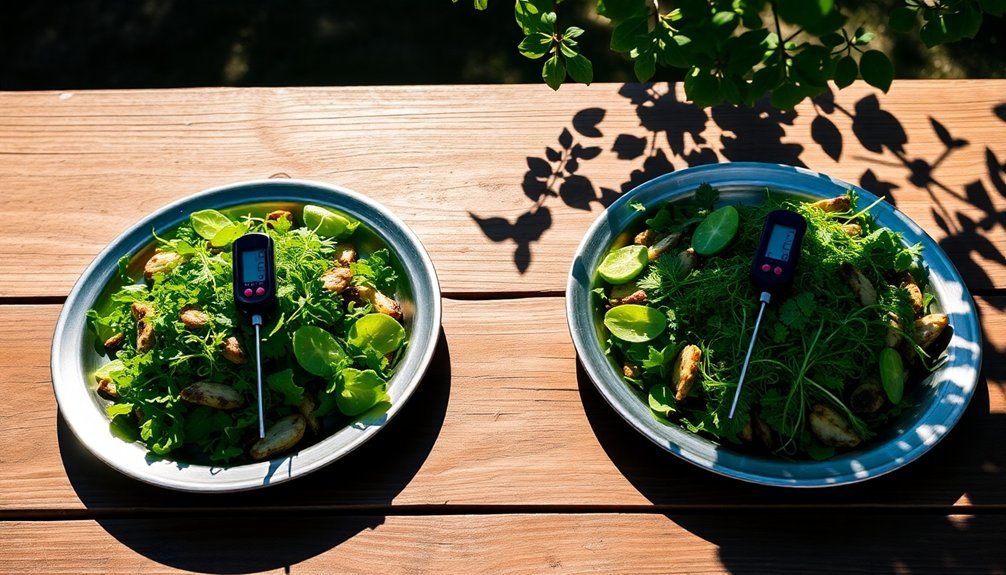
Understanding the difference between direct and indirect sunlight is essential for successful solar cooking. Direct sunlight occurs when you can see both the sky and sun, creating sharp shadows, while indirect light happens when something blocks the sun's direct rays, producing fuzzy or no shadows.
You'll want direct sunlight for ideal solar cooking results since it provides more intense heat. To maximize your cooking efficiency, position your solar cooker where it'll receive unobstructed sunlight.
Keep in mind that seasonal changes and weather conditions affect sunlight intensity. You can measure direct sunlight hours by observing shadow patterns throughout the day.
While indirect light works for many other purposes, solar cooking specifically requires direct sunlight's stronger radiation to achieve proper cooking temperatures.
Altitude Effects on Cooking Time
When cooking at higher elevations with solar power, you'll need to increase your cooking times by up to 25% since water boils at lower temperatures in mountain air.
Your food will lose moisture more quickly at altitude, so you'll want to keep dishes covered and add extra liquid to recipes.
You can offset some altitude effects by using dark, glass cooking vessels that retain heat better and placing your solar cooker in a spot that maximizes direct sunlight exposure throughout the cooking process.
Mountain Air Cooking Adjustments
Living at higher elevations considerably impacts your cooking times and methods due to the lower atmospheric pressure and boiling temperatures.
You'll need to adjust your cooking approach since water boils at lower temperatures – what takes 30 minutes at sea level might require 38 minutes at high altitude to achieve the same results.
For successful mountain cooking, remember these key adjustments:
- Add 5% more cooking time for every 1,000 feet above 2,000 feet when using a pressure cooker.
- Keep pots covered to retain essential moisture, as liquids evaporate faster at high altitudes.
- Use food thermometers to guarantee proper internal temperatures, since traditional timing may be unreliable.
While dry-heat methods like grilling and roasting maintain consistent temperatures regardless of elevation, you'll still need to watch for faster moisture loss in your foods.
Higher Elevation Power Usage
At higher elevations, you'll need more power and time to cook your meals effectively since water boils at lower temperatures.
At 3,000 feet, water boils at 207°F, dropping to 198°F at 7,500 feet, which affects all your cooking methods.
You'll need to increase cooking times by up to 25% for roasts and stews, while microwaving requires an extra minute per 1,000 feet.
For slow cookers, start on high settings and guarantee temperatures stay above 200°F.
When deep-frying, lower your oil temperature by 3°F per 1,000 feet to prevent over-browning.
Keep lids on to retain moisture, as foods dry out faster at altitude due to lower humidity.
Monitor internal temperatures with a food thermometer, and consider marinating or covering grilled items to maintain moisture.
Food Thickness Timing Guide
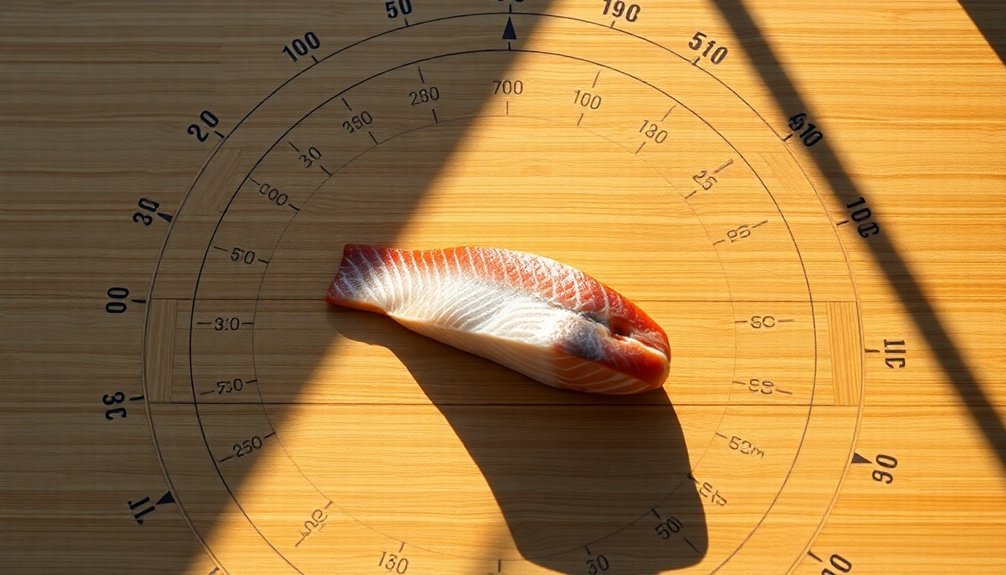
Since food thickness directly affects cooking time in solar ovens, understanding the relationship between portion size and duration is essential for successful sun-powered cooking.
You'll need to adjust your timing based on the density and thickness of your ingredients to guarantee thorough cooking.
For a 4-pound food portion on a sunny day, follow these basic guidelines:
- Thin-sliced vegetables and fruits: 1-2 hours for complete cooking
- Standard thickness items (grains, legumes): 3-4 hours at 180°F
- Thick cuts (dense vegetables, meats): 5-8 hours for thorough cooking
Remember that these times can double when you're dealing with less intense sunlight or cooler temperatures.
To optimize your cooking time, try cutting denser foods into smaller portions and arrange them in single layers whenever possible.
Solar Oven Preheating Requirements
When preparing to cook with a solar oven, you'll need to understand preheating requirements that vary based on your recipe and cooking method. While baking demands preheating, other dishes can often skip this step. However, preheating can improve your results by creating uniform cooking temperatures.
You'll get the best preheating results by placing your solar oven in direct sunlight for up to an hour before cooking. Use reflective materials like aluminum foil to direct more sunlight, and guarantee proper insulation to trap heat.
Keep an eye on weather conditions, as wind can steal heat from your oven. Monitor your oven's temperature using a thermometer, and adjust its position throughout cooking to maintain ideal sun exposure.
Remember that seasonal changes and your location will affect preheating times and overall cooking efficiency.
Recipe Modification for Solar Cooking
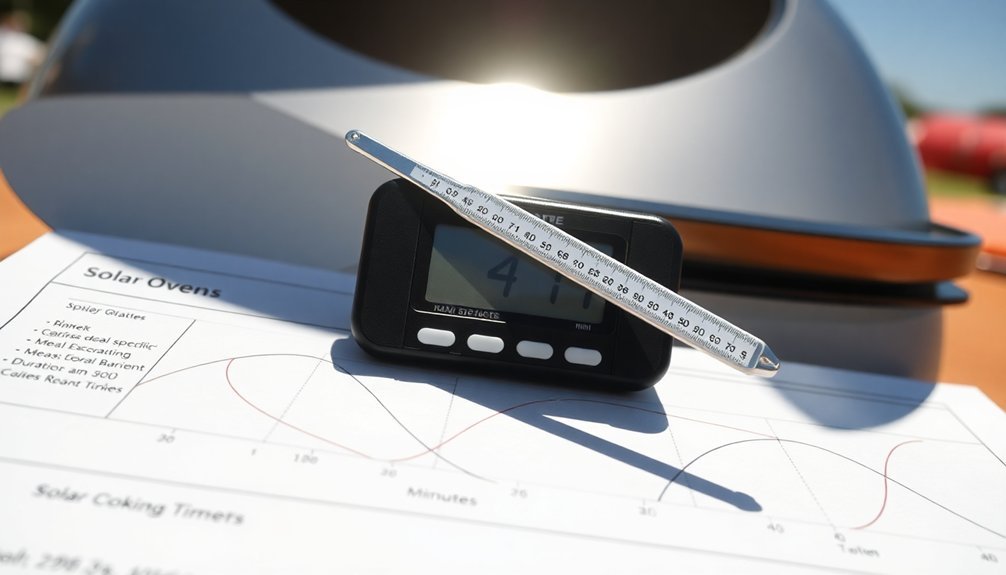
Modifying traditional recipes for solar cooking requires understanding how sun-powered ovens behave differently from conventional ones.
You'll need to adapt your recipes for slower cooking times and variable heat conditions. Select ingredients that cook well under gradual heat, like legumes and root vegetables, while avoiding delicate items that could overcook.
To successfully modify your recipes for solar cooking:
- Pre-soak dense ingredients like beans and chickpeas to reduce overall cooking time.
- Plan your cooking between 10:00 a.m. and 2:00 p.m. when sun intensity is highest.
- Use darker pots with lids and keep them covered to maintain consistent heat.
Remember to adjust portion sizes based on your solar oven's capacity and choose seasonal ingredients that align with available sunlight.
Keep stirring to a minimum to preserve heat, only opening the lid when necessary.
Time Management Success Tips
Effective time management holds the key to successful solar cooking schedules. You'll need to prioritize tasks and create a realistic timeline that aligns with peak sunlight hours. Break down your cooking process into manageable steps, and use time-tracking tools to monitor your progress.
| Time Management Tips | Solar Cooking Application |
|---|---|
| Prioritize Tasks | Schedule prep during early morning hours |
| Create Time Blocks | Align cooking with peak sun exposure |
| Use Time Buffers | Add extra time for weather variables |
| Track Progress | Monitor cooking stages and temperatures |
Remember to automate where possible by using timers and temperature monitors. Delegate tasks when cooking large meals, and always build in buffer time for unexpected weather changes. Review your cooking notes regularly to optimize your schedule, and don't hesitate to adjust your timeline based on seasonal sun patterns and recipe requirements.
Frequently Asked Questions
Can Solar Cooking Affect the Nutritional Value of Food?
You'll retain more nutrients through solar cooking since it uses lower temperatures and slower cooking times. It'll preserve vitamins, minerals, and complex carbohydrates while maintaining food's moisture and natural flavors.
How Do Different Types of Cookware Materials Impact Solar Cooking Times?
You'll cook fastest with dark metal pots, as they absorb heat efficiently. Ceramic and glass pots heat slowly but retain warmth well. Cast iron takes longer initially but maintains consistent temperatures throughout cooking.
What Safety Precautions Should Be Taken When Checking Food in Solar Ovens?
You'll need heat-resistant gloves when opening the oven. Don't lean over it directly, use a thermometer to check temperatures, and make certain food reaches safe levels (165°F). Keep hands away from hot surfaces.
Does the Color of Food Containers Influence Solar Cooking Efficiency?
Yes, your food containers' color considerably impacts solar cooking efficiency. You'll find dark-colored containers absorb more sunlight and heat up faster, while light-colored ones reflect heat away, resulting in longer cooking times.
Can Solar Ovens Be Used to Sterilize Water and Cooking Equipment?
Yes, you'll find solar ovens effectively sterilize both water and cooking equipment. They'll kill harmful microorganisms using UV-A radiation and heat when temperatures reach 65-75°C, though you'll need direct sunlight for best results.
In Summary
You'll find solar cooking times become more predictable once you've mastered the basics. Remember to double conventional recipe times, monitor your food's thickness, and adjust for seasonal sun patterns. By tracking peak sun hours and maintaining consistent temperature control, you can successfully plan your sun-powered meals. Keep a solar cooking journal to document your timing successes and optimize future meal preparations.



Leave a Reply