Get the most from winter solar cooking by planning around peak sun hours between 11 AM and 3 PM. You'll want to preheat your solar cooker by 10 AM, adding 15 extra minutes compared to summer preheating. Position your cooker at a 60-degree angle facing true south, and realign it every 30 minutes for ideal exposure. Keep ingredients at proper temperatures (45-55°F for winter squash, room temp for dairy), and use color-coded containers for portion control. Maximize efficiency with aluminum reflectors positioned at 45-degree angles. These foundational tips open the door to mastering cold-weather solar cuisine.
Calculate Winter Solar Cooking Hours
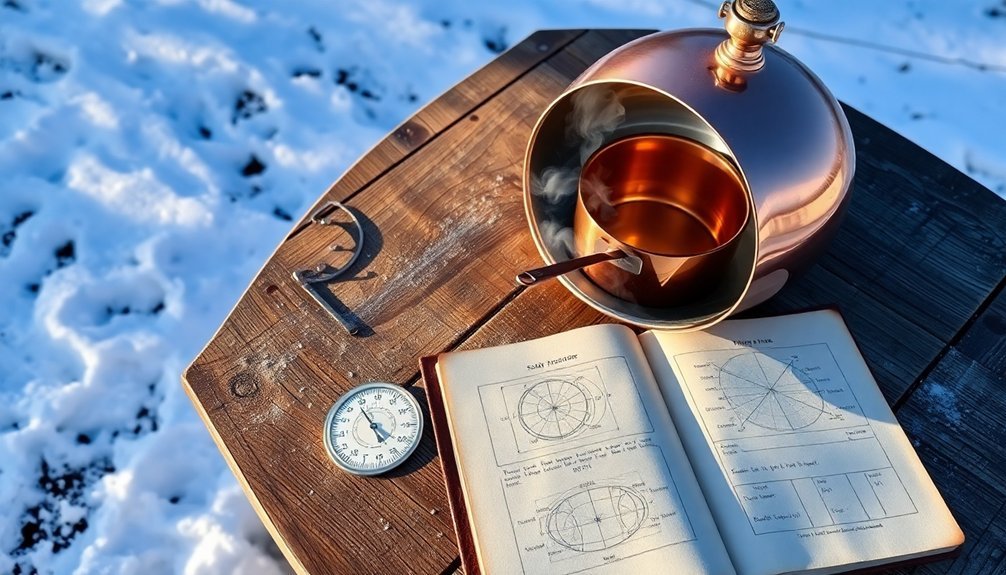
Four key hours between 11:00 am and 3:00 pm offer the best window for winter solar cooking, when the sun reaches its highest position overhead.
You'll find the sun's intensity peaks between 10:00 am and 2:00 pm, making this period ideal for baking breads and pastries. For optimal outcomes, start preheating your solar cooker as early as 10:00 am, and you can extend cooking until 4:00 pm for warming stages.
You'll need to adjust your cooking schedule based on the sun's position and intensity.
Remember that winter cooking times are longer than summer – expect to add about 15 minutes for preheating.
A location near the Equator provides more sunlight and extended cooking periods throughout the winter months.
While outside temperatures aren't critical, clear skies and good air quality will greatly impact your cooking success.
Snow reflection can actually work in your favor, intensifying the available sunlight.
Solar Box Position Adjustments
To maximize your solar box cooker's efficiency in winter, you'll need to adjust its tilt angle to 60 degrees and position it perpendicular to the sun's rays at local solar noon.
You can optimize heating by raising the box height 15 degrees above your latitude during winter solstice and repositioning it every few hours to track the sun's path.
For best results, place your solar box cooker in a snow-free spot between 10 AM and 2 PM when the sun's energy is strongest, adjusting its angle throughout the day to maintain direct sunlight exposure. Consider installing bifacial panels to enhance energy capture from both direct sunlight and reflected light.
Peak Sun Angle Considerations
While winter brings unique challenges for solar cooking, understanding peak sun angles can greatly improve your cooking results.
In winter months, you'll need to adjust your solar box to steeper angles since the sun travels a shorter, lower path across the sky. For peak performance, tilt your cooker by multiplying your latitude by 0.9 and adding 29 degrees. Regular seasonal tilt adjustments will help maintain optimal energy capture throughout the changing months.
If you're in the Northern Hemisphere, position your solar box facing true south.
Don't worry if you can't achieve perfect alignment – you've got about 30 degrees of wiggle room east or west before seeing significant power loss.
Consider using adjustable mounting systems to modify angles throughout the season, and keep tracking the sun's position every 30 minutes for maximum heat absorption.
Seasonal Height Adjustments
Since ideal sun exposure varies throughout the year, adjusting your solar box's tilt angle becomes essential for maximum efficiency.
You'll want to modify your box's position twice annually for a 10-15% boost in performance: lower the angle in summer and raise it in winter.
For best results, subtract 15 degrees from your latitude during summer months and add 15 degrees during winter. If you're at 35 degrees latitude, set your box at 20 degrees in summer and 50 degrees in winter.
Mark your calendar for key adjustment dates: April 18 for summer positioning and October 5 for winter setup in the Northern Hemisphere.
While more frequent adjustments are possible, twice-yearly changes provide the most practical balance between effort and energy capture. Solar boxes should be positioned to face due south in the Northern Hemisphere to maximize sunlight exposure throughout the day.
Optimal Box Placement Times
Because winter's low sun angle dramatically affects solar collection, choosing the right times to adjust your box position becomes essential for peak performance.
You'll want to make adjustments during two key periods: early winter and mid-season.
Set your initial winter position in late November, adjusting to a 10-20 degree tilt that balances snow shedding with ambient light capture.
If you're in a particularly cloudy region, you might benefit from a flatter angle to enhance diffuse light collection, but don't go completely flat as this'll cause snow buildup.
Make your mid-season adjustment in January when sun patterns shift.
You can use the formula (90° – latitude – 15.6°) to calculate your ideal angle, but consider your local weather conditions before making this change.
Cold Weather Preheating Methods
When temperatures plummet, proper engine preheating becomes essential to protect your aircraft and guarantee safe operation.
You'll find several effective methods to choose from, each with distinct advantages.
Multipoint electric systems offer an all-encompassing solution, using heating elements on cylinders, oil pans, and crankcases. You'll need about six hours of prep time, but they're cost-effective and simple to install.
If you're looking for quicker results, forced air systems, either electric or propane-powered, will heat your entire engine compartment rapidly.
For targeted heating, you can opt for engine block or oil pan heaters.
Don't forget to use insulated engine covers and prop covers to retain heat effectively.
For the best results, you'll want to combine multiple heating methods, especially when preheating outdoors in extreme conditions.
Seasonal Ingredient Temperature Guidelines
When storing your winter ingredients, keep butter and dairy items at room temperature for 30-60 minutes before use, while root vegetables like carrots and potatoes need cool, dark spaces around 45-50°F.
You'll find winter squash stays fresh longest when kept between 50-55°F in a well-ventilated area, lasting up to several months with proper storage.
For consistent baking results in cold weather, let temperature-sensitive ingredients like eggs and cream cheese come to room temperature naturally or use quick-warming methods like a warm water bath.
Storage Temperature By Ingredient
Since proper storage temperatures directly impact food quality and safety, understanding the ideal temperature ranges for different ingredients is essential for winter meal preparation.
Keep your refrigerator between 32-40°F, with leafy greens like collards, lettuce, and endive stored at 32°F with high humidity. Store your apples at 30-40°F, while strawberries need a consistent 32°F.
You'll want to keep cucumbers and melons slightly warmer at 50-55°F. For your freezer, maintain 0°F or below, and make certain you've positioned the temperature sensor to accurately measure the storage space.
In dry storage areas, while 50°F is ideal for maximum shelf life, 70°F works well for most items. Remember to place thermometers in easily visible locations and use a glass of water test to verify your refrigerator's temperature accuracy.
Root Vegetable Cold Storage
Building on our temperature guidelines, root vegetables need special attention during winter storage. You'll want to maintain temperatures between 32°F and 40°F in a dark, humid environment.
During harvest, trim the tops and remove soil without washing to prevent mildew formation.
Store your potatoes in covered, slatted bins that allow airflow while blocking light. For carrots and beets, layer them in sand or dry leaves, while onions and garlic do best in mesh bags after proper curing. You can prevent shriveling by bedding roots in slightly damp sphagnum moss.
Don't forget to monitor your storage area regularly. Check for any signs of rot, maintain 90-95% humidity, and guarantee proper ventilation.
Remove spoiled vegetables immediately to protect your healthy produce, and rotate items periodically for even storage conditions.
Winter Squash Shelf Life
Proper storage techniques for winter squash can dramatically extend their shelf life throughout the cold season.
You'll want to keep your squash in a cool, dark place at 45-55°F with 50-70% humidity. A pantry, closet, or root cellar works perfectly for this purpose.
Each variety has its own storage potential. While butternut squash can last up to 6 months, you'll need to use acorn and spaghetti squash within 10 weeks.
Hubbard, Kabocha, and Buttercup varieties offer impressive 4-6 month storage times.
To maximize shelf life, guarantee proper curing by leaving squash in a sunny, dry spot for 7-10 days after harvest.
Don't forget to check your stored squash regularly for soft spots or mold, and keep them from touching each other.
Avoid refrigeration, as it'll compromise both flavor and texture.
Winter Meal Size Planning
When planning winter meals, understanding portion control and balanced meal composition can make a significant difference in maintaining healthy eating habits.
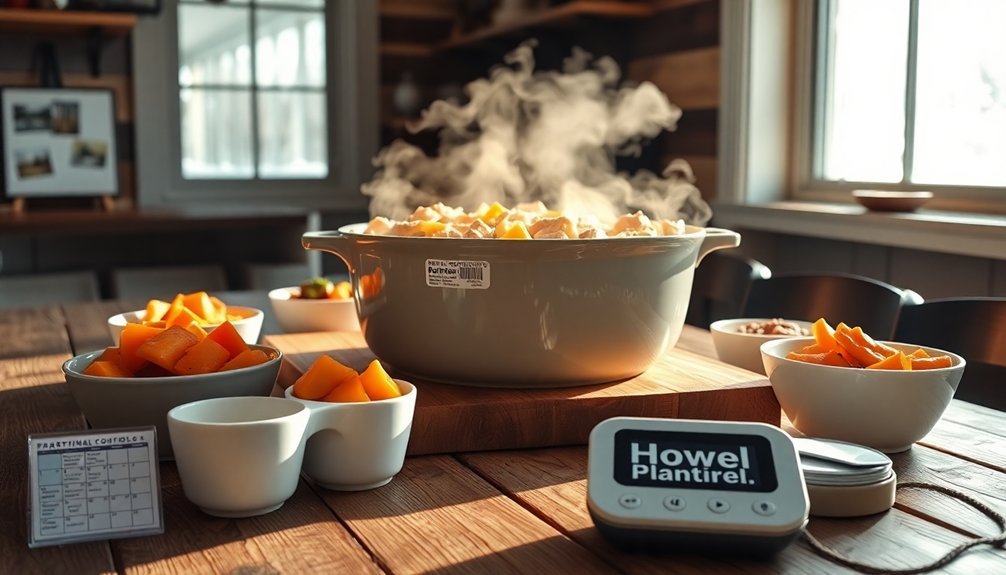
You'll find it easier to manage portions by using color-coded containers: green for vegetables, purple for fruits, red for proteins, yellow for carbs, blue for healthy fats, and orange for seeds and dressings.
To achieve ideal nutrition during winter months, aim for six green, four purple, six red, four yellow, one blue, and one orange container daily. You can adjust these portions based on your caloric needs.
When preparing meals, don't forget to incorporate seasonal ingredients like winter squash and pumpkin. Balance your starches with extra vegetables, and include lean proteins with healthy fats.
For convenience, prep ingredients on weekends and utilize your slow cooker for hearty winter meals.
Sun Angle Performance Tips
Beyond meal planning, successful winter cooking often depends on maximizing available sunlight.
You'll need to focus on the prime cooking hours between 11:00 am and 3:00 pm when the sun's position is most favorable. For ideal performance, align your Sun Oven every 30 minutes using the E-Z Sun-track indicators and extend the T-leg to its full height.
- Position your oven on stable ground or snow, using stakes for winds up to 35 MPH
- Look for shadows – if there's no shadow, there's not enough sun for cooking
- For higher latitudes, try laying the oven on its back to capture more sunlight
- Lock reflectors with thumbscrews to maintain heat efficiency
- Check the thermometer regularly, even if it appears upside down in winter configurations
This strategic positioning guarantees you'll get the most from your solar cooking, even during shorter winter days.
Reflector Enhancement Strategies
Strategic reflector placement can dramatically boost your solar cooker's performance during winter months.
Position your reflectors at a 45-degree angle to maximize sunlight capture and enhance heat retention. You'll want to adjust these angles throughout the day as the sun moves across the sky.
For best results, use multiple reflectors to create a concentrated heating zone.
You can make DIY reflectors using aluminum foil on cardboard or invest in professional 32-inch reflectors for more durability. Place them closer to your cooking vessel when you need more heat intensity, and further away when you need gentler heating.
Don't forget to modify your reflector setup based on cloud coverage and time of day.
Block unwanted shadows by positioning reflectors strategically, and combine them with other heat-capturing tools for peak cooking performance.
Weather Pattern Cooking Schedule
Adapting your meal schedule to winter weather patterns helps guarantee successful and satisfying cooking outcomes.
You'll want to monitor weekly forecasts to plan your meals effectively, switching between hearty dishes for cold snaps and lighter fare during mild spells. When you're expecting several days of harsh weather, prep multiple meals at once, focusing on dishes that reheat well.
- Schedule slow-cooker meals like split pea soup for the coldest days
- Plan sheet-pan dinners and grilled items during milder temperatures
- Prep high-calorie casseroles and stews before major snowstorms
- Keep quick-cooking alternatives ready for unexpected weather changes
- Time your grocery runs to stock up before severe weather hits
Remember to maintain flexibility with your cooking methods, shifting between stovetop, oven, and slow-cooker options as conditions change throughout the winter season.
Heat Retention Techniques
Effective heat retention techniques can dramatically reduce your cooking fuel needs and maintain consistent food temperatures during winter meal preparation.
You'll get the best results by blackening your pot bottoms for better heat absorption and using tight-fitting lids to trap warmth. Wrap your cooking setup with a windscreen and build a protective wall using rocks or snow to block cold gusts.
For extended cooking times, utilize a pot cozy or parka to keep heat around your cookware. Fill pots to maximum capacity, as larger food quantities retain warmth better.
Consider using modern tools like vacuum-insulated containers or foam-based retained heat units, which work like powerless slow cookers. You can even warm up fuel inside your jacket before use to help it vaporize better in cold conditions.
Cook Time Compensation Charts
You'll need to lengthen cooking times on cold winter days as your oven works harder to reach and maintain proper temperatures.
Creating a simple chart that adds 5-10 minutes per hour of standard cooking time helps compensate for heat loss when kitchen temperatures drop below 65°F.
While extending cook times, you can often lower temperatures slightly to prevent overcooking the exterior while ensuring the center reaches the proper doneness.
Adjusting For Cold Days
Proper meal preparation during winter months requires careful attention to cooking times and temperature adjustments. Cold weather affects your cooking process, particularly with fermentation and carryover cooking times.
You'll need to adjust your recipes by calculating temperature differences and adding safety margins to guarantee ideal results.
- Multiply your standard cooking time by the percentage difference between original and new temperatures (e.g., 400°F to 450°F = 0.89 multiplier)
- Monitor carryover cooking closely, as different foods have varying temperature increases after removal from heat
- Increase your starter carryover and use warmer water when working with sourdough in cold weather
- Keep dough warm using a proofer or oven to maintain proper fermentation
- Check dishes earlier than calculated times to prevent overcooking, especially when adjusting for temperature differences
Timing Temperature Trade-offs
Understanding temperature and cooking time relationships allows you to adapt recipes confidently for different conditions.
When cooking in winter, you'll need to make smart adjustments to guarantee perfect results. If you're using a fan-forced oven, reduce the temperature by 20°C, but remember that your cooking time will increase slightly.
You'll want to check your food about 75% through the expected cooking time to avoid overcooking. For every 20°C reduction in temperature, expect to add about 15% more cooking time.
Don't open your oven door frequently during cold weather, as you'll lose more heat than usual. Keep an oven thermometer handy to maintain accurate temperatures, and consider that refrigerated ingredients will need extra time to reach the desired internal temperature compared to room-temperature items.
Frequently Asked Questions
Can Frozen Ingredients Be Used Directly in Solar Cooking During Winter?
You can use frozen ingredients directly in solar cooking during winter, but you'll need extra cooking time for thawing. Make sure you've got clear sunlight and a well-insulated solar cooker for best results.
How Do Snow Reflections Affect Solar Cooking Temperatures and Timing?
While snow can reflect up to 90% of sunlight, you'll experience reduced cooking temperatures due to scattered rays and lower direct radiation. You'll need to extend your cooking times and adjust your cooker's angle accordingly.
Which Container Materials Work Best for Winter Solar Cooking?
You'll get the best winter solar cooking results using dark, thin anodized aluminum or enamelware containers. Their quick heat absorption and transfer properties help maximize limited winter sunlight. Avoid thick cast iron materials.
Does Altitude Impact Winter Solar Cooking Effectiveness Differently Than Summer?
Yes, you'll find altitude affects winter cooking more positively than summer. The thinner atmosphere at height lets more UV rays through, helping offset winter's weaker sun angle and partially compensating for colder temperatures.
Can Solar Cooking Be Combined With Traditional Heating Methods Mid-Process?
Yes, you can easily switch between solar and traditional cooking mid-process. You'll get the best results if you start with solar cooking during peak sunlight, then finish with conventional methods when needed.
In Summary
You'll find winter solar cooking rewarding when you follow these essential timing and technique adjustments. Track your sun hours carefully, position your solar box ideally, and don't forget to compensate for slower heating times. With proper insulation, enhanced reflectors, and seasonal ingredient preparation, you're set for successful cold-weather solar meals. Keep these guidelines handy, and you'll enjoy efficient solar cooking year-round.


Leave a Reply