You'll get professional-quality cooking results by mastering your oven's temperature monitoring. Start with a reliable digital thermometer to track both ambient and internal food temperatures. Position your sensors away from heating elements and exterior walls for accurate readings, and minimize door openings to prevent heat loss. Keep an eye on seasonal variations, as oven performance can fluctuate up to 90°F throughout the year. Regular calibration and cleaning will maintain ideal heat distribution. For convection ovens, reduce temperatures by 25°F and rotate trays halfway through cooking. These fundamentals will set you on the path to precise temperature control and consistently perfect dishes.
Understanding Solar Oven Heat Distribution
Three key components work together to make solar ovens effective: radiation absorption, heat retention, and proper distribution.
To maximize absorption, you'll need dark-colored cookware and surfaces that convert sunlight into heat energy. The darker the material, the better it'll absorb all wavelengths of light. Similar to how Earth science researchers monitor solar radiation patterns, understanding heat absorption is crucial for optimal cooking results.
Your oven's heat retention depends on proper insulation and a clear lid that creates a greenhouse effect. Using a box-within-a-box design and insulating materials like newspaper will prevent heat loss through the sides and bottom.
For ideal heat distribution, you'll want to rotate solid foods every 10-15 minutes and stir liquids every 10 minutes. Position your oven in direct sunlight and use reflecting panels to concentrate the sun's energy, ensuring even cooking throughout your food.
Essential Temperature Monitoring Tools
You'll find several temperature monitoring tools essential for precise oven control, starting with basic digital thermometers that provide quick, accurate readings.
Many systems include multiple thermocouple ports for comprehensive temperature data collection across different oven zones.
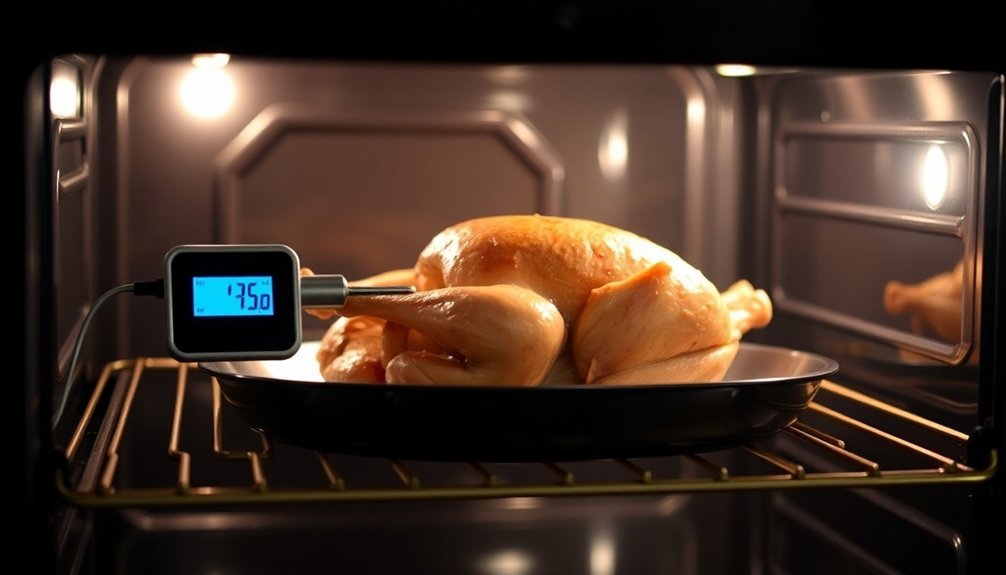
Dual-probe systems take monitoring further by letting you track both oven ambient temperature and food internal temperature simultaneously.
Smart monitoring technology now offers wireless connectivity and real-time alerts through your smartphone, giving you unprecedented control over your cooking process.
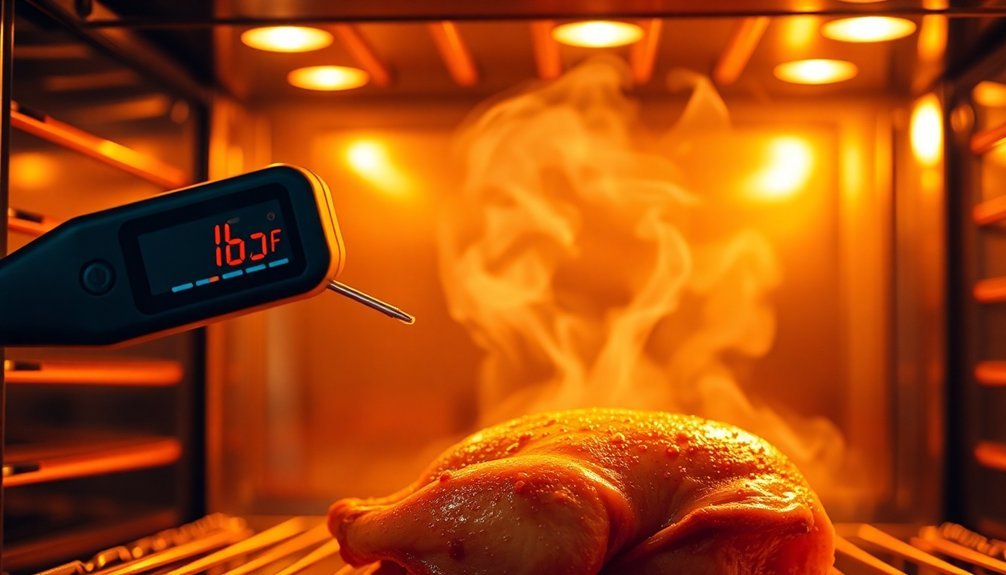
Digital Thermometer Basics First
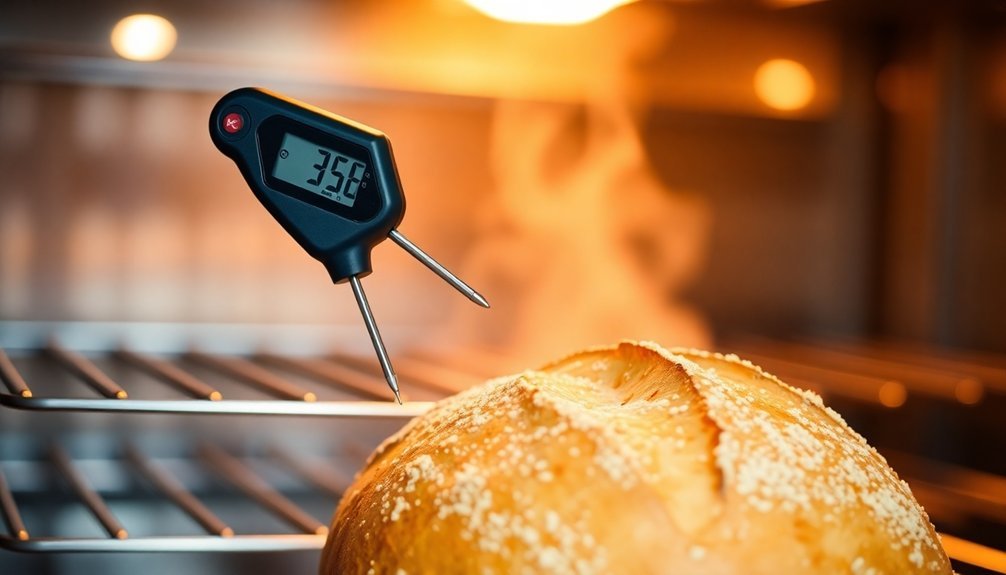
Understanding digital thermometers is essential before diving into advanced oven monitoring techniques. These devices use a metal sensor with a thermistor that changes resistance based on temperature, converting readings to digital displays in Fahrenheit or Celsius.
You'll get the most accurate results by inserting the probe at least 0.5 inches into your food's thickest part, avoiding fat, bone, or gristle. For oven monitoring, place the thermometer in the center, typically hanging from the racks. The USDA recommends cooking temperatures of 145°F for beef and similar meats for optimal food safety.
Today's digital thermometers come in various forms, from instant-read models to Bluetooth-enabled devices that connect to your smartphone.
The real value lies in their precision, with most models accurate within 2-4 degrees Fahrenheit. They'll help you guarantee food safety while preventing overcooking through real-time monitoring without opening the oven door.
Dual-Probe Systems Explained
Building on basic digital thermometer knowledge, dual-probe systems offer a significant upgrade for serious home chefs and professionals. You'll monitor two pieces of meat simultaneously or track both internal meat and ambient oven temperatures. These systems feature high-accuracy sensors within ±1.8°F and can measure temperatures from -40°F to 572°F. The thermometer includes seven USDA presets for achieving perfect doneness in various meats.
| Feature | Benefit | Specification |
|---|---|---|
| Dual Probes | Monitor two items | Stainless steel, 4.5-4.72" length |
| Wide Range | Versatile cooking | -40°F to 572°F measurement |
| Smart Alerts | Precise timing | Real-time notifications |
With IP65 waterproof ratings and durable construction, dual-probe systems won't let you down. You'll appreciate the backlit display, preset temperature options, and convenient magnetic attachment. Many models even estimate your food's completion time using smart algorithms.
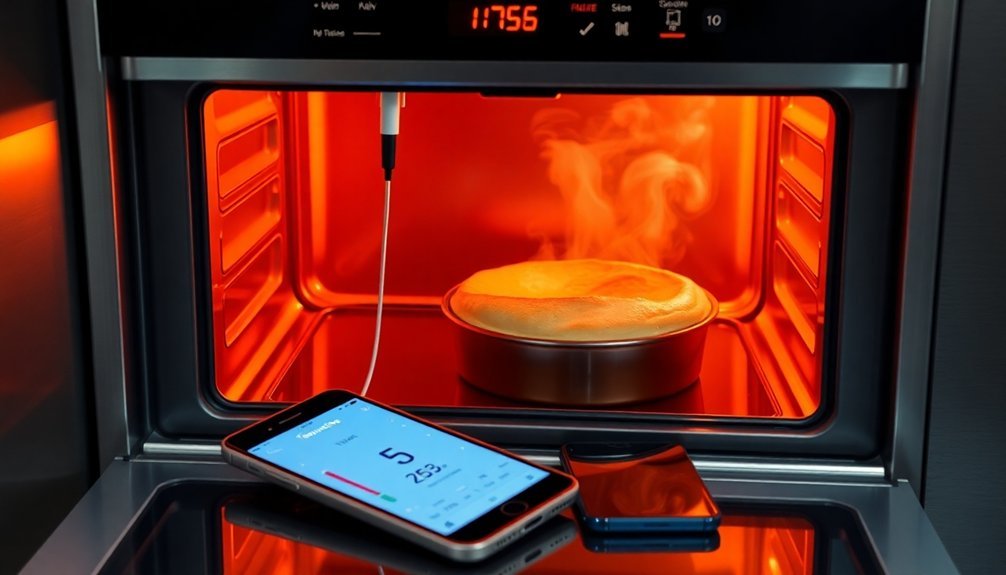
Smart Monitoring Technology Options
Modern smart monitoring technology transforms traditional oven temperature tracking into a sophisticated digital experience.
You'll get real-time temperature readings through Wi-Fi or Bluetooth connectivity, allowing you to monitor your oven from anywhere using your smartphone.
The system's advanced probes feature Teflon cables with stainless steel mesh that withstand temperatures up to 716°F, while silicone handles protect against heat up to 482°F.
You can place these probes inside your oven while keeping the data logger safely outside.
Through the mobile app, you'll receive instant alerts if temperatures deviate from your settings.
You can track multiple parameters, including humidity and air velocity, while the system logs thorough data for analysis.
This technology doesn't just monitor – it provides actionable insights for better cooking results and guarantees consistent quality control.
Optimal Sensor Placement
Proper sensor placement plays a critical role in achieving accurate temperature monitoring within ovens. When installing your temperature sensor, position it away from heating elements and the oven's exterior walls to prevent skewed readings.
You'll want to mount it on the rear interior panel or through a designated hole in the back panel.
Don't place your sensor near power-consuming appliances, windows, or ventilation units, as these can interfere with accurate measurements. For maximum performance, verify there's good air circulation around the sensor while avoiding areas with excessive air movement.
If you're working with an electronic control board, the sensor should be firmly secured to monitor resistance changes effectively. Remember to keep the sensor accessible for future maintenance without requiring major oven disassembly.
Recording Temperature Data
To effectively record temperature data in your oven, you'll need a properly configured data logger equipped with the right thermocouple wires and probes.
Format your device to record temperatures at your desired frequency, typically every 15 seconds, and select your preferred temperature unit (°F or °C).
Once you've placed the logger and probes correctly, start recording before the baking cycle begins.
Advanced loggers like the SCORPION® 2 can capture data from up to 32 sensor channels at high frequencies. You won't need a computer on the bakery floor, as the device's built-in interface handles real-time monitoring.
After the baking cycle, download your data and export it to Excel.
Create graphs to visualize temperature profiles, analyze multiple runs to identify cool zones, and use the information to validate your oven's performance.
Weather Impact on Readings
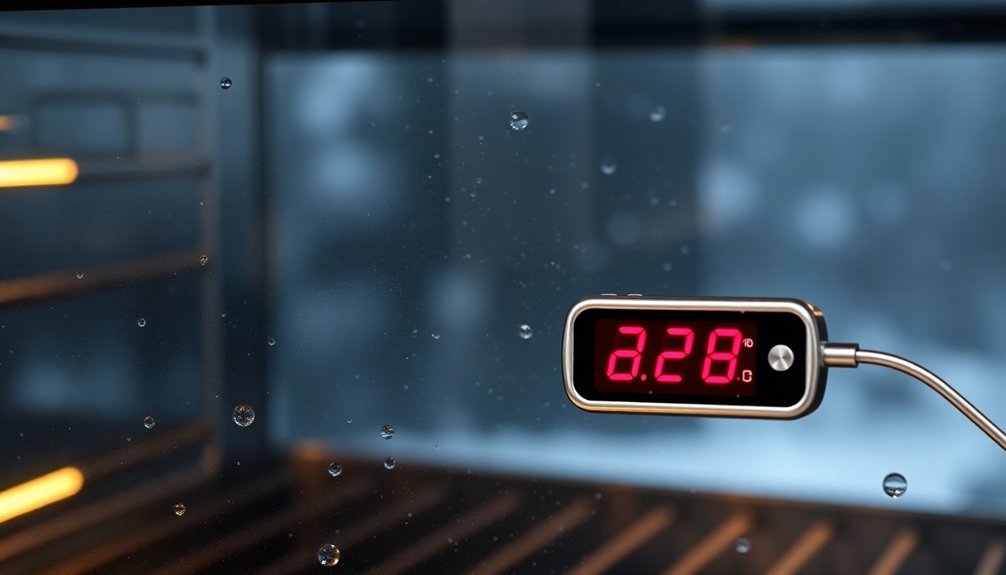
Weather conditions can greatly affect your temperature readings, particularly when monitoring outdoor or solar cooking setups.
You'll need to account for wind, which can rapidly lower cooking temperatures and extend cooking times. If you're using a solar cooker, even a light breeze can notably impact your readings.
While conventional ovens are less affected by external weather, they're not entirely immune.
Humidity and extreme temperature fluctuations can influence your oven's efficiency and temperature stability. To guarantee accurate readings, you'll want to calibrate your oven regularly following the manufacturer's guidelines.
For outdoor cooking, consider using windbreaks to maintain consistent temperatures.
Remember that seasonal changes can affect your readings too, especially with solar cooking where available sunlight varies throughout the year.
Adjusting Cooking Times
You'll need to carefully monitor how temperature changes affect your cooking duration, as even small adjustments can greatly impact your total cooking time.
To achieve ideal results, you should time your peak heat periods to coincide with when your food needs it most, such as the initial searing phase for meats or the first rise for breads.
For quick conversions, you can use the simple formula of dividing your starting temperature by your desired temperature to calculate the adjusted cooking time percentage (e.g., 400°F/450°F = 0.89, meaning a 60-minute cook time becomes 53 minutes).
Temperature Impact On Duration
Understanding how temperature affects cooking duration is essential for achieving consistently good results in the kitchen. You'll need to calculate the percentage difference between your starting and target temperatures to adjust cooking times accurately. For example, if you're increasing from 400°F to 450°F, you'll reduce your cooking time proportionally.
Your oven type greatly impacts cooking duration. If you're using a convection oven, reduce the temperature by 25°F and check your food about 10 minutes earlier than usual.
Remember that shelf position matters too – items on top shelves cook faster than those below.
Keep in mind that savory dishes are more forgiving with temperature adjustments than baked goods. While higher temperatures cook food faster, you'll need to monitor carefully to prevent burning.
Always add a safety margin by checking your food before the calculated time.
Peak Heat Timing Tips
When timing your oven's peak heat cycles, precision makes all the difference in achieving consistent results. To optimize your cooking times, you'll need to understand your oven's temperature variations and adapt accordingly.
| Timing Factor | Action Required |
|---|---|
| Door Opening | Minimize checks to prevent 30°F drops |
| Hot Spots | Rotate trays halfway through baking |
| Shelf Position | Adjust based on food type and desired results |
Set external timers to avoid frequent door openings, and remember that your oven's actual temperature might vary by 25-50°F from the display. When cooking multiple items, use different rack positions strategically, but don't forget that top shelves cook faster than bottom ones. For more accurate results, space your food evenly and consider using convection settings for meats and casseroles, while avoiding them for delicate baked goods.
Quick Adjustment Reference Guide
Mastering peak heat timing sets the foundation for making quick temperature adjustments during cooking. When you need to modify temperatures, calculate the percentage difference between original and new settings to maintain food quality.
For example, if you're adjusting from 400°F to 450°F, multiply your cooking time by 0.89 to get the new duration.
- Monitor your food's progress by checking it 10 minutes earlier than the calculated time
- Reduce temperature by 25°F when converting from traditional to convection oven recipes
- Use an oven thermometer to verify your temperature settings are accurate
- Account for shelf position and heat distribution when adjusting cooking times
Don't forget to factor in safety margins and the impact of opening the oven door, as these can greatly affect your cooking results.
Seasonal Temperature Variations
The natural rhythm of seasons greatly impacts your baking results through changes in temperature and humidity. During summer months, you'll need to adjust your recipes as higher humidity causes dough to become wetter and yeast to rise more quickly. To maintain consistency, reduce water content by about 10% when humidity levels soar.
Your oven's performance also fluctuates with seasonal changes. You'll find that temperature variations can reach up to 90 degrees from your set point, making calibration essential.
Use an oven thermometer to track minimum and maximum temperatures throughout different seasons. Once you've identified these variations, you can adjust your oven settings accordingly.
Remember to check for hot spots and rely on visual cues and internal temperature readings to guarantee proper doneness, regardless of the season.
Maintaining Consistent Heat Levels
Maintaining precise heat levels requires a systematic approach to oven calibration and monitoring. You'll want to check your oven's temperature accuracy regularly using an oven thermometer and make adjustments as needed.
Don't forget to inspect the door seal and heating elements, as these components directly impact heat consistency.
For ideal heat maintenance, follow these essential practices:
- Position your racks correctly, typically in the middle, to guarantee even heat distribution
- Keep the oven door closed during cooking to prevent unnecessary heat loss
- Use appropriate settings (bake, broil, or convection) based on your cooking needs
- Monitor temperature zones and adjust top and bottom heat distribution accordingly
Remember to clean your oven regularly, as built-up residue can affect heat distribution and cooking results.
If your oven has a convection feature, use it for more uniform heating.
Performance During Peak Hours
During peak operating hours, you'll need to monitor your oven's ability to maintain stable temperatures while handling multiple cooking tasks.
You can track temperature fluctuations by using digital thermometers and monitoring systems, especially during high-demand service periods between 10 a.m. and 2 p.m.
Keeping detailed temperature logs during these busy times will help you identify any performance issues and guarantee your oven maintains ideal heat levels under heavy load conditions.
Consistent Heat Under Load
When commercial or home ovens face high-demand periods, maintaining consistent heat becomes particularly challenging.
You'll need to focus on thermal mass and proper load management to keep temperatures stable during peak usage.
Make certain you're maximizing your oven's performance with these essential steps:
- Preheat for at least an hour with a baking stone or steel in the bottom third to build thermal mass
- Keep 2" clearance between pans and walls to maintain proper airflow throughout the cavity
- Monitor door openings carefully and load items quickly to minimize heat loss
- Use convection settings when baking multiple racks to guarantee even heat distribution
Remember to adjust your initial temperature slightly higher than needed, as frequent loading and unloading will cause some heat loss.
Your oven's recovery time will improve with proper thermal mass management.
Tracking Temperature During Service
Modern temperature tracking systems have revolutionized how commercial kitchens monitor their ovens during peak service hours.
You'll get real-time updates on your oven's performance through wireless sensors that track cooking temperatures, times, and internal food temperatures.
When your oven deviates from preset conditions, you'll receive instant alerts via text, email, or your mobile app, letting you make quick adjustments without interrupting service.
The system's thorough data logging helps you analyze patterns and optimize your cooking processes during busy periods.
You can track component health, predict maintenance needs, and monitor energy usage to guarantee your oven runs efficiently when you need it most.
This data-driven approach helps you identify bottlenecks, troubleshoot issues, and maintain consistent quality even during your busiest hours.
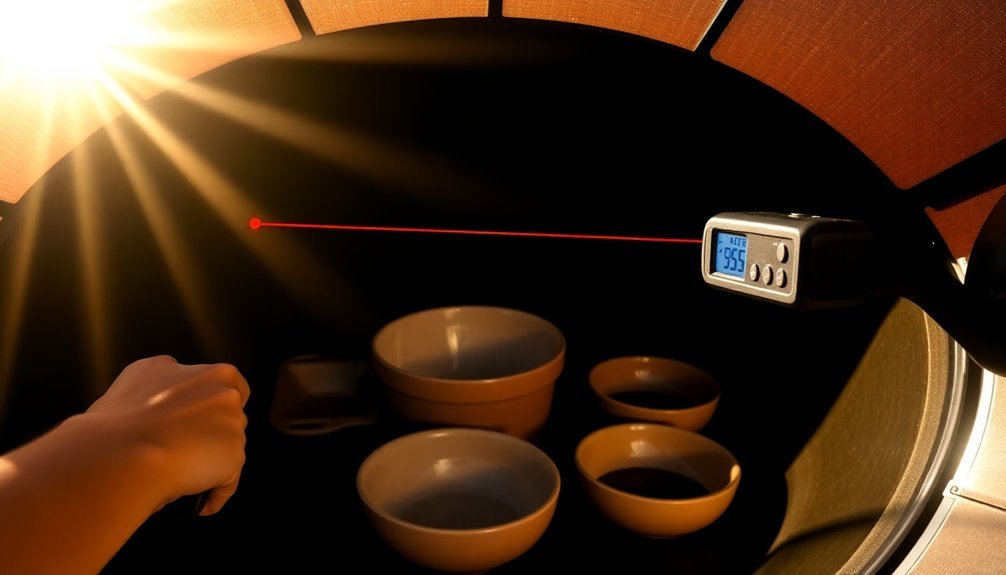
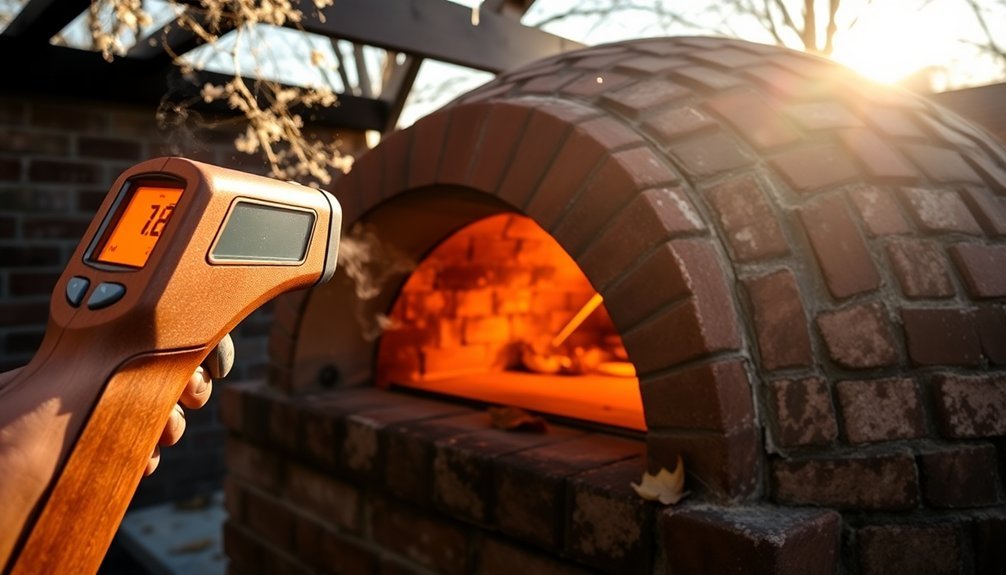
Temperature Zones Inside Solar Ovens
Inside a solar oven, temperature zones develop based on several key factors, including the design geometry and positioning of reflective surfaces.
You'll find that these zones can reach temperatures up to 350°F in high-end models, while more basic designs typically max out around 250°F.
To understand your oven's temperature distribution, consider these critical elements:
- The angle of sunlight hitting your reflective surfaces affects radiation absorption and heat distribution.
- Multiple reflectors help create more uniform heating throughout the cooking chamber.
- The quality and thickness of insulation materials determine how well heat is retained in different zones.
- Your oven's position relative to the sun impacts the effectiveness of heat distribution across cooking areas.
Monitor these zones using an oven thermometer or infrared sensor to achieve ideal cooking results.
Digital Monitoring Solutions
Digital monitoring solutions revolutionize solar oven management through advanced data logging systems and smart sensor arrays.
You'll benefit from real-time monitoring that tracks temperature, humidity, air velocity, and heat flux with remarkable 0.1-degree precision.
Your data logger will integrate seamlessly with various smart sensors, allowing you to measure conditions at both product level and fixed positions across the conveyor.
You can store multiple profiles in non-volatile memory while receiving instant alerts for any parameter fluctuations.
Whether you're using solid or mesh conveyors, specialized Air/Conveyor and Air/Air sensors guarantee accurate readings.
Don't worry about sensor damage – thermal protection systems safeguard your equipment up to 130°C.
For even greater safety, you can position the logger outside while extending probes into the oven, maintaining precise measurements without risking your monitoring equipment.
Frequently Asked Questions
How Often Should Professional Ovens Be Recalibrated for Optimal Temperature Accuracy?
You'll need to recalibrate your professional oven annually, but adjust this schedule based on usage and manufacturer recommendations. If you're using it for high-precision tasks, consider calibrating every 6 months instead.
Can Wifi-Enabled Temperature Monitors Work Effectively in Metal-Walled Commercial Kitchens?
Yes, you can get effective wifi monitoring in metal kitchens by using signal boosters, strategic sensor placement, and LoRa protocols. You'll need to regularly check signal strength and possibly install repeaters for ideal performance.
What Causes Sudden Temperature Spikes Even With Proper Monitoring Equipment?
You'll notice sudden temperature spikes when your thermostat fails, heating elements malfunction, vents get blocked, or cooling fans stop working. Your oven's worn-out parts and poor calibration can also trigger unexpected heat surges.
How Do Different Baking Pan Materials Affect Temperature Sensor Readings?
You'll notice different pan materials can skew sensor readings. Metal pans conduct heat quickly, showing higher temps, while silicone and ceramic pans insulate, displaying lower readings than your food's actual temperature.
Why Do Identical Ovens Show Different Temperature Readings With Same Settings?
Your identical ovens can show different readings due to variations in calibration, component wear, installation voltage differences, and local environmental factors. Even factory-made ovens develop unique heating patterns over time.
In Summary
You'll find monitoring your solar oven's heat distribution becomes second nature with practice. Keep your temperature sensors properly placed, record data consistently, and stay aware of weather patterns affecting performance. Whether you're using digital tools or traditional thermometers, understanding your oven's temperature zones and peak hours will help you achieve reliable cooking results. Make adjustments based on your readings to maintain ideal heat levels.


Leave a Reply