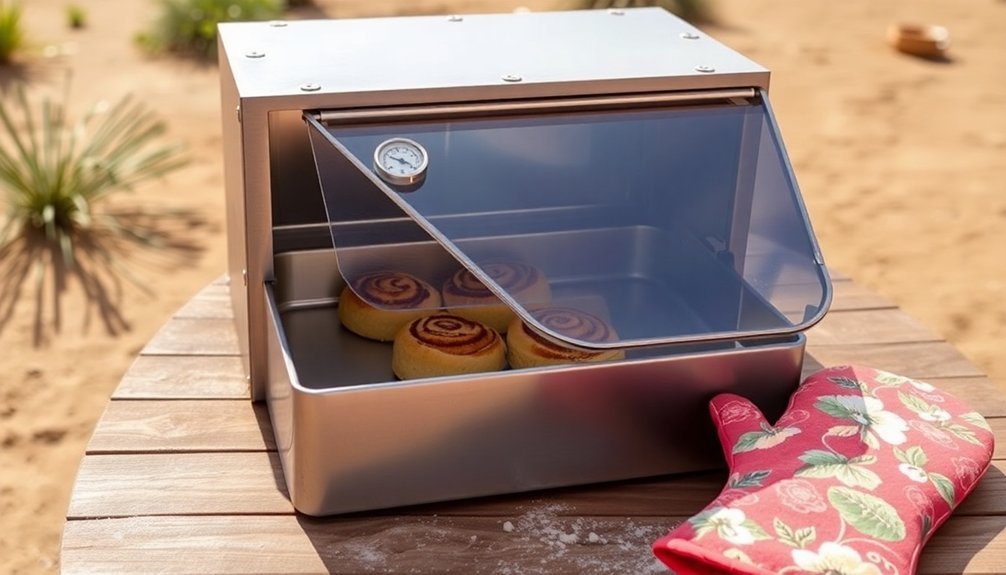
You can easily convert your grandmother's treasured pastry recipes into sun-powered delights using a simple solar oven setup. Start with a cardboard pizza box lined with aluminum foil and clear plastic wrap to create a natural greenhouse effect. Adapt traditional recipes by using organic flour and moisture-retaining ingredients, then position your solar oven to face direct sunlight between 10:00 am and 2:00 pm for ideal results. You'll need to extend baking times to about 60 minutes and rotate the oven every 30-45 minutes for even heating. With proper temperature monitoring and seasonal adjustments, you'll discover a whole new world of sustainable baking possibilities.
Solar Baking Equipment Essentials
A well-equipped solar baker starts with everyday household items that transform into an eco-friendly cooking station.
You'll need a large cardboard pizza box as your main container, aluminum foil to reflect sunlight, and clear plastic wrap to create a greenhouse effect. Black construction paper will serve as your heat absorber, while newspapers provide essential insulation.
To maximize your solar oven's efficiency, you'll want to prepare these materials properly. Clean your pizza box thoroughly, and make sure you've got tape or glue to secure the components. The oven works best when positioned in direct sunlight between 11 am and 3 pm.
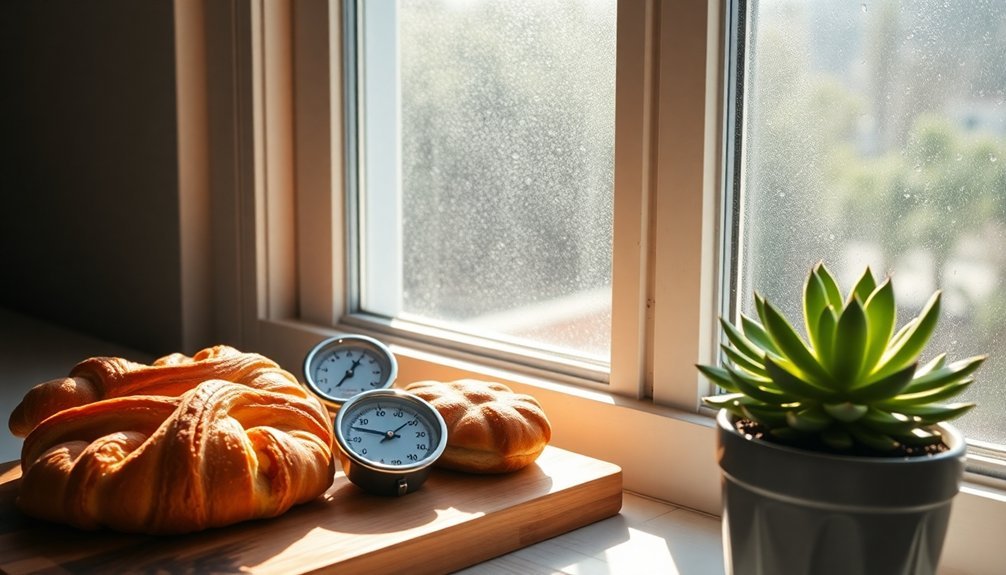
You'll also need a utility knife to cut the three-sided flap in the box lid. Don't forget a glass dish or heavy-duty plastic zip lock bag for your food, and a thermometer to monitor the internal temperature.
Adapting Traditional Pastry Recipes
Now that you've assembled your solar baking equipment, transforming your favorite pastry recipes into solar-friendly versions requires thoughtful adaptation. You'll need to modify ingredients, preparation methods, and cooking times to achieve the perfect solar-baked treats.
| Traditional Method | Solar Adaptation |
|---|---|
| Regular flour | Organic flour + moisture-retaining ingredients |
| 350°F oven | Preheat solar oven facing sun |
| 30-min bake time | 60-min bake with hourly reorientation |
| Single rotation | Multiple rotations for even heating |
| Standard cooling | Gradual cooling in solar oven |
To maintain your pastry's quality, seal the crust with egg white and chill it before baking. Pre-cook wet ingredients to reduce moisture content, and guarantee uniform thickness when rolling out dough. You'll find that solar baking's gentle heat actually helps preserve nutrients while creating deliciously flaky results. The slow cooking process produces exceptional texture in breads and pastries that rivals traditional baking methods.
Temperature Control Tips
Maintaining consistent temperatures in your solar oven requires careful attention to several key factors.
You'll need to position your oven directly facing the sun and adjust it every 30-45 minutes to maintain ideal heat collection. Using dark-colored, lidded cookware and proper insulation will help you achieve and maintain temperatures between 150-225°F. Consider adding coconut fiber pastry to absorb excess moisture during the baking process.
- Keep the oven at least 10 degrees tilted to prevent condensation buildup
- Minimize opening the oven door to avoid heat loss
- Place the baking tray with minimal contact against glass surfaces
- Use reflective materials like aluminum foil to enhance heat retention
- Monitor temperatures consistently with a reliable thermometer
Remember to preheat your solar oven for at least 20 minutes before baking, and choose a sheltered spot away from wind interference for the best results.
Timing Your Solar Bakes
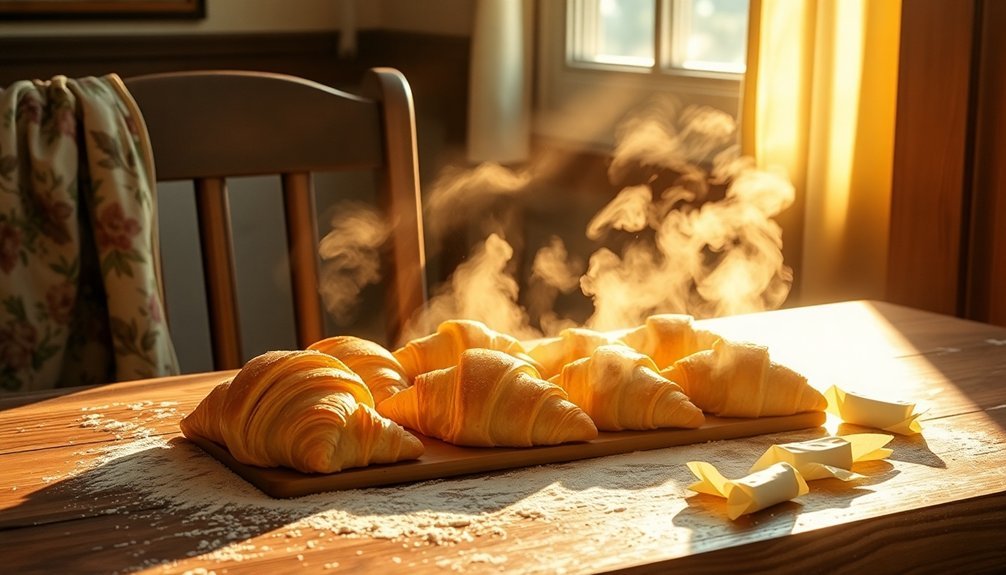
Successful solar baking depends heavily on understanding and working with the sun's daily patterns. You'll get the best results between 10:00 am and 3:00 pm, with peak efficiency from 10:00 am to 2:00 pm.
To maintain ideal cooking temperatures, you'll need to rotate your solar oven every 30-45 minutes, ensuring sunlight hits the glass at a 90-degree angle. Keep your glass and reflective surfaces clean and clear to achieve maximum heat efficiency. Use the shadow method to position your oven where the sun will strike next.
During peak hours with temperatures around 350°F, your baking times can match conventional oven recipes. However, plan for longer cooking times during off-peak hours.
For efficient batch baking, start early and sequence your pastries throughout the day. You can bake multiple items consecutively, maximizing the sun's power from morning through afternoon.
Weather and Seasonal Considerations
Just as you track the sun's daily patterns, understanding seasonal weather variations will shape your solar baking success.
You'll find summer offers the most flexibility, while winter demands careful planning and frequent adjustments.
Spring's moderate temperatures create ideal conditions for most pastries, but fall requires extra patience as cooking times lengthen.
For successful solar baking year-round, keep these weather factors in mind:
- Choose days with humidity below 60% for crisp, golden crusts
- Set up in wind-protected spots to maintain steady temperatures
- Plan your bakes between 11 am and 3 pm when UV levels peak
- Position your oven facing south, especially important during winter months
- Use insulation and thermal mass like bricks to retain heat on cooler days
Moisture Management Techniques
When baking with solar power, proper moisture control becomes your secret weapon for achieving consistently delicious pastries. You'll need to carefully manage humidity levels throughout the entire process, from dough preparation to final baking.
Start by gradually incorporating your liquid ingredients to maintain ideal dough hydration. If you're working with pastries that need flaky layers, keep your ingredients cold to prevent butter from blending too much with the flour.
During the fermentation process, you'll want to monitor humidity closely since it directly affects yeast activity. Too much moisture can lead to over-fermentation, while too little will result in dense, dry products.
For crust development, you can create steam by placing a shallow dish of water in your solar oven, helping prevent premature crust formation and ensuring proper expansion.
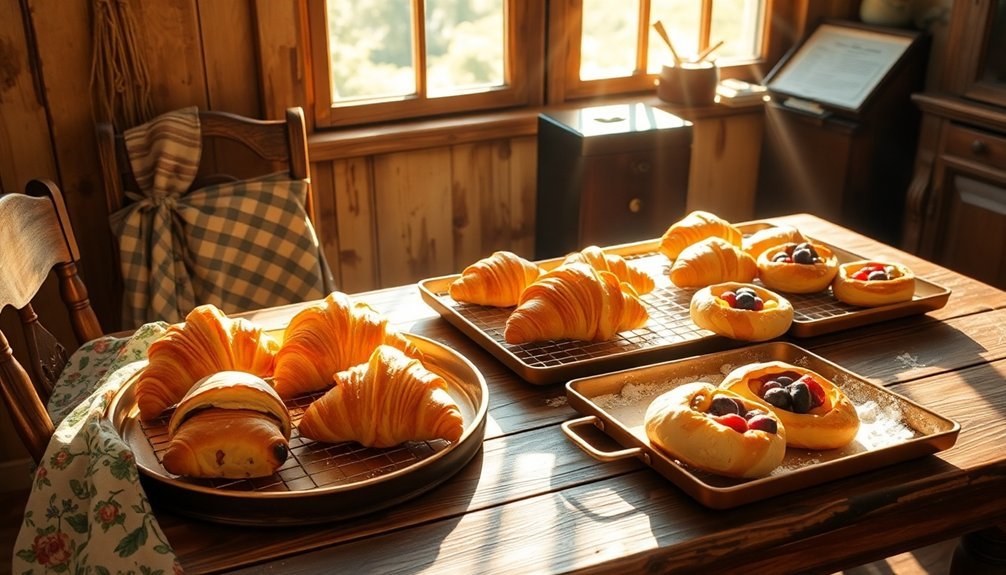
Classic Pastries Perfect for Sunbaking
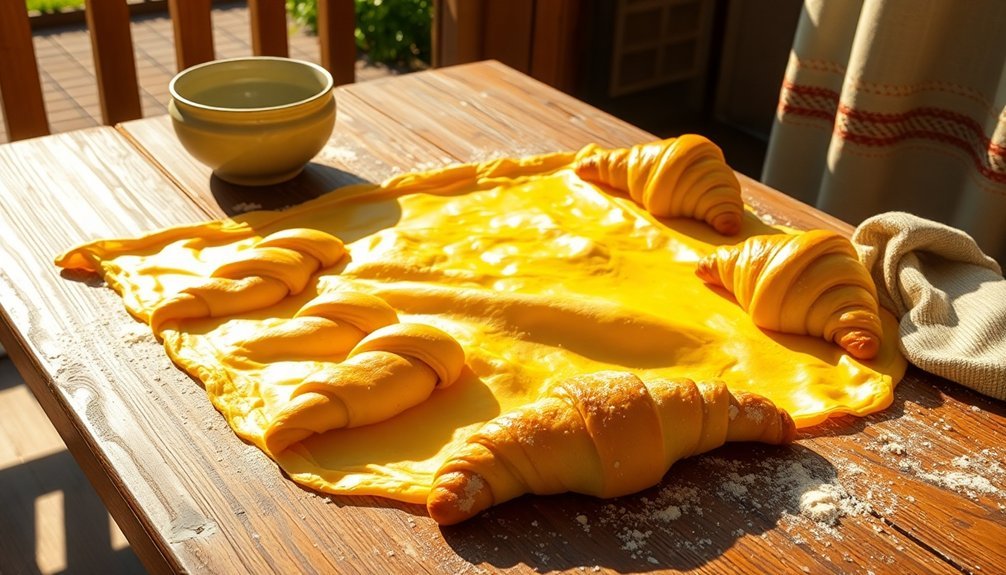
Now that you've mastered moisture control, let's explore the pastries that shine brightest in solar baking. The sun-shaped tart, with its radiant design, performs exceptionally well when baked using solar power. You'll find that puff pastry serves as an ideal base, allowing you to create stunning rays that twist outward from a centered indentation.
- Danish pastries adapt beautifully to sun-themed presentations
- Rugelach can transform into golden solar spirals
- Pesto-filled sun tarts bring Mediterranean flair to your solar baking
- Ham and cheese combinations melt perfectly under natural heat
- Sweet versions with jam and nuts create delightful morning treats
Remember to cut your circles using a dinner plate as a guide, divide them into even quadrants, and twist each ray twice for that perfect solar appearance.
An egg wash guarantees your pastries achieve that coveted golden glow.
Frequently Asked Questions
Can Solar-Baked Pastries Be Stored as Long as Conventionally Baked Ones?
Yes, you can store solar-baked pastries just as long as conventional ones when you use proper storage methods. Keep them in airtight containers at room temperature, refrigerate, or freeze them to maintain freshness.
Will Solar Baking Affect the Nutritional Value of My Grandmother's Pastries?
You'll actually preserve more nutrients in your pastries through solar baking since it uses lower temperatures. Your grandmother's recipes will retain more vitamins, minerals, and antioxidants compared to conventional high-heat baking methods.
How Do Different Altitudes Impact Solar Baking Temperatures and Times?
At higher altitudes, you'll get more intense solar radiation for faster baking, but you'll face greater heat loss. You'll need to adjust cooking times and insulation to compensate for thinner air and temperature differences.
Can I Use Metal Baking Pans, or Should I Stick to Glass?
You'll want to use glass pans for solar baking since they retain heat better and warm up gradually. While metal pans work great in conventional ovens, they cool too quickly for effective solar cooking.
What Happens if Clouds Appear Halfway Through Baking My Pastries?
If clouds appear mid-bake, you'll notice slower rising and uneven baking as humidity increases. You'll need to extend your bake time by 3-5 minutes and watch carefully for proper doneness.
In Summary
You're now ready to transform grandma's beloved pastry recipes into sun-powered delights. With your solar oven properly equipped and temperatures mastered, you've opened up a sustainable way to bake. Remember to adjust timing based on weather, manage moisture levels, and start with simple pastries. You'll honor traditional baking while embracing eco-friendly methods that would make grandma proud of your innovative spirit.


Leave a Reply