Transform your favorite meat dishes into eco-friendly feasts with solar cooking. You'll need a box-style solar oven, dark-colored pots with tight lids, and an oven thermometer to get started. Cut your meat into uniform pieces and marinate it with flavors like pineapple juice, soy sauce, and brown sugar for enhanced taste. Position your solar oven to face the sun between 11 am and 3 pm, maintaining temperatures between 200-300°F for prime results. Monitor internal temperatures every 30-45 minutes and adjust the oven's position as needed. Master these basics, and you'll reveal a world of sustainable cooking possibilities.
Why Solar Cooking Works
Solar cooking harnesses the sun's energy to create an efficient, eco-friendly way to prepare meals.
You'll find that solar ovens achieve impressive thermal efficiency rates between 34.5% and 40.3%, delivering cooking power of up to 58.2 W. The technology uses reflective materials and insulation to maintain ideal temperatures, while tracking devices maximize sun exposure throughout the day. A well-designed solar cooker can reach temperatures of 200°F to 300°F.
When you cook meat in a solar oven, you're not just saving energy – you're preserving more nutrients.
The gentle, slow-cooking process retains higher protein content compared to conventional methods. While cooking times may be longer, you'll appreciate how the steady heat eliminates harmful pathogens while maintaining food's nutritional value.
Plus, you won't have to worry about smoke or soot that typically comes from traditional cooking methods.
Essential Solar Cooking Equipment
You'll want to start with a basic box-style solar cooker that can reach temperatures between 200-300°F for cooking most meat dishes effectively.
To monitor your cooking progress, it's crucial to have a good oven thermometer and dark-colored pots with tight-fitting lids that maximize heat absorption.
Keep extra aluminum foil panels handy to adjust the amount of reflected sunlight reaching your cooking vessel, allowing you to fine-tune the temperature throughout the cooking process. Placing black construction paper at the bottom of your solar cooker helps absorb and convert sunlight into heat more efficiently.
Basic Oven Selection Guide
When selecting a solar oven for cooking classic meat dishes, several essential factors will determine your success.
You'll want to focus on energy efficiency and heat retention, ensuring your oven has quality insulation and reflective surfaces to maximize solar heat conversion. Models like the Solavore Sport utilize higher-grade polished aluminum reflectors for optimal performance.
Consider your cooking needs when choosing the size. If you're preparing meat dishes for a family of four, opt for a larger capacity oven. For solo cooking or small portions, a compact model will suffice.
Look for portability features if you'll be taking your solar oven on outdoor adventures – lightweight materials and foldable designs make transport easier.
Don't forget to check for helpful features like built-in thermometers to monitor meat temperatures and adjustable mounts for ideal sun exposure.
If you're new to solar cooking, a hybrid model offering both solar and electric options can provide flexibility while you master sun-powered techniques.
Temperature Control Equipment
Three essential tools form the backbone of temperature control in solar cooking: accurate thermometers, heat management equipment, and reflective materials.
You'll need thermometers that can measure between +50°C to +300°C, positioned inside your cooker for precise readings. Type-K thermocouples offer the most reliable temperature monitoring.
To maintain consistent heat, you'll want dark-colored cookware with lids and multiple layers of insulation.
Position reflective panels strategically to direct sunlight onto your cooking surface. For best results, use mirrored surfaces with high specular reflection and apply flat-black coating to your cookware.
Consider incorporating vacuum-sealed glass tubes lined with copper or stainless steel for superior heat retention. These vacuum tube designs can achieve solar energy efficiencies of 90% with advanced materials.
If you're tech-savvy, automated tracking systems with servo motors can help maintain ideal temperatures by adjusting your cooker's position throughout the day.
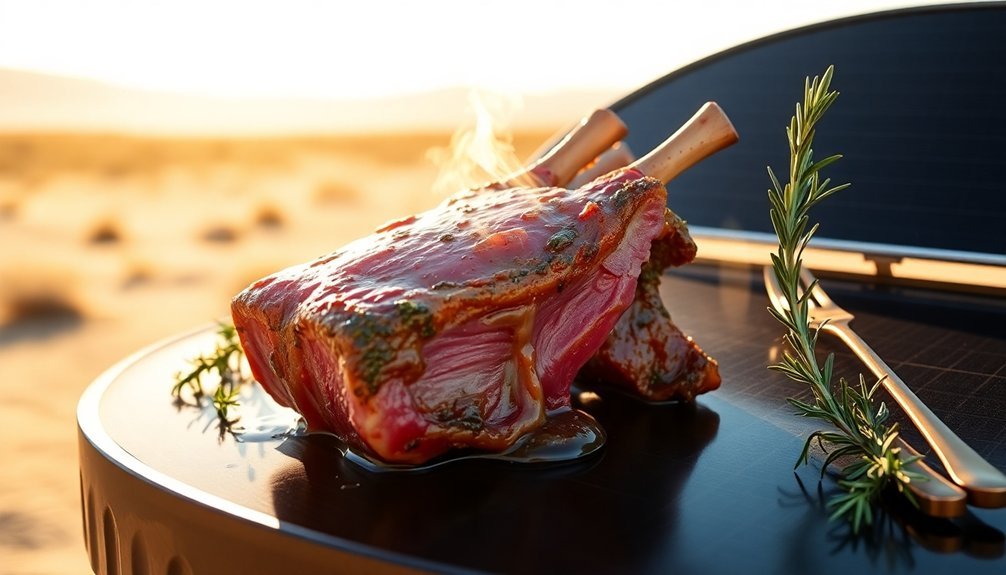
Preparing Meats for Solar Ovens

You'll want to cut your meat into uniform pieces that guarantee consistent cooking throughout when using a solar oven.
Consider marinating your cuts ahead of time to enhance flavor absorption during the slower solar cooking process.
For best results, choose dark-colored, heavy-bottomed pots that retain heat well, with cast iron being an excellent choice for solar cooking applications.
Pre-Cut for Even Cooking
Proper pre-cutting techniques can make or break your success with solar oven cooking. You'll want to focus on creating uniform pieces that'll cook at the same rate throughout your dish.
Using a sharp knife, cut your meat into consistent sizes while removing any excess fat that could lead to uneven cooking or spoilage.
When you're preparing cuts like beef jerky, aim for 3-millimeter thickness across all pieces. For stew meats, maintain uniform chunks that'll cook thoroughly at the same time.
Consider whether to cut with or against the grain based on your desired final texture – cutting against the grain creates more tender results.
Remember to trim away excess fat before cutting, as this won't just guarantee even cooking but will also prevent your meat from becoming rancid during the slow cooking process.
Marinate Before Solar Placement
Before placing meat in your solar oven, marinating is essential for achieving perfect flavor and tenderness. Create a marinade using acidic ingredients like lemon juice or soy sauce, combined with olive oil and your choice of aromatics.
You'll want to verify your meat is properly prepped by rinsing it, patting it dry, and cutting it into uniform pieces for even absorption.
- Mix your marinade thoroughly and submerge your seasoned meat completely, keeping it cool for 1-12 hours depending on thickness.
- Stir occasionally to distribute flavors evenly, and consider adding yogurt or buttermilk for extra tenderness.
- When ready, transfer your marinated meat to a covered cast iron pot or pan, confirming your solar oven is preheated to 300-350°F and positioned southward for maximum sun exposure.
Select Proper Cooking Vessels
Selecting the right cooking vessels stands as an essential step for successful solar cooking. You'll want to choose dark, shallow, thin metal pots with tight-fitting lids to maximize heat absorption and retention. Cast iron pans are particularly effective due to their superior heat-holding properties.
Don't use aluminum foil, as it reflects heat away from your food instead of absorbing it. When preparing raw meat, opt for glass or plastic cutting boards to maintain proper sanitation.
For ideal results, consider using a collapsible steamer basket to elevate your meat above cooking juices.
To enhance your cooking setup, incorporate a transparent heat trap like a clear, heat-resistant plastic bag or large glass bowl. This addition helps maintain consistent temperatures and prevents the 25-50 degree heat loss that occurs each time you open the solar cooker.
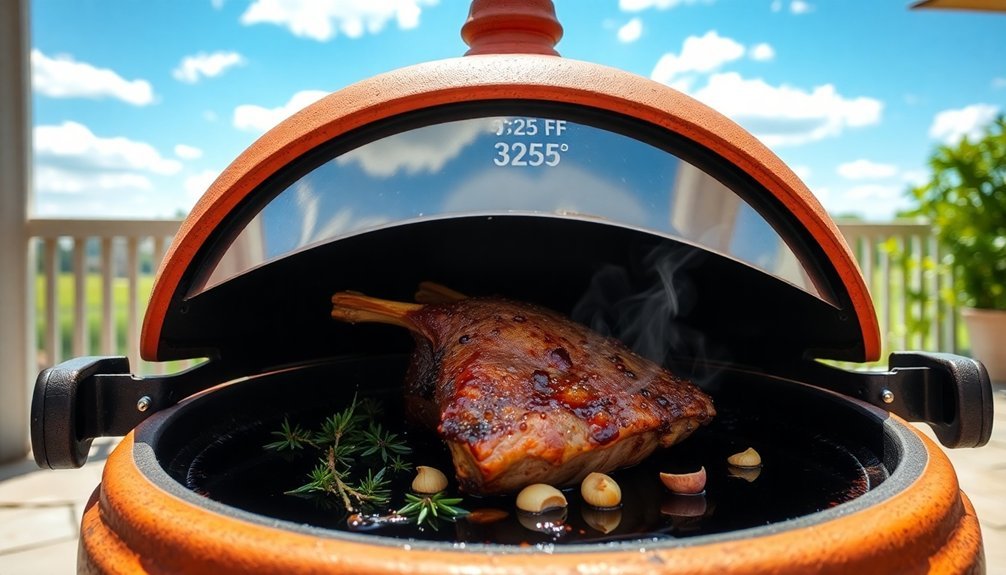
Temperature Control and Timing
Mastering temperature control and timing guarantees your meat dishes achieve the perfect balance of flavor and safety.
You'll need to maintain temperatures above 180°F for food safety while using your Type-K thermocouple for precise readings. Remember that peak cooking hours fall between 11:00 am and 3:00 pm when the sun's intensity is highest.
For ideal results with your solar-cooked meats:
- Preheat your solar oven for one hour before cooking, making certain it's properly positioned to face the sun.
- Monitor internal temperatures every 30-45 minutes, adjusting the oven's position to track the sun's movement.
- Use dark-colored, lidded cookware to maximize heat retention and guarantee even cooking throughout your meat dishes.
Don't forget that weather conditions greatly impact cooking times, so you'll need to adjust accordingly on cloudy days or during winter months.
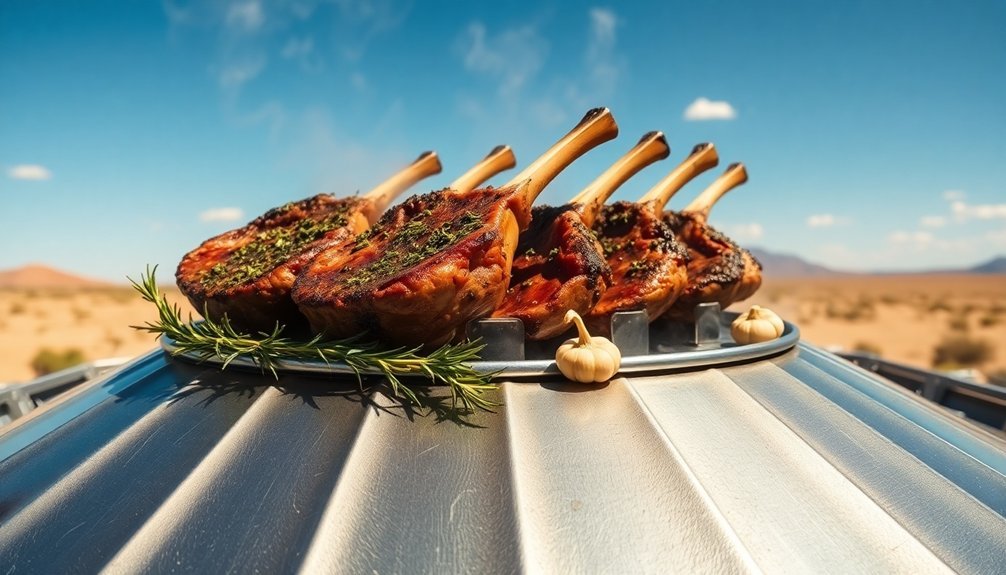
Best Cuts for Solar Cooking

With proper temperature control in place, your next step is choosing the right cuts of meat for solar cooking success.
You'll get the best results with either tender cuts like sirloin roasts and chicken tenderloins for shorter cooking times, or tough cuts like round steak and venison for slow cooking.
When using tender cuts, opt for smaller portions that'll cook evenly and retain their juiciness.
For tough cuts, you'll benefit from the solar oven's slow, consistent heat that breaks down connective tissues, making the meat fall-apart tender.
You can enhance any cut's flavor with marinades combining pineapple juice, soy sauce, and brown sugar, or season liberally with herbs like rosemary and traditional curry spices.
Remember to use cast iron cookware for ideal heat retention.
Converting Traditional Recipes
Once you've grasped the basics of solar cooking, adapting your favorite traditional meat recipes becomes straightforward.
You'll need to adjust cooking times and temperatures while following similar preparation methods to traditional cooking. Start by browning your meat on the stovetop with aromatics, then transfer it to your preheated solar oven for the slow-cooking process.
Key steps for converting recipes:
- Cut meat into smaller, uniform pieces to guarantee even cooking and reduce overall cooking time.
- Preheat your solar oven and use a thermometer to maintain temperatures between 300-350°F.
- Factor in weather conditions and adjust cooking times accordingly – cloudy days will require longer cooking periods.
Remember to use cast iron cookware for ideal heat retention, and don't worry about overcooking – solar ovens are forgiving due to their consistent, low-heat cooking method.
Recipe Success Tips
Successful solar cooking recipes depend heavily on proper setup and monitoring techniques.
You'll need to position your oven directly facing the sun and adjust the reflectors throughout the day to maintain ideal heat levels between 300-350°F.
Choose dark-colored cookware, like cast iron or granite ware, to maximize heat absorption.
If you're using lighter pots, cover them with a dark towel to improve efficiency.
For meats, brown them first to seal in juices, then use a thermometer to verify the internal temperature reaches at least 180°F for safety.
Check your dishes every 20-30 minutes and rotate the oven to follow the sun's path.
Keep track of cooking times and temperatures in different weather conditions – this data will help you perfect future recipes and achieve consistent results.
Frequently Asked Questions
Can Solar-Cooked Meats Be Safely Reheated in a Conventional Oven?
Yes, you can safely reheat solar-cooked meats in a conventional oven. Just guarantee you bring the internal temperature to 165°F, use a food thermometer to check, and don't let it stay in the danger zone.
How Do Different Weather Conditions Affect Meat Texture in Solar Cooking?
You'll find sunny days produce tender, moist meat, while cloudy conditions create slower-cooked, softer textures. Windy days may cause uneven cooking, but well-insulated ovens in cold weather still deliver consistently juicy results.
What Happens if Meat Is Left Cooking Overnight in a Solar Oven?
You shouldn't leave meat cooking overnight in a solar oven. Without sunlight, temperatures drop dangerously, risking bacterial growth. You'll end up with unsafe, potentially undercooked meat that needs alternative cooking methods to finish properly.
Does Altitude Impact Solar Cooking Times for Meat Dishes?
Yes, altitude affects your meat's cooking time. You'll find food cooks faster at higher elevations due to increased UV intensity and more direct sunlight. However, you'll need to adjust for thinner air and temperature changes.
Can Frozen Meat Be Cooked Directly in a Solar Oven?
You shouldn't cook frozen meat directly in a solar oven. It's best to thaw and cut it into smaller pieces first to guarantee even cooking and safe food temperatures throughout the meat.
In Summary
You'll find solar cooking offers a sustainable way to prepare delicious, tender meats while preserving their natural flavors. By following proper temperature monitoring, timing adjustments, and meat preparation techniques, you're able to successfully transform traditional recipes into solar-powered versions. Don't let cloudy days discourage you – with practice and patience, you'll master this eco-friendly cooking method and create memorable meals using nothing but the sun's power.


Leave a Reply