You'll find success blocking sunlight with seven proven methods during your preparations. Start by positioning adjustable umbrellas on stable surfaces with proper base support. Install temporary shade cloth using snap clamps for taut coverage, and set up portable canopies with UV-resistant materials. Strategically plant trees on east and west sides for natural shade, while positioning retractable awnings for flexible protection. Add mobile screen panels with anti-reflective technology, and incorporate reflective shields using multi-layer designs. Each solution offers unique benefits, and mastering these techniques will transform your space into a perfectly shaded environment.
Adjustable Umbrella Placement
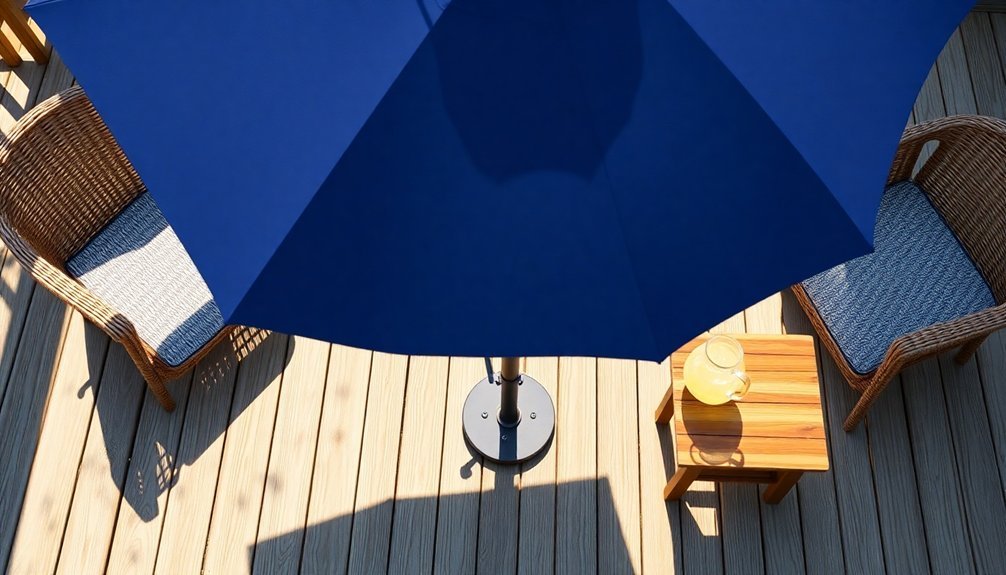
When positioning an adjustable umbrella, you'll need to carefully consider both location and functionality. Choose a flat, stable surface away from trees and power lines to guarantee your umbrella remains secure.
Track the sun's movement throughout the day to determine ideal placement, especially during peak hours. You'll want to secure the umbrella with a sturdy base and make certain there's enough space to adjust it as needed.
Protect your umbrella's longevity by using a durable Sunbrella cover when not in use. If you're using a cantilever umbrella, take advantage of its tilt and pivot features to maximize shade coverage. Don't forget to match the umbrella's angle with the sun's position, tilting it downward during low sun periods.
For extra stability, add weights or square stones to the base, and make sure you've got easy access to adjust the umbrella as the sun moves across the sky.
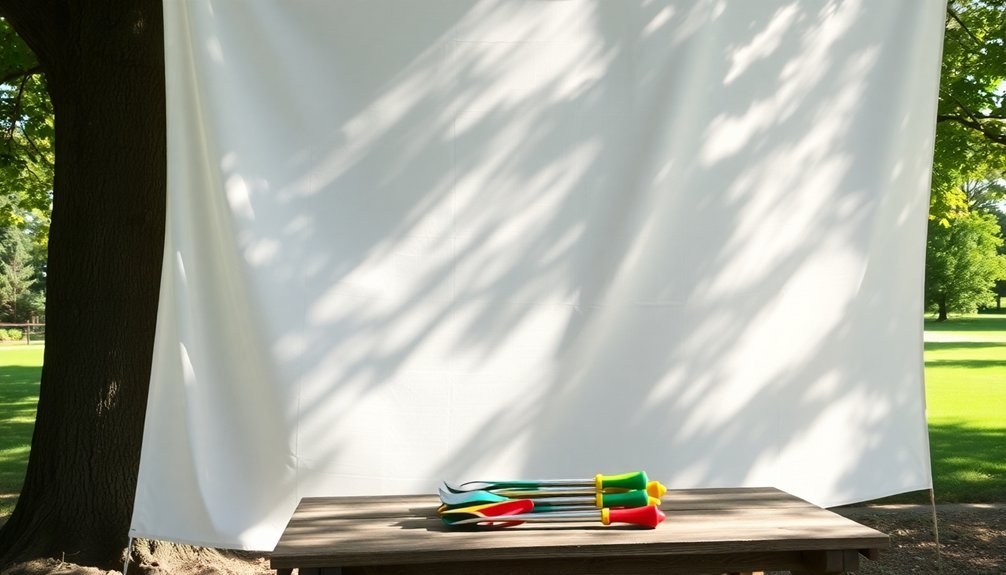
Temporary Shade Cloth Installation
When setting up temporary shade cloth, you'll want to start by measuring your coverage area precisely and adding an extra 10% for secure mounting at the edges.
You can create a quick-release setup using snap clamps or clip-it grommets attached to your support structure at 300-600mm intervals, ensuring the cloth remains taut while allowing for easy removal.
For ideal protection, mount the shade cloth on adjustable support poles or hoops, particularly on the western side where afternoon sun exposure is strongest. Select a high-density polyethylene material for maximum durability and UV protection in your temporary installation.
Secure Mounting Methods Explained
Successfully mounting shade cloth requires proper techniques for both timber and metal structures. Whether you're working with a wooden frame or metal supports, you'll need to guarantee proper tension and secure fastening to prevent sagging. For maximum safety during installation, always wear protective gear when handling materials and mounting equipment.
| Structure Type | Recommended Method |
|---|---|
| Timber Frame | Shadecloth studs every 300-600mm |
| Metal Frame | Butterfly clips every 500mm |
| Wire Support | Double-edge with lacing cord |
| Pole System | Reinforced grommets with ties |
For timber installations, roll out the fabric with a 300mm overhang and secure one edge first while maintaining medium tension. When working with metal frames, cut the cloth to size and use butterfly clips for attachment. You can also thread wire through clip hinges or directly wire the fabric to the framework. Remember to leave enough space between plants and cloth for proper ventilation.
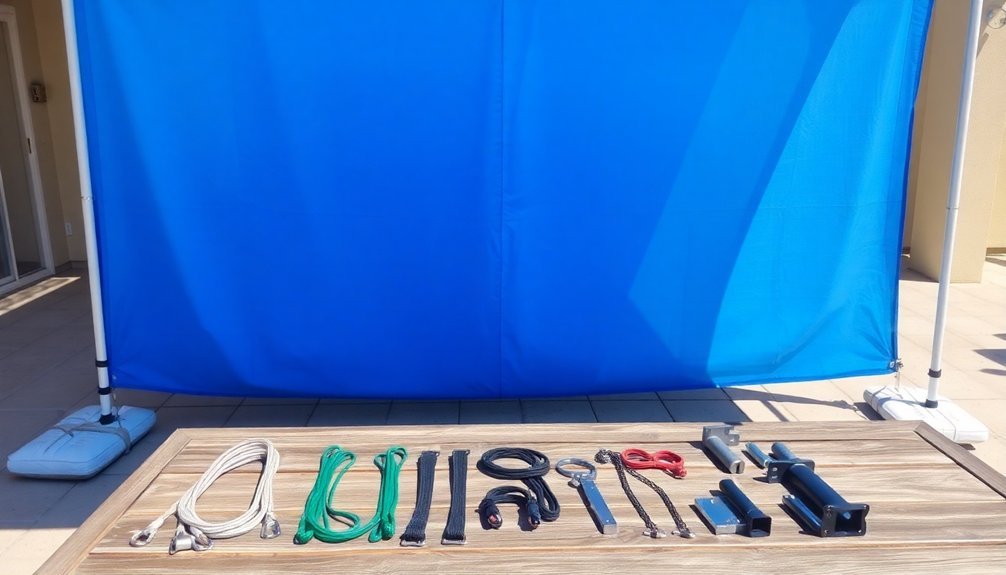
Quick Release Setup Tips
Installing a temporary shade cloth doesn't have to be complicated with the right quick-release hardware and setup techniques.
You'll want to use a 4:1 pulley system that lets you easily tension the sail by hand without additional tools. Mount D-rings to your wall or soffit, and attach eye bolts for secure anchor points. Choosing 10-foot chain link poles provides excellent durability and compatibility with mounting hardware.
For maximum flexibility, use carbon fiber poles with adjustable cam locks to control the height. Set up Rail-EZ units on your railing where you can quickly position and secure the poles.
Make sure to leave at least a foot of rope between the anchor point and sail for proper tensioning. When you're done, simply untie the rope from the cleats and release the quick pins – you'll have your shade sail down in minutes.
Measuring Perfect Coverage Areas
Three key measurements assure perfect coverage when setting up temporary shade cloth: the target area's dimensions, ideal shade density, and support structure requirements.
Start by measuring the length and width of your coverage zone, adding a few extra inches for secure fastening and overlap. You'll want to account for the height of your installation to optimize airflow.
Next, determine the shade percentage your plants need – whether it's 30%, 50%, or 70% density – and select UV protection levels accordingly.
For support measurements, assess whether you'll use existing structures or create a custom frame. Calculate the spacing needed between poles or stakes to guarantee they'll bear the shade cloth's weight and resist weather stress.
Don't forget to measure for reinforcement points where you'll install grommets or double over edges for extra durability.
Portable Canopy Setup
You'll want to set up your portable canopy with a partner to spread the frame quickly and efficiently while following the press-button or pin-lock mechanisms for each leg section.
When selecting your canopy material, look for UV-resistant polyester or vinyl that can withstand prolonged sun exposure and light rain.
Secure all connection points and stake the legs firmly into the ground to guarantee stability against unexpected weather conditions.
Quick Assembly Techniques
Before enjoying the comfort of your portable shade, proper assembly techniques confirm a stable and secure setup. Start by finding level ground away from overhead hazards and choose a spot with natural wind protection.
When you're ready to assemble, extend the frame with a partner holding opposite corners, then connect the leg sections using the locking mechanisms.
Slide the canopy top over the frame, making sure it's centered and properly aligned. Secure each corner with the provided Velcro straps or sleeves.
For stability, anchor the structure using weight bags or stakes depending on your surface, and don't forget to attach any sidewalls if needed.
Test the stability by giving the frame a gentle shake, and make final adjustments to confirm everything's locked in place.
Weather-Resistant Material Selection
Now that you've mastered assembly, selecting the right material for your portable canopy makes all the difference in weather protection.
For basic weather resistance, standard polyester offers natural water resistance and UV protection at an affordable price. If you're expecting heavier rainfall, opt for PVC-coated polyester, which boosts water resistance to 1000-1500mm while remaining lightweight and breathable.
For maximum durability and extreme weather conditions, vinyl laminated polyester is your best choice. It handles heavy use and manages condensation effectively.
Look for materials with high denier ratings (600D) and UPF 50+ protection for superior sun blocking.
Don't forget to check the seam construction – double-stitched, heat-sealed seams prevent water penetration and guarantee your canopy performs at its best in any weather condition.
Strategic Tree Cover Usage
Strategic placement of trees serves as one of the most effective natural methods for blocking sunlight and managing your home's temperature.
You'll want to plant large deciduous trees on your home's east and west sides for maximum shade during hot months while allowing winter sun to warm your house.
Consider your local climate when selecting trees, opting for native or drought-tolerant species that'll thrive in your area.
Keep in mind the mature size of trees and plan accordingly – you don't want them interfering with power lines or your rooftop solar panels.
When planning your tree cover, remember to position them at an ideal distance from your house to prevent root damage while maximizing shade benefits.
Don't forget to incorporate smaller plants like shrubs and groundcover to shade pathways and cool the air before it reaches your walls.
Retractable Awning Positioning
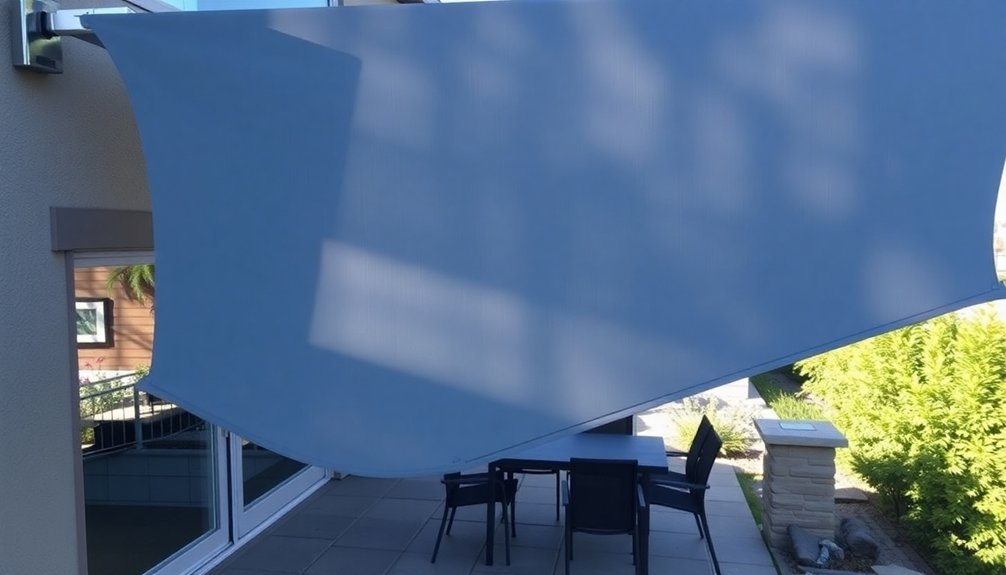
While selecting the perfect spot for your retractable awning requires careful planning, proper positioning will maximize its effectiveness in blocking sunlight and creating comfortable outdoor spaces.
Start by evaluating your property's direction and primary shade needs. South-facing areas typically need more coverage to combat intense sunlight throughout the day.
Before installation, you'll need to verify that your chosen wall can support the awning's weight by locating sturdy studs.
Ascertain you've got at least 3½ inches of clear space above the mounting bracket and check for any obstacles like doors or windows that could interfere with the awning's operation.
If you're opting for a motorized unit, confirm that you have access to a power source.
Remember to factor in proper headroom and slope to guarantee effective rain runoff.
Mobile Screen Panel Arrangement
Beyond fixed awnings, mobile screen panels offer flexible sun-blocking solutions for your outdoor display needs.
When arranging your mobile screens, you'll want to leverage both anti-reflective technologies and strategic positioning to maximize visibility while minimizing glare.
- Position screens with AR-coated surfaces to reduce reflectance by 2-3%, enhancing readability in bright conditions.
- Incorporate transflective LCD panels that utilize ambient light to boost visibility without excessive power consumption.
- Use auto-adjusting brightness sensors to maintain ideal screen clarity as sunlight conditions change.
- Add optical bonding to eliminate air gaps, reducing internal reflections from 8.5% to just 0.5%.
For best results, keep your screen brightness below 80% of its maximum capacity to manage power consumption and heat generation while maintaining clear visibility.
Reflective Shield Configuration
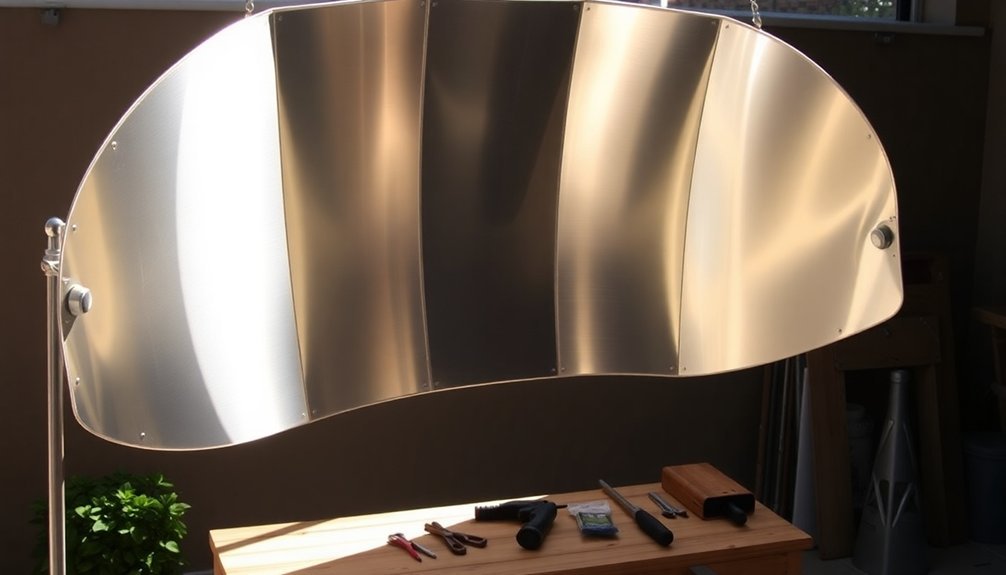
Modern reflective shields employ a sophisticated five-layer design that transforms how you can manage solar heat and protect sensitive equipment.
You'll find each layer serves a unique purpose, with the first layer being twice as thick as the others at 0.05mm to handle direct sunlight. The aluminum coating reflects sunlight while the doped-silicon surface efficiently emits heat away from your setup.
You can maximize protection by ensuring proper spacing between layers, as the gaps provide additional insulation. The kite-like shape offers extensive coverage, while thermal spot bonding creates rip-stops to contain any damage.
For optimal performance, you'll want the outer layers to face the sun while keeping your sensitive components facing the cooler inner layers, reducing temperatures by up to 570°F across the shield.
Frequently Asked Questions
How Does Extreme Wind Affect Different Types of Sunlight Blocking Methods?
Strong winds can tear your shade cloths, destabilize trellises, and damage wind blocker panels. You'll need secure anchoring and durable materials to maintain effective sun blocking during windy conditions.
Can Sunlight Blocking Solutions Impact Nearby Plant Growth Negatively?
Yes, your sunlight blocking solutions can harm nearby plants by reducing their photosynthesis. When you block too much light, plants may become leggy, lose leaves, or struggle to produce food for healthy growth.
What Are the Maintenance Requirements for Various Shade Materials Over Time?
You'll need to regularly clean your shade fabrics, inspect metal components for rust, maintain powder-coated frames, and service automated systems. Don't forget to lubricate moving parts and replace damaged materials promptly.
How Do Different Colored Shade Materials Compare in Heat Reduction Effectiveness?
You'll find light-colored shades outperform dark ones in heat reduction, reflecting more solar energy. While dark materials absorb up to 97% of heat, light-colored materials can reflect up to 92% of solar energy.
Are There Specific Distance Requirements Between Shade Structures and Cooking Areas?
You can't install shade structures directly over cooking areas, and they must maintain proper fire lane clearances. While no specific distance is mandated, you'll need to guarantee emergency vehicle access isn't compromised.
In Summary
You'll find these seven sun-blocking solutions offer flexibility and effectiveness for any outdoor preparation needs. Whether you're using portable options like umbrellas and canopies, or more permanent solutions like retractable awnings and shade cloth, you've got multiple ways to create comfortable working conditions. Mix and match these methods based on your space and needs, and you'll stay cool while getting the job done.


Leave a Reply