You can transform a regular pizza pan into an effective outdoor solar oven with some simple modifications. Start by selecting a carbon steel or cast iron pan for ideal heat retention, then create a reflective base using measured brackets and insulation materials like clay mixed with sand. Add heat-absorbing elements such as flat stones or bricks to the pan's base, and incorporate proper ventilation for consistent cooking temperatures. You'll need to monitor progress with an infrared thermometer and adjust your setup based on weather conditions. By mastering these foundational techniques, you'll reveal the full potential of your DIY outdoor pizza oven.
Why Solar Cooking Works
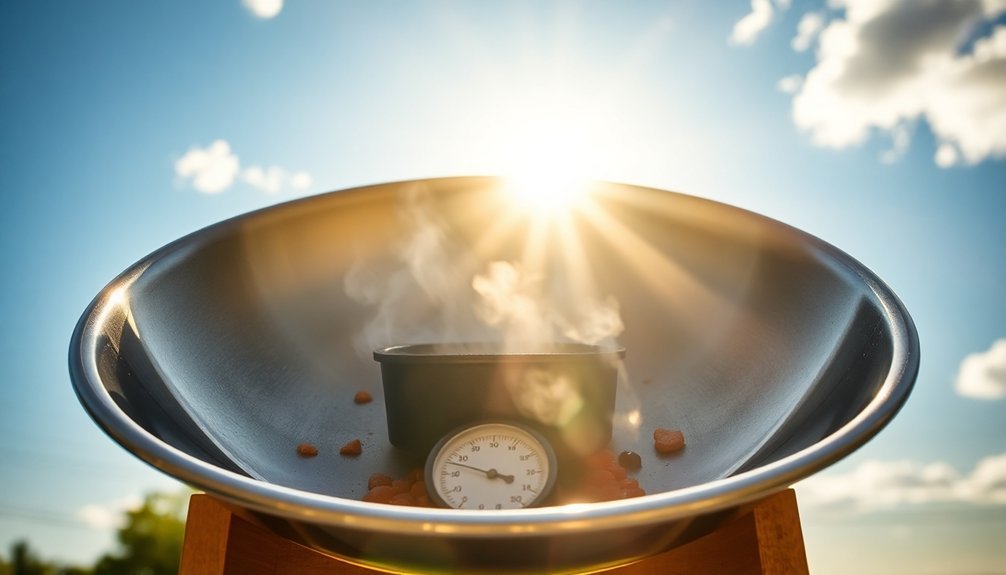
Solar cooking harnesses the sun's free, renewable energy to prepare meals while offering substantial environmental and economic benefits.
When you cook with solar power, you'll reduce greenhouse gas emissions and decrease your reliance on fossil fuels, helping achieve vital environmental goals while improving air quality in your area.
You'll notice significant savings on your utility bills since you won't need to pay for fuel.
The cooking process is remarkably efficient, using slow, even heat that retains 10-20% more protein in your food compared to traditional methods.
You'll also appreciate how safely you can cook without open flames or harmful fumes.
The method works by capturing and concentrating the sun's rays, creating an effective cooking environment that preserves nutrients and enhances flavors in your dishes. The sun's energy can help your solar cooker reach temperatures of 200 to 300 degrees for effective meal preparation.
Required Materials and Tools
Before starting your outdoor pizza oven project, you'll need to gather specific materials and tools across four main categories: structural components, insulation materials, construction tools, and safety accessories.
For the structure, collect bricks, pavers, and cement or wood brackets for the plinth. You'll also need clay mixed with sand and wood shavings for insulation, plus black paper for heat retention. Glass bottles can provide additional insulation if desired.
Essential tools include a pizza peel, hearth brushes with soft bristles, and a hearth mop for ash removal. Don't forget a utility knife and possibly a drill with a plaster mixer for construction work. A stainless steel cutter with a 4-inch blade will be essential for precise pizza slicing.
For safety and cooking, you'll want insulated cowhide gloves, a pizza bubble popper, and an infrared thermometer to monitor temperatures accurately.
Choosing Your Pizza Pan
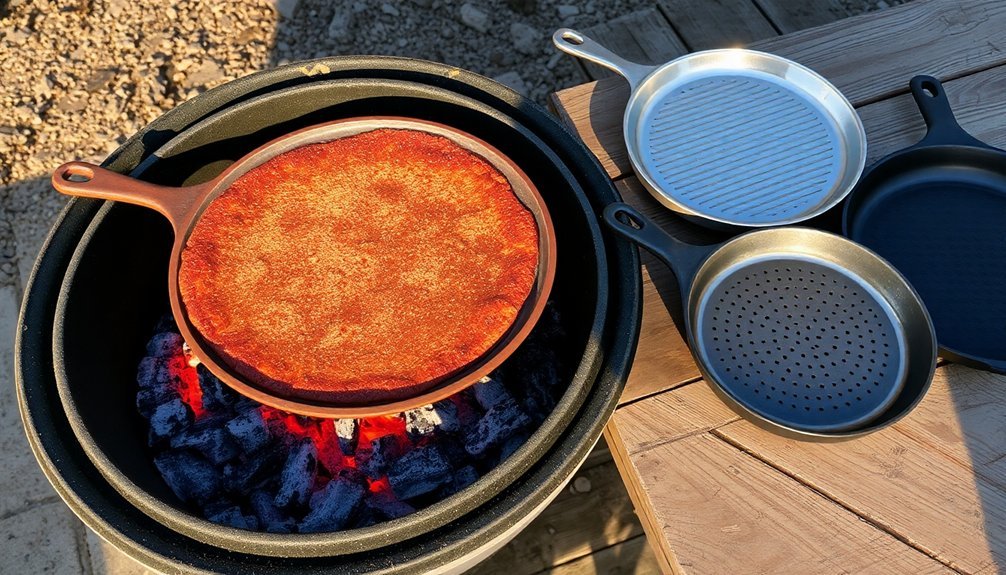
When selecting your pizza pan, you'll need to prioritize materials that can withstand extreme temperatures, with carbon steel and cast iron being your best options for superior heat conduction and durability.
The size and shape of your pan should match your outdoor oven's dimensions, typically accommodating a single 16" pie while ensuring proper clearance for sliding. Look for options like the perforated bottom steel which promotes optimal airflow for perfectly crispy crusts.
Consider whether you prefer a pan with handles for easier maneuvering, though remember that handle-free designs can offer more versatility in tight spaces.
Material Types Matter Most
Selecting the right pizza pan material can make or break your outdoor cooking experience. Carbon steel stands out as your best choice, withstanding temperatures up to 950°F while providing excellent heat conductivity for crispy crusts and evenly cooked toppings.
It's lightweight and versatile enough to handle various dishes beyond pizza. Similar to refractory materials, carbon steel heats up quickly and maintains consistent temperatures throughout cooking.
While cast iron and blue iron are decent alternatives, they come with trade-offs. Cast iron's weight makes it cumbersome to maneuver, and it heats slower than carbon steel.
Blue iron offers excellent heat conduction but may be harder to find.
Whatever you do, avoid non-stick or stainless steel pans – they'll warp, flake, or fail at high temperatures, potentially ruining your food and your cooking session.
Size and Shape Options
Beyond choosing the right material, your pizza pan's size and shape will directly impact your outdoor cooking success.
For personal-sized outdoor pizzas, you'll want a 6-10 inch round pan, while family gatherings call for 14+ inch options. If you're planning to make deep-dish style pizzas, select a pan that's at least 2 inches deep with straight sides.
Consider your cooking space when selecting the shape. Round pans work best for traditional thin-crust pizzas, while rectangular or square pans are ideal for Sicilian or Detroit-style varieties.
Don't forget about storage and portability – you'll need to transport your pan to outdoor cooking locations. If you're tight on space, stick with a smaller pan that's easier to carry and store.
Remember that proper air circulation is vital for outdoor cooking success.
Handles Vs Handle-Free Design
The choice between handled and handle-free pizza pans can significantly impact your outdoor cooking experience.
While handles offer easier maneuvering and reduced burn risks, they'll take up extra space and might affect how your pan fits in outdoor cooking setups.
Handle-free designs, though requiring more skill, provide better space efficiency and often align with traditional pizza-making techniques.
- Handled pans let you rotate and transfer pizzas quickly, which is essential when you're managing high outdoor temperatures and need precise positioning.
- Handle-free pans demand mastery of pizza peel techniques but won't interfere with heat distribution or limit your cooking space.
- If you're new to outdoor pizza making, you'll find handled pans more forgiving, while experienced cooks might prefer the simplicity and authenticity of handle-free options.
Building The Reflector Base
Start with measuring your pizza pan to determine the exact dimensions needed for your reflector walls, ensuring they'll match the pan's circumference perfectly.
You'll need to fold the aluminum sheets at precise angles to create heat-reflecting walls that direct warmth toward your cooking surface.
Install corner support brackets where the folded walls meet to maintain structural integrity and prevent warping during use.
Measuring For Perfect Fit
Accurate measurements of your pizza pan serve as the foundation for building an effective reflector base. You'll need to carefully measure the diameter and depth, guaranteeing you account for any handles or protrusions. These dimensions will determine how your reflector curves around the pan for ideal heat distribution.
- Measure from the pan's edge to where you'll position the reflector – typically 2-3 inches away to prevent hot spots while maintaining efficient heat reflection.
- Record the pan's height and add 1-2 inches extra clearance for the reflector's height to guarantee proper heat circulation.
- Note your pan's material composition, as different materials like metal or ceramic will affect how you'll need to position the reflective surface for maximum heating efficiency.
Consider marking your measurements directly on your building materials for precise construction reference points.
Folding Aluminum Heat Walls
Building your reflector base begins with three essential components: aluminum sheets, sturdy frames, and secure fasteners. Cut the aluminum sheets to match your frame dimensions, guaranteeing you've got enough material to create angled walls that'll efficiently capture sunlight.
Attach the aluminum foil to your frames using heavy-duty tape or adhesive, making sure the reflective surface faces inward. You'll want to create a foldable structure that's both portable and stable.
Install ventilation gaps between panels to prevent overheating and allow proper airflow. Position the frames around your pizza pan, adjusting them to maximize heat reflection while maintaining stability.
Don't forget to secure the base to prevent toppling. Test the folding mechanism several times to guarantee smooth operation and check all connections for durability before your first cooking session.
Securing Corner Support Brackets
With your reflector base frames in place, it's time to reinforce the structure with corner support brackets. Choose weather-resistant brackets that match your base material and can handle the oven's weight.
You'll need to carefully measure and align each bracket to maintain a square, plumb structure while ensuring proper load distribution.
When installing the brackets, follow these essential steps:
- Position brackets at precise angles, customizing them if needed for your specific rafter configuration.
- Use appropriate fasteners based on your materials – bolts for metal, lags for wood.
- Tighten securely but don't over-torque, as this can damage the surrounding materials.
Remember to inspect your brackets periodically for signs of wear and keep them clean to prevent corrosion.
Apply protective coatings to extend their lifespan in outdoor conditions.
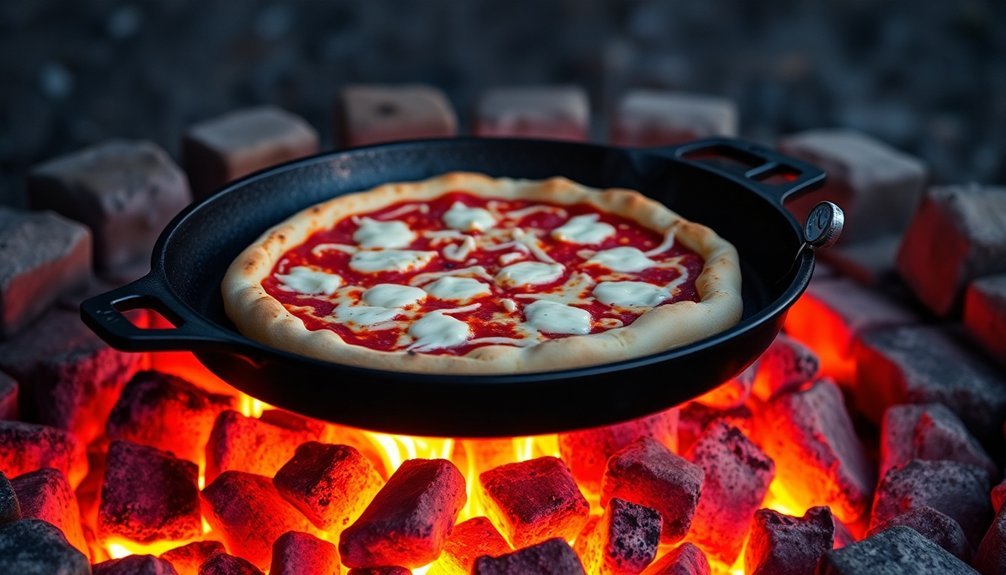
Adding Heat Absorbing Elements
To transform your pizza pan into an effective outdoor oven, you'll need materials with high thermal mass like brick, stone, or concrete. These materials efficiently absorb and store heat energy, then release it steadily for consistent cooking temperatures.
Line your pan's base with flat stones or brick pieces, ensuring they're tightly arranged to maximize heat retention.
You'll want to add DoubleDown Ceramic Superwool® insulation between the outer pan and your heat-absorbing materials for ideal thermal efficiency. This combination will help maintain stable cooking temperatures while preventing heat from escaping through the pan's sides.
For best results, let your assembled oven heat up completely before cooking. This allows the thermal mass to reach equilibrium, preventing heat from wicking away from your cooking surface during use.
Creating The Glass Cover
Choose a high-temperature resistant glass or transparent plastic that's thick enough to withstand outdoor conditions but clear enough to let sunlight pass through effectively.
You'll need to carefully measure and cut your glass material to create a snug fit over your pizza pan, leaving about a half-inch overhang on all sides.
To safely handle your glass cover, attach heat-resistant handles on opposite sides using high-temperature adhesive or mechanical fasteners designed for glass applications.
Choosing Right Glass Material
Selecting the right glass material for your outdoor pizza oven's cover is essential for both safety and functionality. You'll need to choose between tempered glass and heat-resistant glass, with tempered being the more popular choice for its durability and ease of maintenance.
Key considerations when selecting your glass material:
- Temperature resistance – Tempered glass handles high heat better and won't break from thermal shock, making it ideal for pizza ovens.
- Installation requirements – Heat-resistant glass needs more careful installation and specific mortars, while tempered glass is more forgiving.
- Maintenance needs – You'll find tempered glass easier to clean and maintain, requiring only occasional wipes with a damp cloth.
If you're not confident about installation, it's best to hire a professional to guarantee proper fitting and secure mounting of your chosen glass material.
Measuring Perfect Glass Fit
Accurate measurements form the foundation of a perfectly fitted glass cover for your outdoor pizza oven.
Start by measuring your oven's internal width and depth, then calculate the dome height using the 63% ratio rule for ideal heat distribution. You'll need to account for wall thickness and insulation in your final calculations.
Create a precise template using a nail string and pencil method to map out the curved shape of your oven's opening.
Add a small margin around the edges to guarantee your glass cover fits securely but remains easy to remove. Don't forget to test clearances between the glass and oven interior to prevent overheating.
Use an angle grinder and speed square for precise cuts, and check your measurements multiple times before finalizing the glass dimensions.
Attaching Heat-Safe Handles
When crafting your outdoor pizza oven's glass cover, proper heat-safe handles become essential for safe operation and longevity.
You'll need to select heat-resistant materials like hardwood or specialized synthetic compounds that won't deform under high temperatures. Choose handles with ergonomic designs that keep your hands safely away from hot surfaces while providing a secure, non-slip grip.
- Attach your handles using high-temperature adhesives or mechanical fasteners like rivets, ensuring they're positioned for easy access without obstructing your cooking view.
- Test the attachment's durability by subjecting it to various temperature conditions before regular use.
- Add protective barriers or extra insulation around the connection points to prevent heat transfer and enhance safety.
Remember to regularly inspect your handles for signs of wear and maintain them properly for lasting performance.
Temperature Control Methods
Maintaining precise temperature control in your outdoor pizza oven guarantees consistently delicious results. You'll need a laser-guided infrared thermometer to measure surface temperatures accurately across the cooking floor and dome.
Monitor heat zones by performing quick flour tests – if the flour browns in 2-3 seconds, you've reached ideal cooking temperature. You can also use the "Mississippi Method" by counting seconds until your hand feels uncomfortably hot inside the oven.
For floor temperature readings, add 100°F to estimate the air temperature.
Regulate heat by adjusting your oven's vents and door openings. Open them to increase airflow and cool temperatures, or close them to retain heat.
Keep your fire steady using kiln-dried pizza cut firewood, and move it around to create different heat zones as needed.
Best Foods For Solar Cooking
Solar cooking opens up a world of culinary possibilities beyond traditional pizza making.
You'll find that proteins like chicken, fish, and beef cook exceptionally well, especially when prepared with marinades or sauces that enhance flavor during the slower cooking process.
Vegetables and grains are particularly suited to solar cooking, as the gentle heat helps retain nutrients and natural flavors.
- Meat dishes that excel in solar ovens include tandoori chicken marinated in yogurt and spices, baked fish fillets, and beef stew with vegetables.
- Vegetable options range from corn-on-the-cob and baked acorn squash to roasted mixed vegetables.
- For baked goods and desserts, try mango banana bread, shortcake, or a savory zucchini quiche.
The key is choosing foods that benefit from slow, even heating and don't require precise temperature control.
Setting Up Your Cooking Station
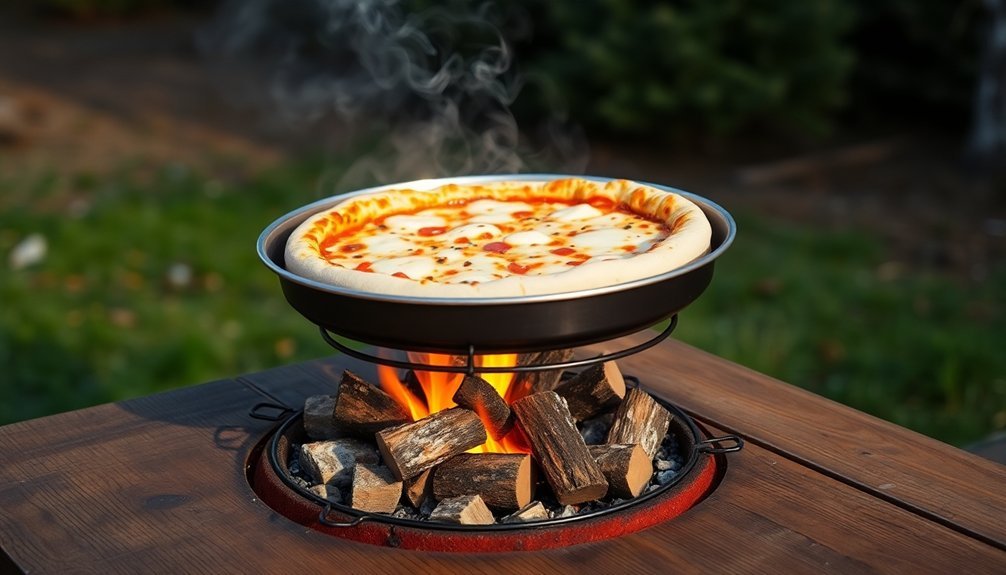
Before diving into pizza preparation, establishing a well-organized cooking station will guarantee a smooth and efficient outdoor cooking experience.
Choose a level, stable surface that's at least three feet away from any obstacles and can withstand high temperatures. You'll need a sturdy prep table slightly larger than your pizza pan, positioned at a comfortable working height.
Set up your prep station with all ingredients and tools within arm's reach. A bar-height table works well for dough stretching and topping application.
Keep your pizza peel nearby for easy transfer of pizzas. Remember to take into account wind direction and sun exposure when positioning your station.
Always maintain clear paths around your cooking area and follow proper safety guidelines when handling hot equipment.
Monitoring Cooking Progress
With your cooking station ready, proper monitoring becomes the key to pizza perfection. You'll need to closely watch your pizza's progress without lifting the lid too often, as heat retention is vital for achieving that perfect crust.
Keep an eye on both the top and bottom of your pizza to guarantee even cooking.
- Check the pizza's progress through any viewing window or small openings, looking for bubbling cheese and browning crust.
- Use your pizza peel to occasionally lift an edge and inspect the bottom for proper browning.
- Monitor heat distribution by rotating the pizza if you notice uneven cooking.
If you're using a thermometer, aim for consistent temperature readings across your cooking surface.
Weather and Timing Considerations
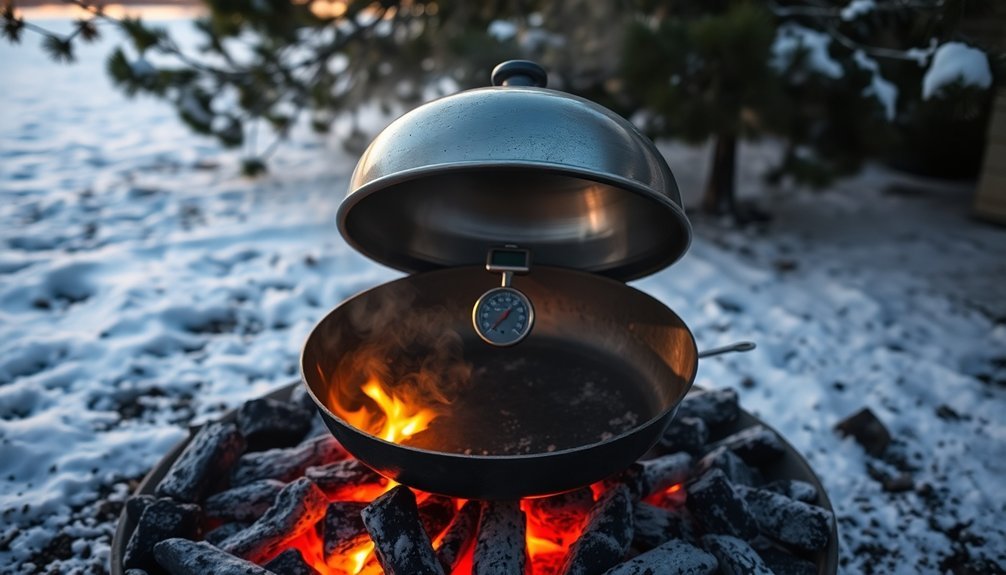
Successful outdoor pizza cooking depends heavily on understanding weather conditions and timing requirements. While your outdoor pizza oven works in most weather conditions, you'll need to make adjustments based on the environment.
In cold weather, you might need extra preheating time, especially if there's snow. Keep your pizza stone dry and stored indoors between uses.
For hot weather cooking, monitor the temperature to stay below 932°F, and protect yourself from the sun.
Your preheating time varies by fuel type: 40 minutes for wood, 25-30 minutes for gas, and 20 minutes for pellets. Always aim for a floor temperature of 700-750°F.
When not in use, protect your oven with a weather-resistant cover or store it in a covered area away from harsh elements.
Cleaning and Maintenance Tips
Keeping your outdoor pizza oven clean and well-maintained guarantees consistent performance and extends its lifespan. Always wait until the oven has completely cooled before cleaning, and don't forget to wear protective gloves for safety.
Remove loose debris with a non-metallic scraper and stiff-bristled brush, then collect ash and remnants using an ash rake.
For effective maintenance, follow these essential steps:
- Clean your pizza stone with a baking soda paste for tough stains, avoiding harsh chemicals and detergents.
- Wipe the exterior with a damp cloth using mild soap solution, paying special attention to stainless steel surfaces.
- Store your oven in a covered location and apply a thin layer of vegetable oil to protect the surfaces.
Remember to inspect the chimney regularly for creosote buildup and seek professional cleaning when needed.
Storage Between Uses
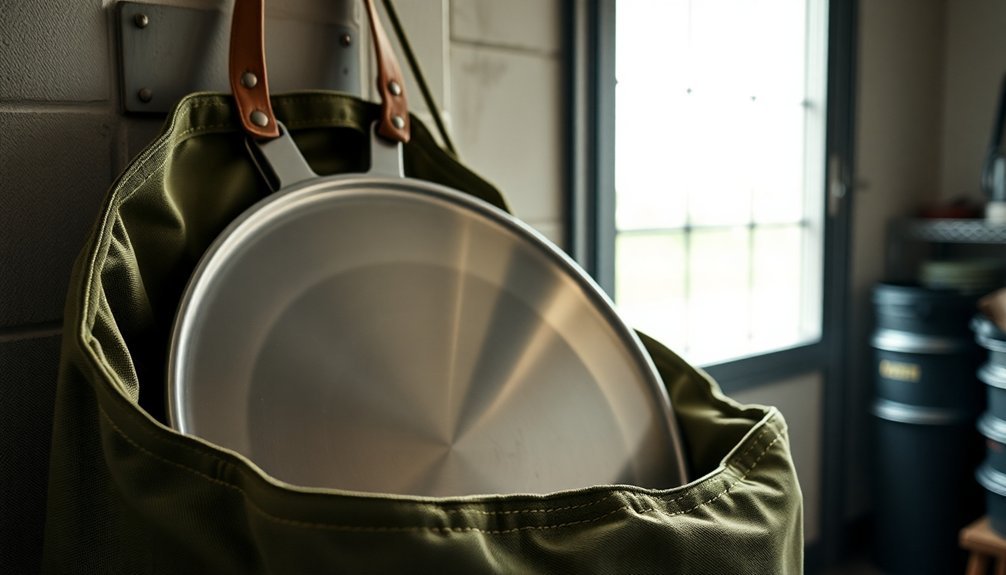
Proper storage between uses plays an essential role in maintaining your outdoor pizza oven's longevity and performance. Keep your oven in a dry, sheltered location like a garage, shed, or basement whenever possible.
If you must store it outdoors, place it under a covered, elevated area. Always use a weatherproof, breathable cover that's specifically designed for your oven model.
During summer, opt for a UV-resistant cover to prevent discoloration, while in winter, guarantee proper insulation against freezing temperatures.
Don't forget about your accessories – store pizza peels and tools in clean, dry containers with lids. Keep fuel sources like propane tanks in well-ventilated areas away from heat and sunlight.
Remember to regularly inspect your oven's components for wear, especially after seasonal changes.
Frequently Asked Questions
Can This Outdoor Oven Be Used During Winter Months?
Yes, you can use your outdoor pizza oven during winter. You'll need to protect it from snow, heat it gradually to avoid thermal shock, and adjust cooking times. Once lit, it'll maintain high temperatures despite cold weather.
What's the Maximum Pizza Size This Converted Pan Can Handle?
You'll be limited by your pan size, but most standard pizza pans handle 12-16 inches comfortably. Consider your work area and heat distribution when choosing a size. Don't go larger than your heat source.
How Long Does the Pizza Pan Oven Typically Last Before Needing Replacement?
With proper maintenance, your pizza pan oven can last 5-10 years. You'll extend its lifespan by cleaning it regularly, protecting it from weather damage, and following proper usage guidelines for heating and cooking.
Will Cooking With This Method Affect the Taste of the Pizza?
You'll notice a distinct smoky flavor in your pizza when cooking with this method. It'll enhance the taste of both your crust and toppings, creating a more complex and authentic wood-fired flavor profile.
Can Multiple Pizzas Be Cooked Simultaneously Using This Method?
You shouldn't cook multiple pizzas simultaneously as it'll reduce heat distribution and cooking efficiency. It's best to cook one pizza at a time to guarantee proper temperature and even cooking throughout.
In Summary
You'll find that transforming a pizza pan into a solar oven offers an eco-friendly way to cook outdoors. With proper maintenance and storage, your DIY solar cooker can last for many seasons. Don't let cloudy days discourage you – just plan ahead and check the weather. Once you've mastered the basics, you'll enjoy experimenting with different recipes while harnessing the sun's free energy.


Leave a Reply