
To crush sun-dried herbs like a pro chef, start by ensuring your herbs are completely dry and brittle to the touch. You'll want to use the right tools: your fingers work well for small amounts, while a spice grinder or mortar and pestle offers consistent results for larger quantities. Don't over-crush – aim for slightly larger pieces to preserve essential oils and flavors. When crushing by hand, use gentle pressure and listen for a satisfying crackle sound. Store your crushed herbs in airtight, dark containers away from heat and light. Master these fundamental techniques, and you'll reveal the full potential of your dried herbs.
Why Sun-Dried Herbs Matter
While fresh herbs offer immediate flavor, sun-dried herbs provide a concentrated burst of taste and nutrition that's hard to match. You'll find these herbs pack more punch in your cooking, especially in dishes that require longer cooking times like stews and braises.
They're particularly effective when you're infusing oils or cooking liquids.
What's even better is that you're getting significant health benefits with every pinch. Sun-dried herbs contain powerful anti-inflammatory properties, boost your immune system, and can help lower cholesterol and blood pressure.
They're especially valuable because they retain their nutritional content longer than fresh herbs, and when sourced organically, they're free from preservatives and harmful chemicals. Vitamin D and minerals are notably higher in sundried herbs compared to their fresh counterparts.
For the best results, you'll want to store them properly in a covered cupboard away from heat, air, and sunlight.
Choosing Your Herbs
When selecting herbs for sun-drying, you'll find that woody varieties like rosemary, thyme, and oregano yield the best results since they retain their flavors well after the drying process.
While common kitchen herbs are reliable choices, you can explore unique options like winter savory or lemon verbena to expand your dried herb collection.
Your selection should align with the growing season, as herbs harvested at their peak during summer and early fall will produce the most flavorful dried results. For optimal outcomes, ensure your herbs receive full sun exposure throughout their growing period.
Best Herbs for Drying
Choosing the right herbs for drying can make or break your preservation efforts. For air drying, you'll want to select sturdy herbs like rosemary, sage, thyme, and summer savory. These can handle being bundled and hung in a cool, dark space for up to two weeks. Most hearty herbs are perfect for air drying methods.
If you're using a dehydrator, opt for delicate herbs with high moisture content such as basil, mint, cilantro, and parsley. Set your temperature between 95°F and 115°F for best results.
For oven drying, these same moisture-rich herbs work well when spread on a parchment-lined baking sheet at the lowest setting.
When you're in a hurry or dealing with high humidity, try microwave drying for small batches of mint, sage, or bay leaves. Just remember to check frequently and dry in short bursts to prevent burning.
Common Vs Rare Varieties
Before diving into sun-dried herbs, you'll need to decide between common varieties that are easy to find and rare varieties that offer unique flavors.
Common options like basil, chives, oregano, thyme, and rosemary are widely available and versatile in cooking. These herbs adapt well to most growing conditions and are perfect for beginners. Growing these herbs in well-drained soil will ensure optimal growth and flavor development.
If you're feeling adventurous, try rare varieties like lemon basil, golden oregano, or Texas tarragon.
These less common herbs bring distinctive tastes to your dishes. Lemon basil adds a citrusy twist to traditional recipes, while Texas tarragon offers excellent heat tolerance and a flavor similar to French tarragon.
Lavender and lemon verbena, though less common in cooking, can elevate your culinary creations with their unique aromas and flavors.
Seasonal Harvest Selection
Successful herb drying starts with properly timed harvests and careful selection of plant varieties.
You'll want to pick your herbs in the morning after the dew has dried but before the intense midday heat. Mid-summer's typically your best starting point for most varieties.
For the most flavorful results, harvest leafy herbs just before they bloom, when their essential oils peak.
Choose sturdy varieties like thyme, oregano, and sage as your starter herbs – they're more forgiving during the drying process.
If you're planning to dry seeds, wait until the pods have changed color but haven't split open.
For root herbs like ginger or burdock, hold off until the plant's fully mature.
Remember to use clean, sharp shears and avoid harvesting on humid days to prevent mold issues.
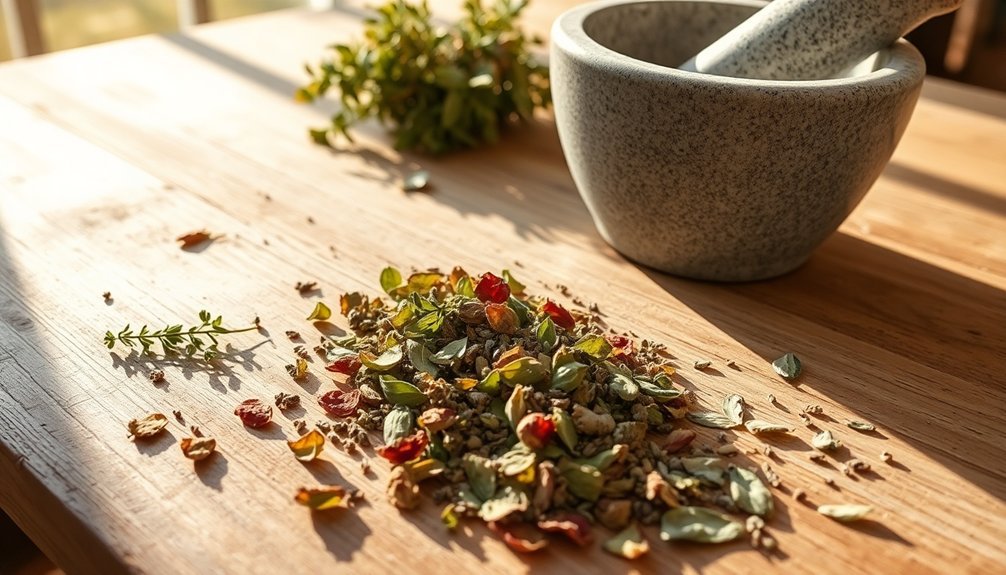
Essential Tools and Equipment
The right tools make the difference between frustration and efficiency when crushing sun-dried herbs.
You'll need to start with proper harvesting equipment like scissors, pruners, and gardening gloves to protect your hands. Keep a gathering basket handy for collecting your herbs.
For the cleaning phase, you'll want a salad spinner and towels to remove moisture effectively.
When it's time to dry your herbs, gather string, drying racks, and breathable paper bags to catch any falling seeds. Don't forget silicone mats or cheesecloth if you're using the oven method.
For the actual crushing process, invest in a quality mortar and pestle or spice grinder. A rolling pin works well for lighter crushing tasks.
Store your finished herbs in airtight containers after sifting them through a fine-mesh strainer.
Proper Drying Time
Since drying time varies considerably among different herbs and methods, understanding the proper duration is essential for preserving flavor and potency.
If you're using the traditional air-drying method, you'll need to wait one to three weeks, depending on your herb's moisture content and thickness. The bundles shouldn't exceed one inch in diameter.
For faster results, you can use a dehydrator, which typically takes 3-4 hours on the lowest setting.
The oven method is even quicker, requiring about 30 minutes with additional 10-minute intervals until herbs crumble easily.
If you're opting for solar drying, expect 2-4 days in ideal conditions with low humidity and good airflow.
Keep in mind that thicker-leaved herbs like sage will take longer to dry than thin-leaved varieties such as oregano.
Testing Herb Dryness
You'll know your sun-dried herbs are ready by checking their visual texture for a dry, crumbly appearance with no signs of moisture or flexibility.
Test the dryness by gently crushing a small portion between your fingers – properly dried herbs will make a distinct rustling sound and break easily.
The herbs should crumble to about 10% of their original moisture content, which is essential for preventing mold growth and preserving their active properties.
Visual Texture Test
Before crushing sun-dried herbs, performing a visual texture test guarantees they've reached the proper level of dryness.
Look for uniformly dried herbs that maintain their natural color while showing appropriate shrinkage from their fresh state. Your herbs shouldn't bend or show any flexibility – they must be brittle.
You'll know your herbs are perfectly dried when they break easily upon touch.
Check for any visible moisture or dew drops, as these indicate incomplete drying. The herbs should crumble effortlessly when you press them between your fingers.
If you notice any parts that aren't consistently dried or see signs of moisture, continue the drying process.
Remember that properly dried herbs will have a uniform appearance throughout, with no soft or flexible sections remaining.
Crumble and Listen
Testing herb dryness involves both tactile and auditory feedback. When you gently crush dried herbs between your fingers, they should easily crumble and produce a distinct crunching sound. This combination of crumbling texture and crisp sound indicates that your herbs have reached the ideal dryness level while retaining their essential oils.
You'll know your herbs are properly dried when the stems snap cleanly instead of bending, and the leaves readily fall from their stems.
If you're using different drying methods, note that dehydrator-dried herbs tend to crumble more consistently than sun-dried ones.
Don't over-crush your herbs during testing – remember that keeping them in larger pieces during storage will better preserve their flavor and aroma. You can always grind them just before use.
Moisture Level Check
Proper moisture level assessment stands as the essential final step before storing your sun-dried herbs.
You'll want to confirm they're completely dry through visual inspection and touch testing. Crumble a few leaves between your fingers – they should break easily and feel crisp, with stems that snap rather than bend.
For thorough verification, place your dried herbs in sealed glass jars and keep them in a warm spot for a week. Check daily for any condensation on the jar's interior or lid. If you spot moisture, you'll need to dry them further.
Keep your drying area's humidity low by avoiding spaces near water sources like sinks or dishwashers. For best results, hang your herbs in paper bags with air holes or use the microwave method to quickly test small samples for moisture content.
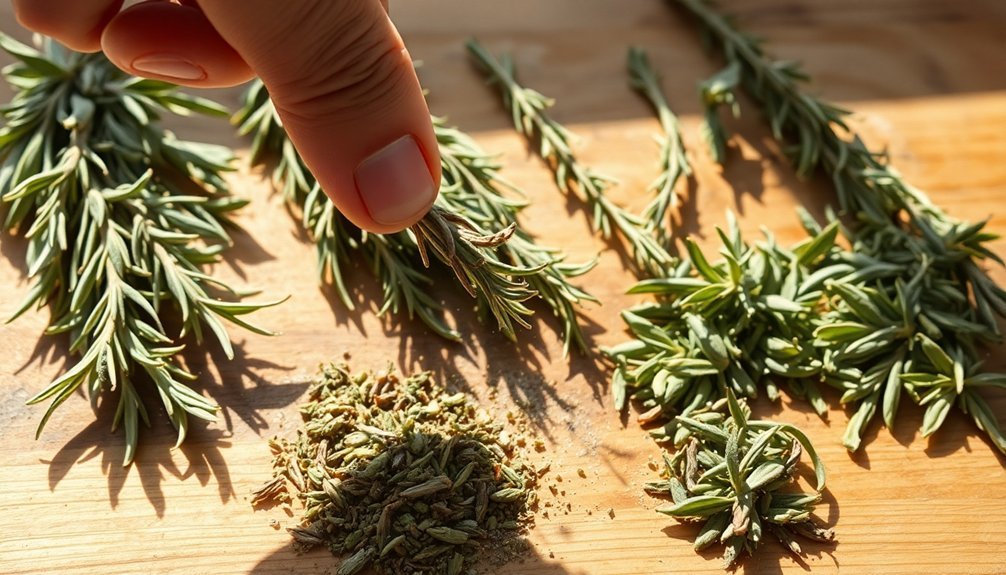
Hand Crushing Methods
Several effective hand crushing methods allow you to process sun-dried herbs while maintaining their essential oils and flavors.
The simplest approach is using your fingers to crumble the dried herbs, which works well for small quantities and helps preserve their fragrance.
For larger batches, you'll find a rolling pin useful. Place your herbs on a cutting board and roll over them with gentle pressure until you achieve your desired consistency.
If you're looking for more specialized tools, a manual spice grinder or herb crusher can provide consistent results. You can also use a meat tenderizer by carefully pressing down on the herbs.
Remember to sift your crushed herbs afterward to remove any remaining stems or large pieces, ensuring uniform texture for your culinary creations.
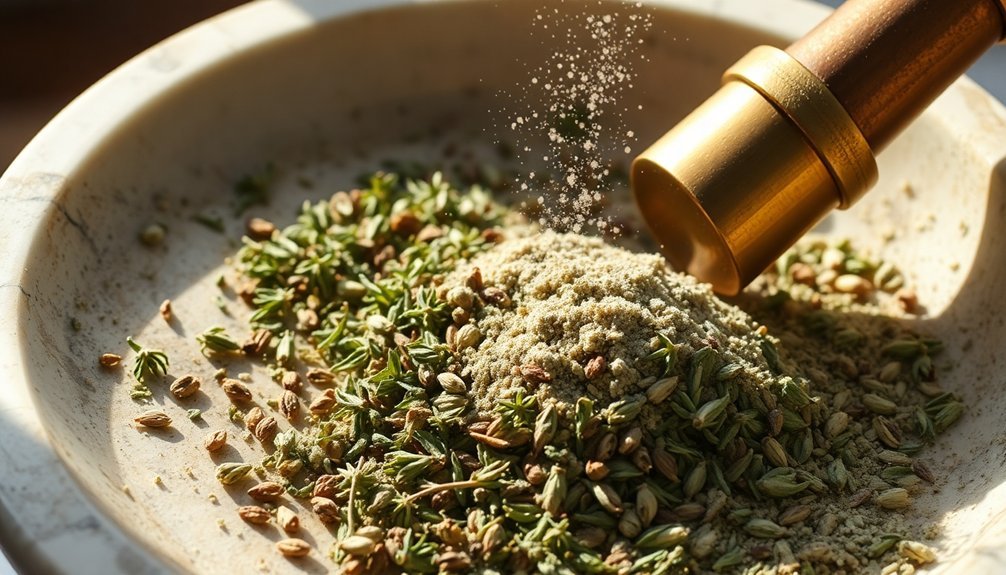
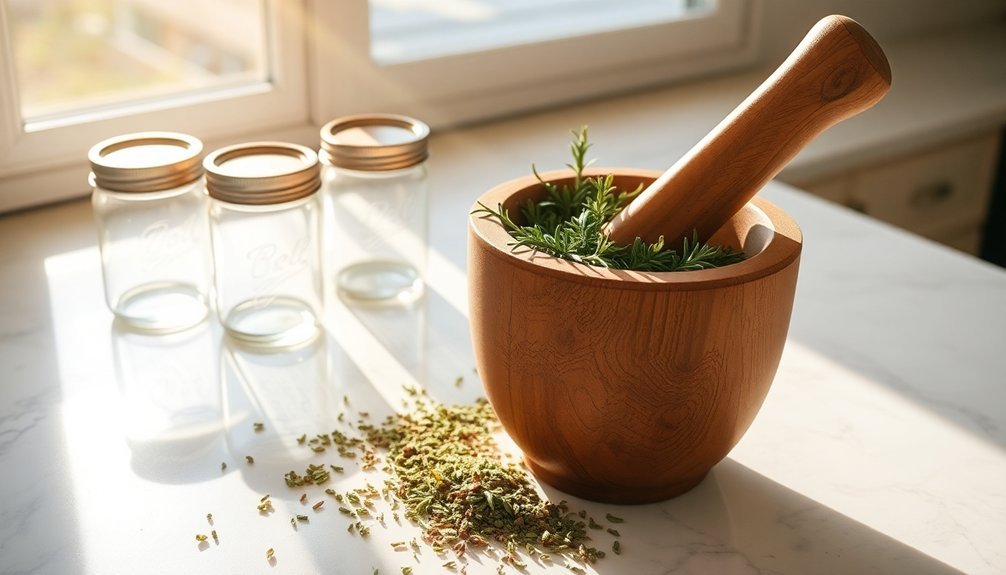
Mortar and Pestle Techniques
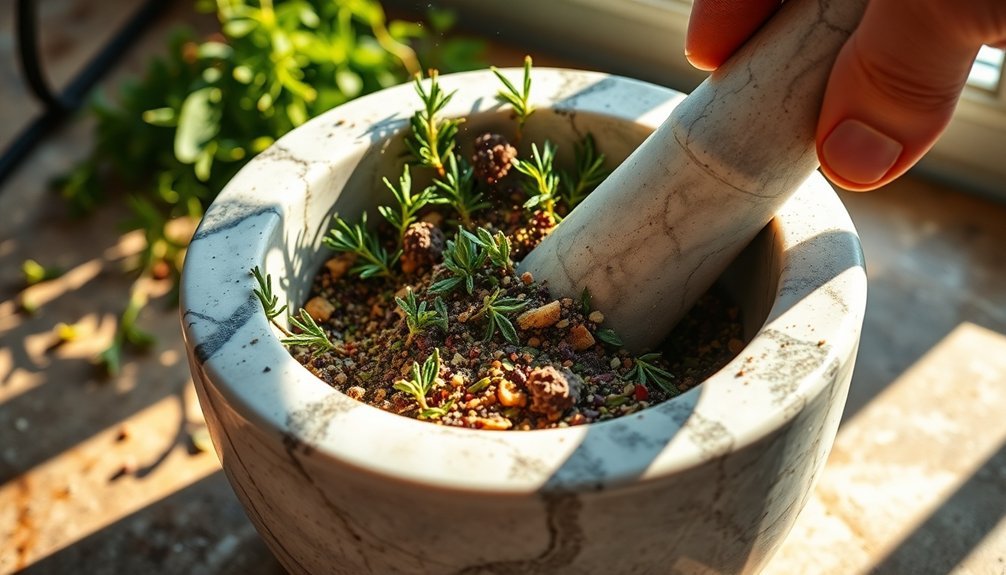
A mortar and pestle stands as one of the most reliable tools for crushing sun-dried herbs while preserving their essential oils. Before using your tool, rinse it with cool water and dry it thoroughly in sunlight.
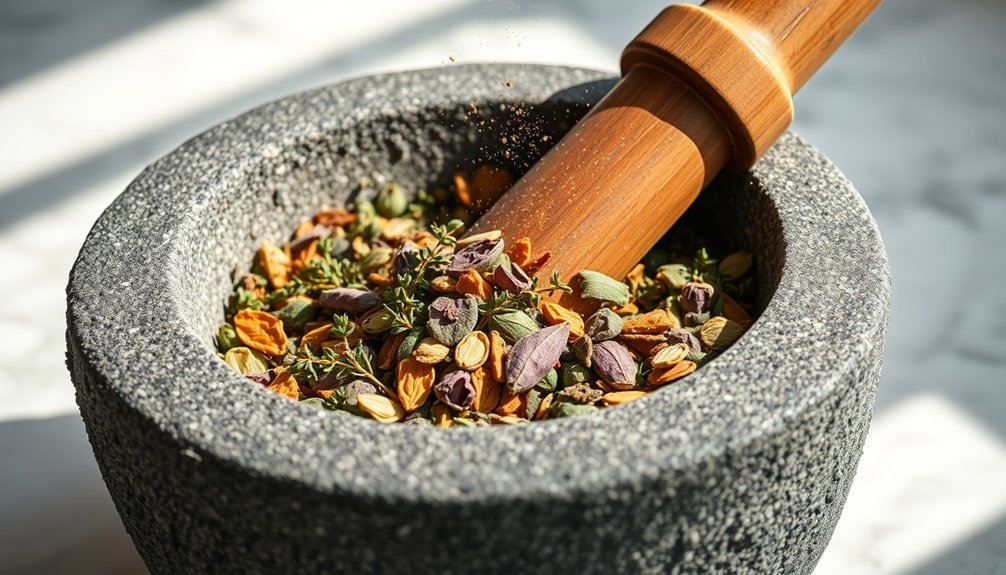
If you're working with a stone mortar, cure it first by grinding rice and salt until the mixture comes out clean.
When crushing herbs, fill your mortar only one-third full to guarantee proper grinding. Start with a gentle rocking motion, then switch to circular movements with your pestle until you achieve the desired consistency.
For the best results, briefly dry roast your herbs before grinding to enhance their flavors.
After use, store your mortar and pestle in a cool, dry place – don't use it as a storage container for your crushed herbs.
Electric Grinder Tips
Before grinding your sun-dried herbs, you'll need to clean your electric grinder thoroughly to prevent any unwanted residue from mixing with your fresh batch.
When operating the grinder, maintain a steady speed and avoid pulsing too rapidly, as this can lead to uneven results and potentially damage the mechanism.
After you've finished grinding, store your herbs in an airtight container and clean your grinder immediately to prevent buildup and maintain its longevity.
Cleaning Your Grinder First
Maintaining a clean electric grinder is essential for achieving ideal results with your sun-dried herbs.
First, disassemble your grinder completely and use a small brush to remove visible residue from all components, especially around the blades where herbs tend to accumulate.
For a thorough clean, soak the removable parts in isopropyl alcohol (91% or higher) for 30-60 minutes.
Don't use water on electrical components – stick to rubbing alcohol or specialized cleaning solutions. If you're dealing with stubborn residue, try placing the parts in your freezer to make it brittle and easier to remove.
You can also use dry rice or baking soda to absorb lingering aromas.
Always verify all parts are completely dry before reassembly, and store your grinder in a cool, dry place between uses.
Safe Operating Speeds
With your clean grinder ready for action, proper speed control becomes your next priority. You'll need to match your speed settings to the herbs you're grinding while preventing motor strain and overheating.
| Speed Level | Best For | Not For | Key Tips |
|---|---|---|---|
| Low | Delicate herbs, small batches | Tough stems, large quantities | Preserves oils and flavors |
| Medium | Mixed herbs, regular use | Extended grinding | Take cooling breaks |
| High | Dense herbs, larger amounts | Continuous operation | Monitor heat closely |
| Pulse | Quick bursts, tough herbs | Fine grinding | Use in short intervals |
Remember to let your grinder cool between batches and never exceed its capacity. Keep it on a stable surface, away from moisture, and always use the safety features. If you hear unusual noises or feel excessive heat, stop immediately and let the motor rest.
Proper Storage After Grinding
Proper storage practices make all the difference in preserving your freshly ground herbs.
You'll want to transfer your freshly ground herbs immediately into dark glass jars or metal tins with airtight lids. Don't use plastic containers, as they can leach chemicals into your herbs.
Choose a cool, dry storage location away from direct sunlight and heat sources like stoves. Confirm your herbs are completely dry before storing them to prevent moisture damage.
You'll find that storing herbs in their largest form possible helps maintain their flavor and potency longer, so only grind what you'll use in the short term.
Remember to clean your grinder thoroughly after each use and store it in a protective case to keep it dust-free.
This guarantees your next batch of herbs won't be contaminated by residue or debris.
Storage Solutions
Successful herb storage hinges on four key elements: container selection, airtight sealing, environmental conditions, and organization.
Choose dark-colored glass jars or metal tins with tight-fitting lids, and avoid plastic containers that can leach chemicals into your herbs.
You'll want to keep your herbs in airtight containers to prevent oxidation and maintain freshness.
Place them in a cool, dry location away from direct sunlight and heat sources. Don't store them in humid areas like bathrooms, as moisture can compromise their quality.
For convenience, keep frequently used herbs within easy reach of your cooking area, and organize them alphabetically or by usage.
Label your containers clearly, especially for similar-looking crushed herbs.
If you're storing larger quantities, consider using vacuum-sealed bags for ground spices and keep them in a dedicated pantry space.
Flavor Enhancement Secrets
Once you've mastered herb storage, releasing their full flavor potential becomes your next priority. To maximize taste, gently crush dried herbs between your fingers or with a spoon's back to extract their essential oils.
For larger leaves like basil or sage, remove them from stems before drying, while smaller varieties like oregano can stay attached.
You'll enhance flavors through rehydration by soaking herbs in oil or vinegar for at least 10 minutes before adding to dressings.
For heat-based enhancement, lightly toast herbs in a dry skillet, but watch carefully to prevent burning.
When harvesting, pick herbs in the morning after dew evaporates but before intense heat sets in.
Always harvest before flower buds open for peak flavor, and verify herbs are crispy-dry before storing to maintain their potency.
Best Uses in Cooking
Understanding where to use dried herbs can greatly elevate your cooking results. In long-cooking dishes like braises, stews, and soups, add dried herbs at the beginning to allow flavors to fully develop.
For quick-cooking meals like stir-fries and omelets, incorporate them near the end to preserve their aromatic qualities.
When cooking with dried herbs, remember these essential guidelines:
- Use 1/3 of the amount called for fresh herbs
- Crush them between your fingers before adding to release oils
- Heat gently in oil to activate flavors
- Store in a cool, dark place away from sunlight
You'll find specific herbs work best in certain dishes: basil for Italian cuisine, rosemary for meats, thyme for eggs and beans, and bay leaves for soups and stews.
Frequently Asked Questions
Can I Mix Different Herbs When Crushing Them Together?
Yes, you can mix different dried herbs when crushing them together. It's an efficient way to create custom blends. Just make certain your herbs are similarly dried to maintain consistent texture and balanced flavors.
How Long Do Crushed Herbs Retain Their Potency Compared to Whole Dried Herbs?
Your crushed herbs won't last as long as whole ones – they'll lose potency within 6-12 months, while whole dried herbs stay potent for 1-3 years when properly stored in airtight containers.
What Should I Do if My Crushed Herbs Become Too Powdery?
You can still use powdery herbs by incorporating them into sauces, marinades, or spice blends. Add them towards the end of cooking, and remember they're more potent, so use less than you would with whole herbs.
Are There Specific Herbs That Should Never Be Crushed Together?
You shouldn't mix strong herbs like rosemary with delicate ones like basil when crushing, as they require different pressure levels. Keep potent herbs separate from milder ones to maintain their distinct flavors.
Should I Wash My Mortar and Pestle Between Crushing Different Herbs?
Yes, you'll want to clean your mortar and pestle between different herbs to prevent flavor mixing. Give it a quick warm water rinse and dry thoroughly to maintain the purity of each herb.
In Summary
You'll find that crushing your own sun-dried herbs elevates your cooking to new heights. Keep experimenting with different herbs and grinding techniques until you discover what works best for your kitchen style. Remember to store your crushed herbs properly in airtight containers away from light and heat. With these professional tips, you're now ready to create amazing dishes with freshly ground, aromatic herbs that'll impress any dinner guest.


Leave a Reply