You'll find seven effective methods to create sun-dried chili powder at home. Traditional mat drying offers simplicity by spreading chilies in a single layer with protective netting, while solar dehydrator boxes maximize heat absorption with dark interiors. The solar screen rack system provides excellent ventilation on raised platforms, and greenhouse techniques utilize transparent walls for intense heat capture. You can try suspended net drying for superior airflow, direct sunlight processing with nightly indoor storage, or invest in a solar-powered cabinet system for automated control. Each method yields crispy chilies perfect for grinding into powder, and there's much more to discover about these time-tested techniques.
Traditional Sun-Drying on Mats
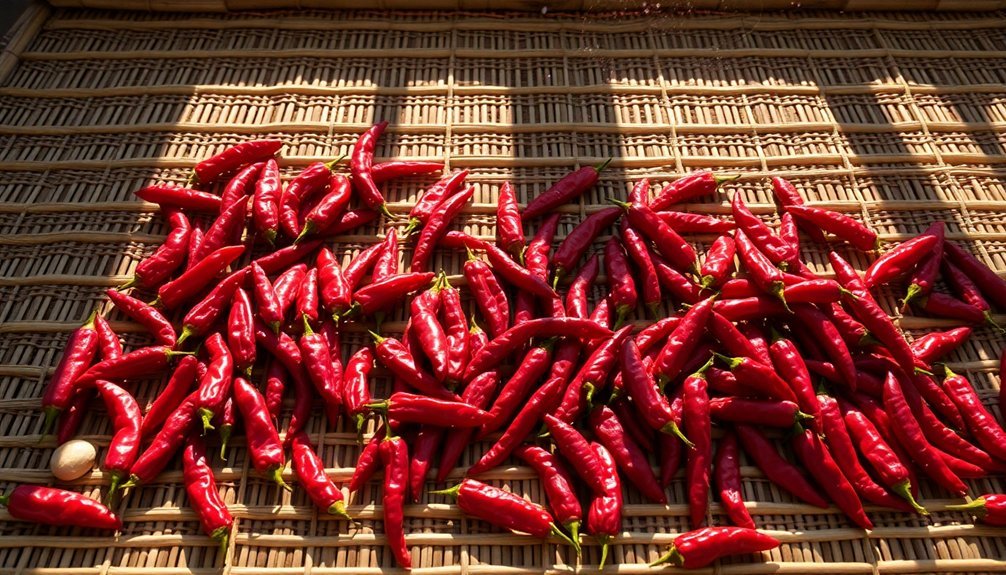
While sun-drying chillies may seem straightforward, the traditional mat-drying method requires careful preparation and attention to detail.
You'll need to spread your chillies in a single layer on clean, flat surfaces or raised platforms, ensuring they don't overlap for even drying.
To protect your harvest, place netted covers over the chillies to keep birds and insects away.
You'll want to choose days with consistent sunshine and low humidity, as these conditions are essential for preventing mold growth.
This energy-efficient method has been used since ancient Mesoamerican times for preservation.
Remember to rotate the chillies periodically for uniform drying.
The process can take several days to weeks, depending on weather conditions.
You'll know they're ready when they feel crispy and crumble easily.
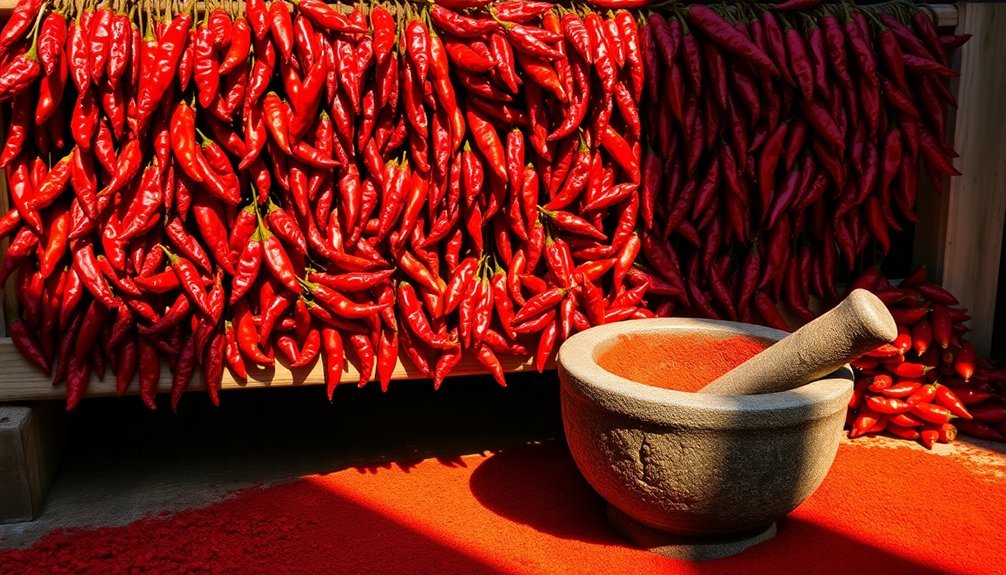
Once dried, you can grind them into powder using a blender and store in airtight containers for years of use.
Solar Dehydrator Box Method
Your solar dehydrator box needs essential design elements like a clear plastic or glass top, proper ventilation holes, and sturdy drying trays made from screen material or hardwood slats.
You'll want to paint the interior surfaces dark to maximize heat absorption and guarantee the box tilts at an ideal angle to catch direct sunlight. It's important to assess your needs when planning the dehydrator's dimensions and design complexity.
For consistent heat control, it's smart to add small aeration gaps at the base and top while monitoring internal temperature through a basic thermometer.
Box Design Essentials
A successful solar dehydrator box requires three essential components: a solar collector, drying chamber, and proper ventilation system.
You'll need to angle your solar collector to maximize sun exposure, using clear glazing material on top and black-painted surfaces inside to trap heat efficiently.
Your drying chamber should feature multiple removable trays for easy loading of chili peppers. Using three-ply cardboard for the trays provides a sturdy and cost-effective solution.
Install these trays on sturdy rails to prevent sliding, and include a door for convenient access.
Make certain you've positioned the chamber vertically above the collector to utilize natural heat rise.
For proper ventilation, incorporate screened openings at the bottom for air intake and vents at the top to release moisture.
You'll want to elevate the entire structure on legs to guarantee consistent airflow, which prevents humidity buildup and promotes even drying.
Heat Control Tips
Three key factors determine successful temperature control in a solar dehydrator box: proper heat regulation, consistent airflow, and moisture management.
You'll need to maintain temperatures between 55-70°C while preventing moisture buildup and ensuring proper ventilation.
To achieve ideal heat control:
- Position your solar collector boxes to maximize sun exposure while using auxiliary heaters for backup.
- Drill half-inch holes every 3 inches and install a computer fan to maintain steady airflow.
- Place chili peppers in single layers on mesh screens with 1/8" clearance for proper moisture escape.
Monitor your setup every couple of hours, adjusting the position if needed.
If temperatures climb too high, prop the door slightly open or adjust the box's angle.
Remember to spray screens with cooking oil to prevent sticking and turn peppers regularly for even drying. Since capsaicin begins breaking down at above 400°F, ensure your dehydrator never exceeds this temperature to maintain desired heat levels.
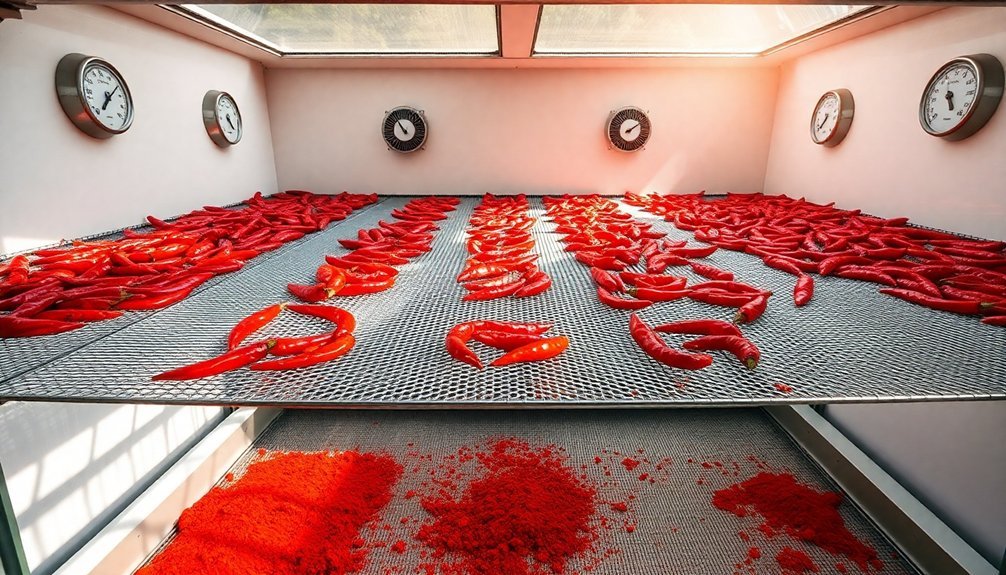
Solar Screen Rack System
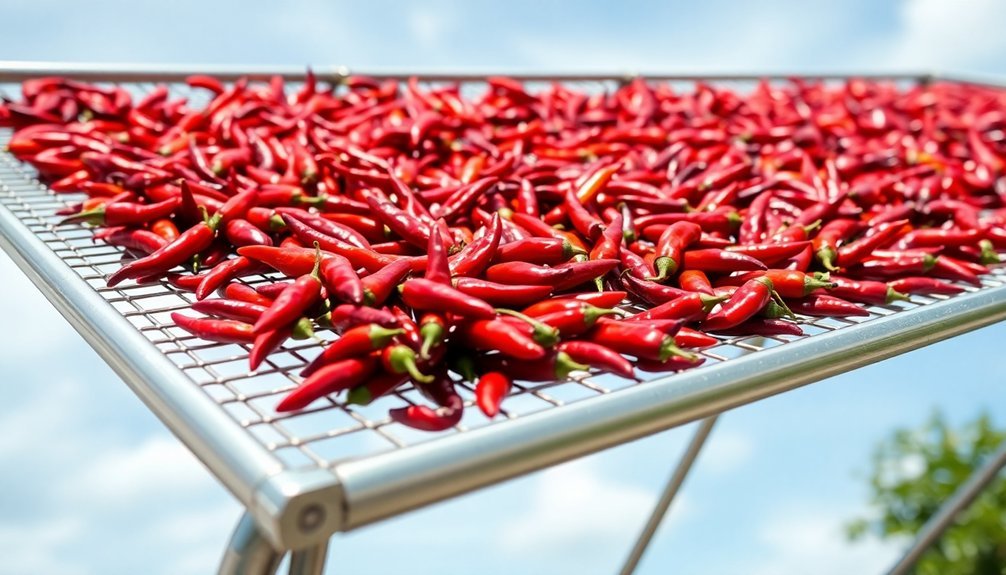
Creating an efficient solar screen rack system enables proper airflow and maximizes sun exposure while protecting your chiles from contamination.
Start by selecting a sunny, well-ventilated spot that's inaccessible to birds and animals. You'll need to construct a raised platform covered with food-grade mesh screening.
Position your cleaned and prepped peppers cut-side up on the screen, spacing them evenly to allow air circulation. Don't overcrowd the surface – each pepper should have breathing room. If you've halved your peppers, they'll dry faster and more uniformly.
Keep your rack mobile so you can quickly move it indoors during rain. When the peppers become shriveled and brittle enough to crack, they're ready for grinding.
Remember to wear protective gear like gloves when handling the peppers and a mask during grinding.
Greenhouse Drying Technique
While solar screen racks work well in open spaces, greenhouse drying offers enhanced control and efficiency.
You'll find this method uses a transparent wall to capture sunlight while black aluminum and stone collectors maximize heat absorption. The dual-fan system, powered by solar panels, maintains ideal airflow and removes excess moisture.
The process takes just two days between 10 AM and 3 PM, with interior temperatures reaching nearly 47°C.
You'll notice significant differences from conventional drying:
- Your chilies will become deeply wrinkled and firm, with a slightly darker appearance
- The moisture content drops to 17% versus 59% in traditional methods
- Final mass reduces to 45g compared to 113g, ensuring better preservation
The controlled environment creates superior results, making greenhouse drying an efficient choice for producing high-quality chili powder.
Suspended Net Drying Method
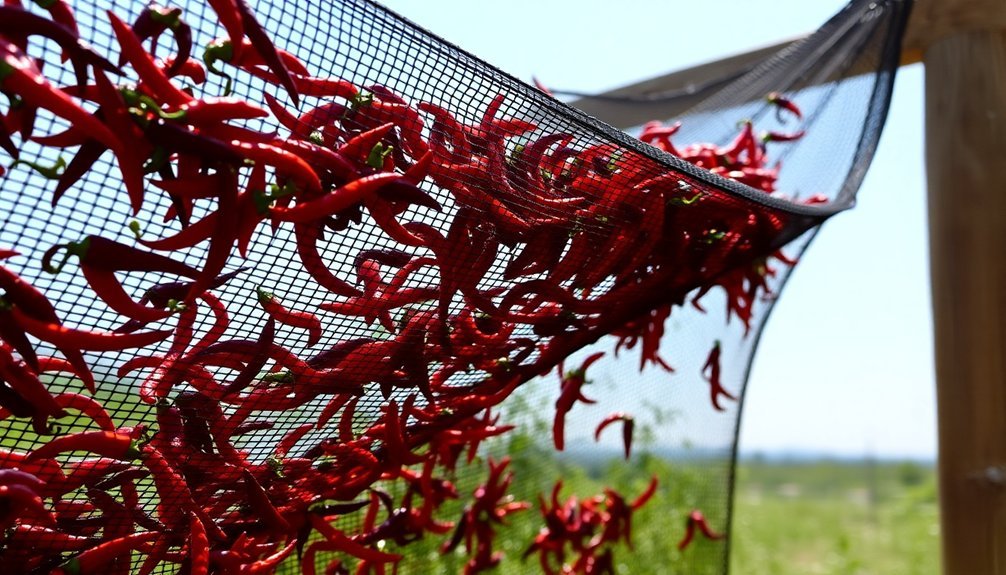
You'll want to select a fine-mesh netting material that allows maximum airflow while preventing chilies from falling through the gaps.
Position your suspended net at least three feet off the ground, creating a gentle slope to encourage air circulation and prevent moisture from pooling beneath the chilies.
The net's flexible nature lets you adjust tension points to eliminate any sagging areas where moisture might collect and lead to mold growth.
Best Air Flow Design
The ideal air flow design for sun-dried chili powder starts with a properly suspended net system.
You'll want to position your drying setup in an elevated area that maximizes air circulation while capturing optimal sunlight. For best results, mount your net at least 3 feet off the ground, ensuring it's taut and level.
Your setup should include these key elements:
- A breathable, food-grade netting material stretched across a sturdy frame
- Sufficient spacing between chilies (about 1 inch apart) to prevent clumping
- A protective cover or secondary netting above to ward off birds and insects
If you're in an area with limited natural airflow, consider adding small fans strategically placed around your drying setup.
Remember to rotate your chilies daily and monitor humidity levels to achieve consistent, top-quality results.
Prevent Moisture and Mold
Successfully preventing moisture and mold during the sun-drying process requires vigilant monitoring and proper preparation of your chili peppers.
Start by inspecting each pepper for soft spots or signs of bacteria, removing any that show damage. You'll want to lightly coat your peppers with coconut oil for moisture protection, then place them in an area with maximum sun exposure.
Cover your drying tray with a thin mesh screen to keep insects away while maintaining airflow. Remember to rotate your peppers every few days and maintain about an inch of space between each one for proper air circulation.
You'll know they're properly dried when they're brittle and rattle when moved. If you spot any mold, remove affected peppers immediately.
Once dried, store them in airtight containers with desiccant packs to maintain their crisp texture.
Net Material Selection
Selecting proper net material stands as an essential first step in the suspended drying method for chili peppers. You'll want to choose durable materials like nylon or polyester nets that can withstand outdoor conditions while providing excellent airflow for effective drying.
These materials should resist degradation from sunlight and support your chilies' weight without sagging.
When selecting your netting material, look for these key features:
- Breathable mesh that allows both air circulation and sunlight penetration
- Easy-to-clean surfaces that resist mold and don't trap chili residue
- Cost-effective options that you can reuse multiple times
Consider repurposing items you might already have, such as clean nylon stockings or mesh produce bags.
These alternatives can save you money while still delivering excellent drying results, provided they meet the durability and breathability requirements.
Direct Sunlight Processing Steps
You'll need to expose the chillies to direct sunlight for 2-3 days, bringing them inside at night.
Rotate them periodically for uniform drying.
They're ready when they feel crispy and crumble easily.
Once completely dry, grind them into powder and store in sterilized glass containers.
Solar Powered Cabinet System
A solar-powered cabinet system provides an advanced solution for drying chili peppers through automated energy management.
You'll benefit from seamless power switching between solar, grid, and battery sources, ensuring your drying process never stops. The system's Wi-Fi connectivity and mobile app let you monitor your chili drying progress remotely.
For ideal drying results, the cabinet system offers:
- Precise temperature control through efficient power management
- Real-time monitoring of humidity and drying conditions
- Consistent airflow powered by sustainable solar energy
Installation is straightforward with pre-wired components, requiring only basic electrical knowledge.
The system's capacity ranges from 5KW to 15KW, supporting various drying loads. With high efficiency rates and thorough power monitoring, you'll achieve perfectly dried chilies while maximizing solar energy usage.
Frequently Asked Questions
Can I Sun-Dry Chilies During Monsoon or Humid Weather Conditions?
No, you shouldn't sun-dry chilies during monsoon or humid weather. The high moisture content will slow drying and promote mold growth. Instead, use a dehydrator or oven for consistent results.
What Are Signs That Sun-Dried Chilies Have Gone Bad?
You'll know your sun-dried chilies are spoiled if you spot fuzzy mold, detect a musty smell, notice significant color fading, or find they've lost their heat. Rancid odors and bitter tastes are also warning signs.
How Do Altitude and Geographical Location Affect Sun-Drying Time?
You'll find that higher altitudes speed up drying due to lower humidity. Your location near the equator or in desert regions means faster drying times, while coastal or humid areas will slow down your drying process.
Should Chilies Be Washed Before Sun-Drying?
Yes, you'll want to wash your chilies before sun-drying to remove dirt and residue. Just make sure you thoroughly dry them afterward to prevent mold growth, and let them air-dry completely before sun exposure.
Can Different Varieties of Chilies Be Sun-Dried Together?
Yes, you can sun-dry different chili varieties together. It's a great way to create unique flavor blends. Just make sure you're using peppers with similar thickness, so they'll dry at comparable rates.
In Summary
You've now got seven proven methods to create fantastic sun-dried chili powder at home. Whether you're using traditional mats, a solar dehydrator, or a greenhouse setup, you'll achieve that authentic, smoky flavor that store-bought varieties can't match. Remember to store your homemade chili powder in an airtight container and keep it in a cool, dark place to maintain its potent flavor and vibrant color.


Leave a Reply