You'll get the best results with solar cooking between 11 AM and 3 PM when the sun's directly overhead. For spicy dishes, add fresh chilis early for immediate heat or dried peppers during simmering for deeper flavor. Control your spice levels by infusing hot peppers according to their strength – mild peppers need 1-24 hours while jalapeños take 1-7 days for balanced heat. Don't forget to use double-walled containers and heavy-duty foil wraps to maintain consistent temperatures. For maximum flavor, adjust your solar cooker every 1-2 hours and use reflective surfaces to enhance heat capture. Our expert techniques will help you master the perfect balance of heat and spice.
Solar Cooking Heat Fundamentals
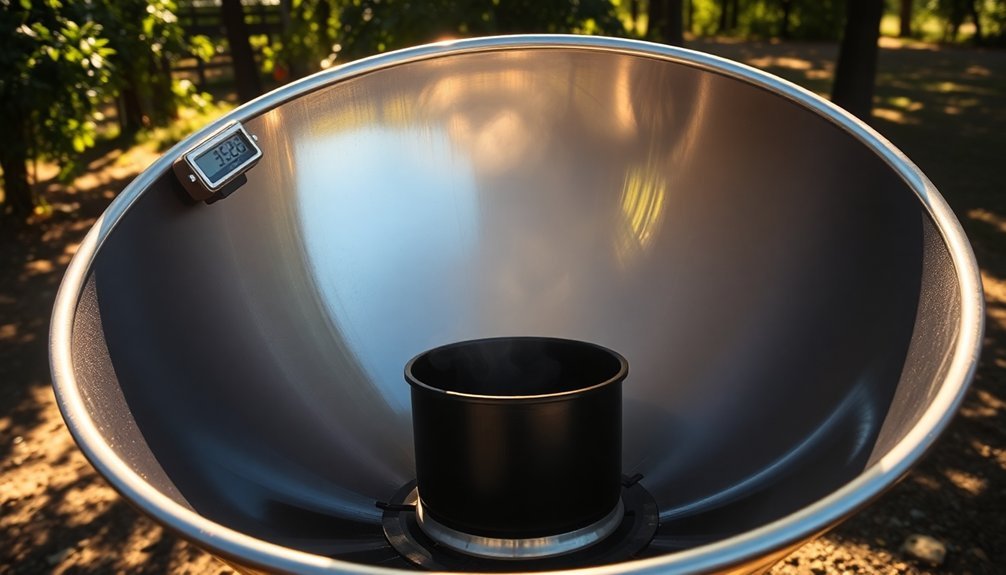
When you're considering solar cooking, understanding how sunlight converts to heat is essential for success.
You'll get the best results between 11:00 am and 3:00 pm when the sun's directly overhead. Your cooker needs to face the sun at the ideal angle to capture maximum radiation. The double-walled glass tubes provide superior insulation to maintain consistent cooking temperatures.
To boost heating power, you'll want to use reflective surfaces like mirrors or metal panels that concentrate solar energy.
The dark surfaces inside your cooker absorb this concentrated heat, while a clear plastic or glass cover traps it using the greenhouse effect. Your cooking temperature depends on factors like altitude, season, and local weather conditions.
You'll need to monitor your cooker's temperature with a gauge and adjust its position throughout cooking time to track the sun's movement.
Spices for Solar Food Preparation
Solar-dried spices can transform your outdoor cooking from basic to extraordinary while preserving essential nutrients and flavors. You'll find that herbs like basil, lemon grass, and curry leaves retain their potent qualities when properly dried in the sun.
To prepare your spices, wash and sort them carefully, then cut them into uniform pieces for even drying. Place them on non-metal screens to prevent any contamination during the drying process.
When you're ready to cook, you can enhance your dishes with these solar-dried ingredients. Add basil to Italian recipes, incorporate lemon grass into Thai-inspired soups, or use curry leaves for authentic South Indian flavors.
The sun-drying process naturally preserves the spices' nutritional value and extends their shelf life without requiring additional energy. You'll appreciate how this eco-friendly method maintains both flavor and color while contributing to sustainable food preservation practices.
Timing Hot Pepper Infusions
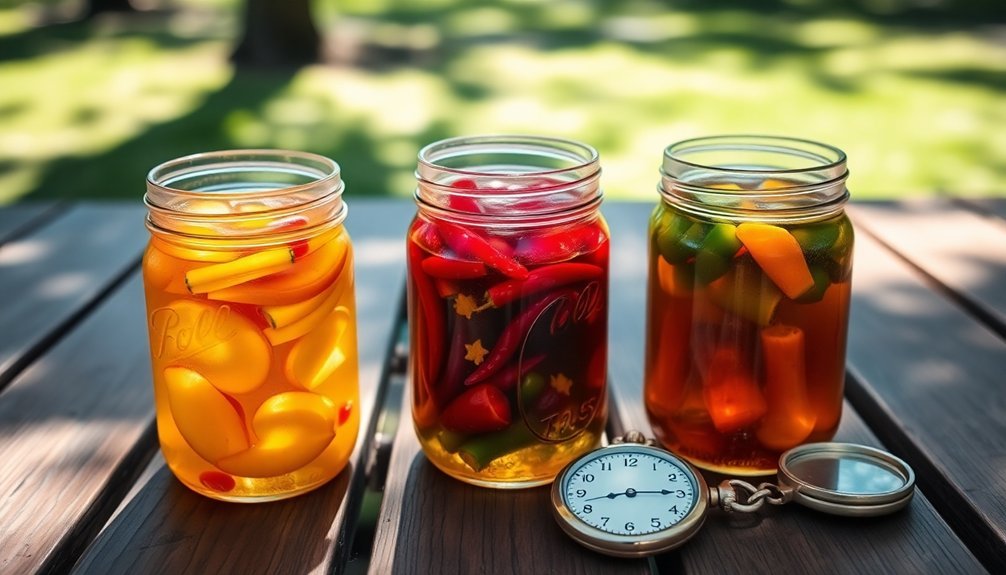
The art of timing hot pepper infusions requires careful attention to achieve the perfect balance of heat and flavor in your creations.
You'll find that duration greatly impacts the intensity of your infusions, from quick bursts of heat to deep, complex flavors. Fresh or dried peppers work equally well for infusions, giving you flexible options.
- For a mild kick, let your peppers infuse for just 1-24 hours – perfect when you're using hotter varieties like habaneros.
- If you're working with jalapeños, aim for a 1-7 day infusion to develop balanced heat and flavor.
- When seeking maximum intensity, extend your infusion up to 3-4 weeks, especially with dried or smoked peppers.
- For quick results, try hot infusion methods like using an iSi Whip, which can deliver flavor in just 90 seconds.
Remember to strain your infusion thoroughly and always wear gloves when handling hot peppers.
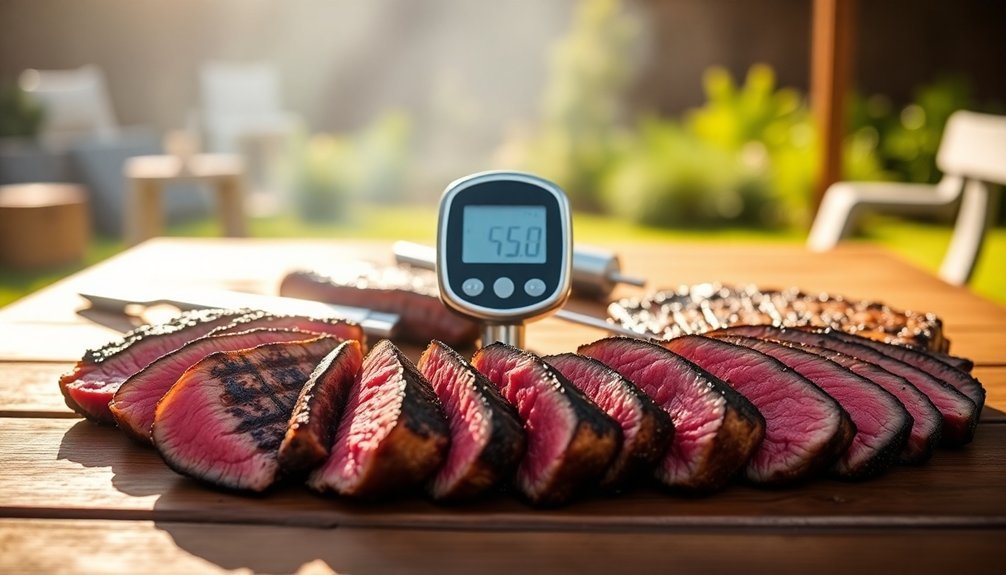
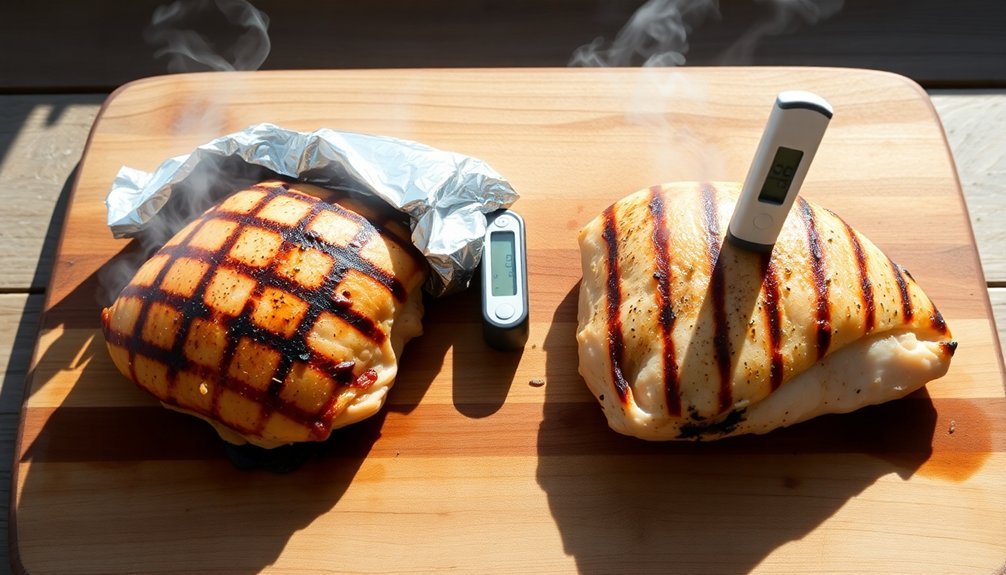
Temperature Control for Spicy Dishes
Mastering temperature control in spicy dishes can transform your cooking from simply hot to sublimely flavorful.
When you're cooking outdoors, you'll want to strategically manage heat levels for the perfect balance. For immediate heat, you can add fresh chilis like jalapeños or serranos at different cooking stages.
Stir-frying and grilling maximize the spicy flavors while ensuring proper textures in your outdoor cooking. If you're looking for deeper flavor, incorporate dried chilis or flakes during the simmering process. You'll find that chili pastes like harissa or gochujang work brilliantly as marinades or finishing touches.
If your dish becomes too spicy, don't panic. You can tame the heat by stirring in dairy products like cream or yogurt.
For a different approach, try balancing with sweetness using honey or adding acidity with lime juice. Serving with rice or bread will help absorb excess heat.
Seasoning During Solar Cooking
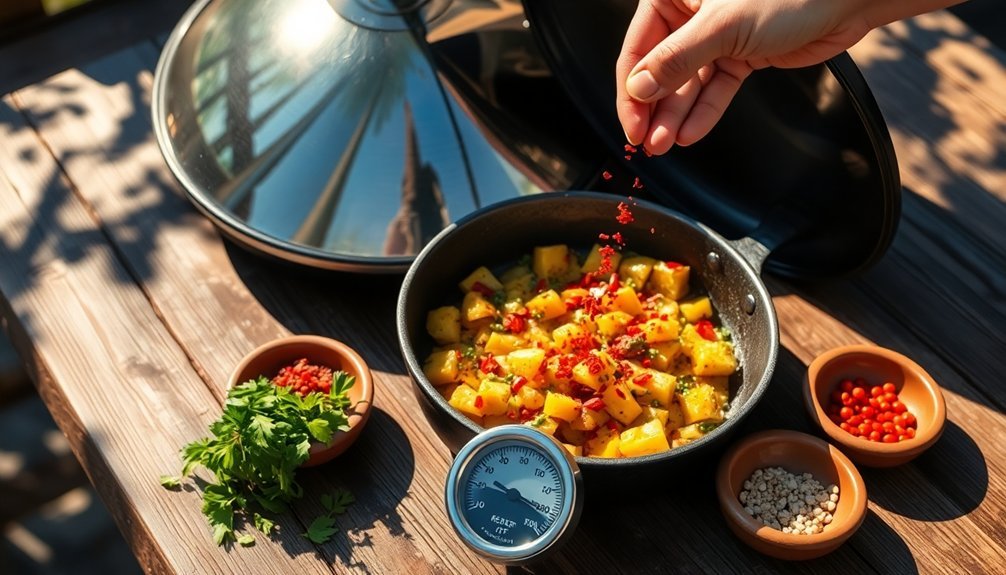
When cooking with solar power, seasoning requires a thoughtful approach to guarantee your dishes burst with flavor.
You'll want to prepare your spice blends in advance and apply them generously, as some flavors may diminish during the slow cooking process. Mix versatile combinations of cumin, garlic salt, Italian spices, and black pepper for reliable results.
- Pre-mix your seasonings in a jar before heading outside to make application quick and convenient.
- Season meat cavities and surfaces thoroughly, considering whether you're cooking poultry, fish, or vegetarian dishes.
- Layer your seasonings throughout the cooking process to maintain robust flavors.
- Use moisture-retaining cooking methods to help preserve the integrity of your spices.
Your solar-cooked meals will maintain their flavors since this gentle cooking method rarely burns or overcooks food.
Maximizing Solar Heat Distribution
To maximize your solar cooker's heat distribution, you'll need to position it directly facing the sun and adjust its alignment every 1-2 hours.
Enhance heat capture by setting up reflective surfaces properly, using multiple mirrors or lenses that focus sunlight onto your cooking vessel's focal point.
Lock in the heat by ensuring proper insulation with multiple glazing layers and airtight seals around all edges of your cooker.
Position For Maximum Exposure
Successful solar cooking relies heavily on proper positioning to maximize sun exposure throughout the day.
You'll get the best results between 11 AM and 3 PM when the sun's rays are most intense. In regions south of the 40th parallel in the northern hemisphere, you're in prime position for ideal cooking temperatures.
To achieve maximum exposure for your solar cooker:
- Face your cooker true south, ensuring no shadows between 9 AM and 3 PM.
- Clear any obstacles or vegetation that might block southern exposure.
- Use natural ventilation and shading devices to prevent overheating in hot climates.
- Adjust your cooker's position more frequently during winter months to track the sun.
Reflective Surface Setup Tips
Beyond positioning your solar cooker correctly, the right reflective surfaces can dramatically boost your cooking efficiency. You'll find MIRO-SUN® reflectors offer outstanding 85-90% solar reflectance, making them perfect for consistent cooking results. For a budget-friendly option, strategically place aluminum foil around your cooker to direct more sunlight toward your food.
| Surface Type | Benefits | Best For |
|---|---|---|
| MIRO-SUN® | 90% reflectance, UV-resistant | Professional setups |
| Stainless Steel | Durable, easy maintenance | Permanent installations |
| Aluminum Foil | Cost-effective, flexible | Quick solutions |
| CPC Mirrors | Maximum concentration | Advanced cooking |
| Parabolic Troughs | High heat generation | Large-scale cooking |
Consider installing stainless steel mirrored surfaces for a sleek, practical solution that'll enhance both visibility and heat distribution in your outdoor cooking area.
Heat Retention Techniques
While solar cooking depends heavily on sunlight availability, mastering heat retention techniques can extend your outdoor cooking capabilities greatly.
You'll want to focus on using thermal mass materials strategically and combining them with proper insulation methods to maintain ideal cooking temperatures.
- Position your cooking setup to maximize solar exposure, using reflective surfaces to concentrate heat where you need it most – solar grills can reach up to 400°C on sunny days.
- Pre-heat your insulated containers with boiling water and wrap them in heavy-duty aluminum foil.
- Place hot items in the center of your container, surrounded by cold items for added insulation.
- Supplement your setup with portable heating appliances or DIY heat packs filled with rice or wheat when sunlight isn't ideal.
Remember to keep thermal mass away from cold drafts and maintain good airflow for heat distribution.
Heat Retention Methods
Your outdoor meal's success depends heavily on proper heat retention, starting with double-walled containers that create an insulating air barrier to maintain food temperature.
Insulated cooking sleeves offer additional protection by wrapping around your cookware and trapping warmth effectively during transport.
You'll get the best results by tightly wrapping your hot dishes in aluminum foil, which reflects heat back to the food and creates another protective layer before placing them in your insulated carriers.
Double-Walled Container Benefits
Three key mechanisms make double-walled containers exceptional at maintaining temperature. The dual stainless steel walls create a robust structure, while the vacuum between them eliminates air that could transfer heat. Inside, a reflective coating bounces heat back to your food or beverage, working like a mirror for temperature.
- You'll find the vacuum layer acts just like outer space, preventing heat from escaping through conduction or convection.
- Your food stays hot or cold longer thanks to the snug-fitting lid that blocks unwanted air exchange.
- You won't feel extreme temperatures on the outside, as the double-wall structure creates an effective barrier.
- You're getting maximum insulation since all three types of heat transfer – conduction, convection, and radiation – are blocked by this clever design.
Insulated Cooking Sleeves
Building on the principles of double-walled containers, insulated cooking sleeves take heat retention to the next level with specialized materials and innovative designs.
You'll find these sleeves made from high-performance materials like fiberglass, silica, or ceramic yarns, treated with temperature-resistant resins that can withstand up to 1,300°C while maintaining structural integrity.
When you're cooking outdoors, these sleeves prove invaluable. They'll reduce heat loss by up to 51% when used on containers, and you can combine them with lids for even better results – up to 62% heat retention.
They're especially useful for sous vide setups and BBQ equipment, where maintaining consistent temperatures is essential. You can easily cut and install them around containers, hoses, or cooking equipment, making them versatile for various outdoor cooking scenarios.
They're durable enough to handle vibration and mechanical stress while keeping your heat exactly where you want it.
Foil Wrap Techniques
Mastering foil wrap techniques can greatly boost your outdoor cooking's heat retention and flavor profile.
You'll want to start with heavy-duty aluminum foil, using double layers if you've only got regular foil. Place your food on the dull side and coat it with oil or butter to prevent sticking.
- Create tight seals using the "drugstore" fold – fold edges down in 1/2 inch increments while creasing firmly.
- Leave space for steam when wrapping vegetables, but keep meat and fish in close contact with the foil.
- Add 1-2 tablespoons of liquid or marinades before sealing to enhance moisture and flavor.
- Cook packets for 15-30 minutes, rotating them occasionally for even heat distribution.
Remember to handle packets with long-handled tongs and double-wrap them when cooking directly on campfire coals.
Frequently Asked Questions
How Do Altitude Changes Affect Spice Intensity When Cooking Outdoors?
At higher altitudes, you'll notice reduced spice intensity as altitude affects taste perception. You'll need to increase seasoning amounts and adjust application timing to maintain flavor, since spices don't adhere as well.
Can Marinades Be Safely Reused During Multiple-Day Camping Trips?
You shouldn't reuse marinades during camping trips due to food safety risks. Instead, prepare extra marinade beforehand and store portions separately, or use disposable bags for each marinating session to avoid cross-contamination.
Which Spices Should Be Avoided When Cooking in Extreme Heat Conditions?
You'll want to avoid using fresh garlic, ginger, and wasabi in extreme heat as they can spoil quickly. Also skip chili pastes and prepared hot sauces that need refrigeration after opening.
Do Weather Conditions Impact How Spices Release Their Flavors Outdoors?
Yes, weather greatly affects your spices' flavor release outdoors. You'll notice temperature, humidity, and wind all impact how your spices perform – high heat intensifies flavors, while cold weather slows their release.
What's the Best Way to Adjust Spiciness if Dishes Become Too Hot?
You can tame excessive spiciness by adding dairy products like sour cream or yogurt, incorporating starches like rice or potatoes, or using sweeteners. Coconut milk and avocado also effectively neutralize heat in dishes.
In Summary
You'll find solar cooking's made easier with proper timing and spice management. Keep your seasonings ready and monitor temperature zones to maximize flavor infusion. Don't forget to adjust your timing based on sunlight intensity and outdoor conditions. By following these heat guidelines and spice techniques, you're set to create delicious, well-seasoned solar meals that'll impress your guests and make outdoor cooking more enjoyable.


Leave a Reply