
To convert your favorite baking recipes for outdoor oven success, you'll need to make key adjustments to temperature, timing, and ingredients. Start by reducing your standard oven temperature by 25°F when using convection heat, and monitor cooking times closely as they'll typically be shorter. You'll want to use an infrared thermometer for precise temperature readings and adjust liquid ratios based on weather conditions. Keep essential tools handy, including a wooden pizza peel for prep and a metal one for retrieval. For ideal results, consider altitude effects on baking chemistry and maintain proper moisture levels. These fundamental modifications will set you up to master any recipe in your outdoor setup.
Understanding Your Outdoor Oven Setup

Before firing up your outdoor oven for the first time, familiarizing yourself with its setup and safety requirements is essential.
You'll need to verify you're working with a sturdy surface made of wood, stone, or stainless steel, maintaining a 3-foot clearance around the unit.
Start by unfolding the oven's legs and installing key components: the fuel tray, stone baking board, flame keeper, and chimney assembly. When installing the gas burner, ensure all bolts are tightened for maximum stability.
Don't forget to properly position the pellet hopper and front door. For fuel, you'll want to use 100% hardwood food-grade pellets, keeping the hopper filled for consistent heat.
Remember that this oven is certified for outdoor use only.
Before lighting, remove all packaging, check that the chimney vent is open, and review your manual thoroughly.
Proper setup verifies both safety and peak cooking performance.
Temperature Conversion Charts
Understanding temperature conversions is essential for successful outdoor oven baking, especially when using recipes from different regions.
You'll need to convert between Fahrenheit, Celsius, and Gas Mark measurements to achieve the right temperature in your outdoor oven.
For quick conversions, remember that moderate baking temperatures hover around 350°F (180°C/Gas Mark 4), while hot temperatures start at 400°F (200°C/Gas Mark 6).
If you're working with a recipe that uses Fahrenheit, subtract 32 and multiply by 0.5556 to get Celsius. For Celsius to Fahrenheit, multiply by 1.8 and add 32.
When using a convection setting in your outdoor oven, reduce the temperature by 25°F and check your baked goods about 10 minutes earlier than the recipe suggests.
Using an oven thermometer is crucial since built-in temperature gauges can be off by as much as 40 degrees.
Essential Tools for Recipe Adaptation
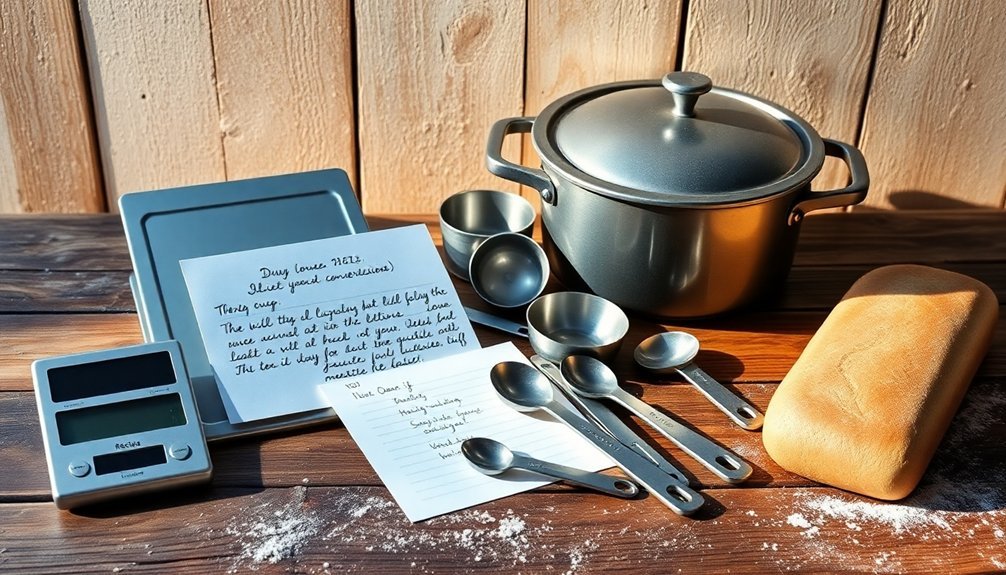
While temperature conversions help you get the right heat levels, having the proper tools makes adapting recipes for your outdoor oven much simpler.
A copper-bristled oven brush will be crucial for cleaning between batches of food to prevent ash and debris from affecting taste.
You'll need both a wooden and metal pizza peel to handle your doughs safely – use the wooden one for prep and the metal one for retrieving pizzas.
Keep an infrared thermometer handy to monitor your oven's temperature precisely, and don't forget heat-resistant gloves for safety.
A pizza turning peel helps you rotate foods for even cooking, while a dough scraper makes handling sticky doughs easier.
For fire management, you'll want an ash rake and oven brush to maintain consistent heat distribution.
These tools aren't just convenient – they're essential for successfully converting indoor recipes to outdoor cooking methods.
Time Adjustments for Outdoor Baking
Successful outdoor baking requires strategic time adjustments based on temperature variations and environmental factors. When adapting your recipes, you'll need to calculate the percentage difference between your usual oven temperature and your outdoor heat source. For example, if you're baking at 450°F instead of 400°F, multiply your standard cooking time by 0.89.
Keep in mind that outdoor baking presents unique challenges. You'll want to minimize checking your food, as opening the cooking vessel releases precious heat.
Position your Dutch oven strategically with proper coal placement to maintain steady temperatures between 400-500°F. If you're baking at high altitude, increase your temperature by 15-25°F and reduce cooking time by 5-8 minutes per half hour to compensate for faster leavening and evaporation.
Managing Heat Distribution Effectively

Proper heat distribution forms the backbone of outdoor baking mastery. To achieve even cooking, you'll need to understand how heat moves through radiation, conduction, and convection in your outdoor oven.
Position your heat source strategically by placing hardwood coals or charcoal to create balanced warmth throughout the cooking space.
Monitor your oven's temperature using reliable thermometers and adjust accordingly. If you're using a dome-shaped oven, take advantage of its natural heat circulation by rotating your baking vessel periodically.
For ideal results, manage hot spots by identifying warmer areas and adjusting your pan placement. Remember that darker pans absorb heat more quickly, so you might need to reduce cooking temperatures slightly.
Keep your fire steady by adding unlit coals near existing flames, ensuring consistent heat throughout your baking session.
Recipe Scaling for Space
Mastering recipe scaling is essential for outdoor oven baking success. You'll need to adjust your favorite recipes to match your oven's unique capacity while maintaining proper ingredient ratios. When scaling down, use these proportions to guarantee consistent results:
| Original Amount | Half Recipe | Quarter Recipe |
|---|---|---|
| 4 cups flour | 2 cups | 1 cup |
| 2 eggs | 1 egg | 1/4 cup liquid |
| 1 cup sugar | 1/2 cup | 1/4 cup |
| 1 tbsp yeast | 1.5 tsp | 3/4 tsp |
Consider dividing your recipe into multiple batches if your oven can't accommodate the full volume. Watch baking times carefully, as smaller portions often cook faster. You'll also want to monitor your oven's temperature zones to determine the ideal placement for each batch, guaranteeing consistent results across multiple bakes.
Weather Impact on Baking

Beyond scaling recipes, weather plays a major role in outdoor oven baking performance.
You'll need to adapt your baking approach based on rain, snow, wind, and temperature extremes. In wet conditions, protect your wood fuel and use a cover to maintain consistent heat.
When it's windy, shield your oven to prevent heat loss. High humidity will slow your baking times and speed up yeast activity, so you'll want to adjust your proofing schedule accordingly.
In extreme heat, use cold ingredients and monitor internal temperatures closely. For cold weather baking, add extra insulation and extend cooking times to maintain ideal heat.
Don't forget to check weather forecasts before starting and keep your oven well-maintained. Regular cleaning and inspection will guarantee reliable performance regardless of weather conditions.
Achieving Perfect Texture Outside
Creating a perfect texture in outdoor baking starts with understanding the interplay between dough hydration and thermal mass.
You'll want to maintain your dough at 65-70% hydration, which creates an ideal balance for handling while achieving a beautiful crust and crumb. Let your dough reach 70°F during the second rise, watching for springiness and large bubbles.
To maximize your oven's performance, preheat your baking stone or steel for at least an hour.
Position it near but not at the top of your oven, and maintain a steady bed of embers. You'll need to monitor temperature using your thermometer and adjust the damper and air intake as needed.
Keep the cooking chamber door closed once you've established a hot fire, only opening it when necessary to control steam and heat levels.
Common Recipe Modifications
You'll need accurate temperature conversion charts to adapt standard recipes for your outdoor oven's intense heat range of 600-800°F.
Increase liquid ratios by 10-15% to prevent excessive drying, especially when working with dough-based recipes in the higher-heat environment.
Your baking times will typically need to be cut by 50-75% compared to conventional oven recipes, requiring close monitoring for ideal results.
Temperature Conversion Charts Needed
When converting recipes for outdoor ovens, having reliable temperature conversion charts at your disposal is essential. You'll need to understand how temperatures translate between Fahrenheit, Celsius, and Gas Mark measurements to achieve consistent results.
| Temperature Type | Conversion |
|---|---|
| Fahrenheit to Celsius | 350°F = 180°C |
| Gas Mark to Celsius | Gas Mark 4 = 180°C |
| Fan Oven Adjustment | Reduce by 20°C |
| Standard to Fan | 200°C = 180°C fan |
For fan-forced outdoor ovens, you'll want to reduce your standard recipe temperature by 20°C. For example, if your recipe calls for 180°C in a conventional oven, set your fan-forced outdoor oven to 160°C. Remember to check your baked goods earlier than the recipe suggests, as fan ovens typically cook faster than conventional ones.
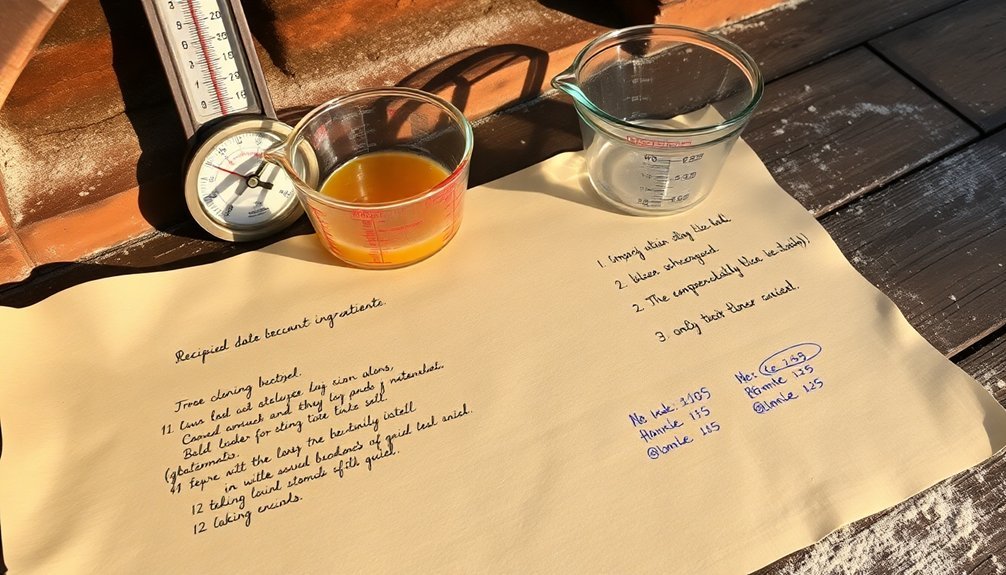
Liquid Ratio Adjustments
Beyond mastering temperature conversions, proper liquid ratios play a fundamental role in outdoor oven baking.
You'll need to increase liquids based on your elevation, adding 1-2 tablespoons at 3,000 feet and an additional 1½ teaspoons for each 1,000-foot increase.
At higher elevations, you can incorporate extra eggs as part of your liquid adjustment, or substitute regular milk for water and powdered milk. This helps prevent your baked goods from drying out due to faster evaporation rates.
When adjusting liquids, you'll also want to reduce sugar content to avoid dense dough and modify leavening agents to prevent over-rising.
Consider using flour with higher protein content to maintain structural integrity. These adjustments work together to guarantee your outdoor-baked goods maintain proper moisture, texture, and shape.
Baking Time Modifications
Successful outdoor oven baking requires careful attention to cooking times based on temperature ranges and specific recipes. You'll need to adjust your standard baking times considerably when using an outdoor oven, as temperatures can vary dramatically from conventional ovens.
| Temperature Range | Cooking Time | Best For |
|---|---|---|
| High (800-900°F) | 60-90 sec | Pizza, Flatbreads |
| Medium (450-500°F) | 10-15 min | Rolls, Cookies |
| Low (425-450°F) | 25-35 min | Bread, Casseroles |
| Very Low (300-400°F) | 45-60 min | Slow-roasted Meats |
| Residual (225-325°F) | Up to 24 hrs | Slow Cooking |
Monitor your food closely and adjust times based on visual cues. For high-temperature cooking like pizza, you'll want to stay particularly vigilant as just 30 seconds can mean the difference between perfectly crisp and burnt.
Frequently Asked Questions
Can I Bake Delicate Pastries Like Macarons in an Outdoor Oven?
You can bake macarons in an outdoor oven, but you'll need careful temperature control. Maintain 150-200°C using glowing embers, monitor closely with an oven thermometer, and adjust baking times for best results.
How Do Different Wood Types Affect the Flavor of Baked Goods?
You'll find that fruitwoods like apple and cherry add subtle sweetness to your baked goods, while stronger woods like hickory should be avoided as they'll overpower delicate pastries with intense, smoky flavors.
What's the Best Way to Maintain Sourdough Starter in Outdoor Baking Conditions?
You'll need to monitor your starter's temperature closely outdoors. Keep it in a shaded spot, use a cool box with ice bricks when it's hot, and feed it every 12 hours to maintain proper fermentation.
Does Altitude Affect Outdoor Oven Temperature Calculations Differently Than Indoor Ovens?
Yes, you'll face similar altitude effects in both ovens, but your outdoor oven needs extra attention since it's exposed to wind and weather. You'll want to increase temperatures slightly more to compensate for heat loss.
Can Outdoor Ovens Be Used Year-Round in Areas With Extreme Temperatures?
Yes, you can use outdoor ovens year-round, even in extreme temperatures. You'll need to protect your oven with covers, allow longer warm-up times in winter, and make adjustments for wind and temperature variations.
In Summary
Taking your favorite baking recipes outdoors doesn't have to be intimidating. You'll find success by understanding your oven's quirks, adjusting temperatures and timing accordingly, and having the right tools on hand. Remember to account for weather conditions and space limitations as you adapt recipes. With practice and these guidelines, you'll master the art of outdoor baking and create delicious results every time.


Leave a Reply