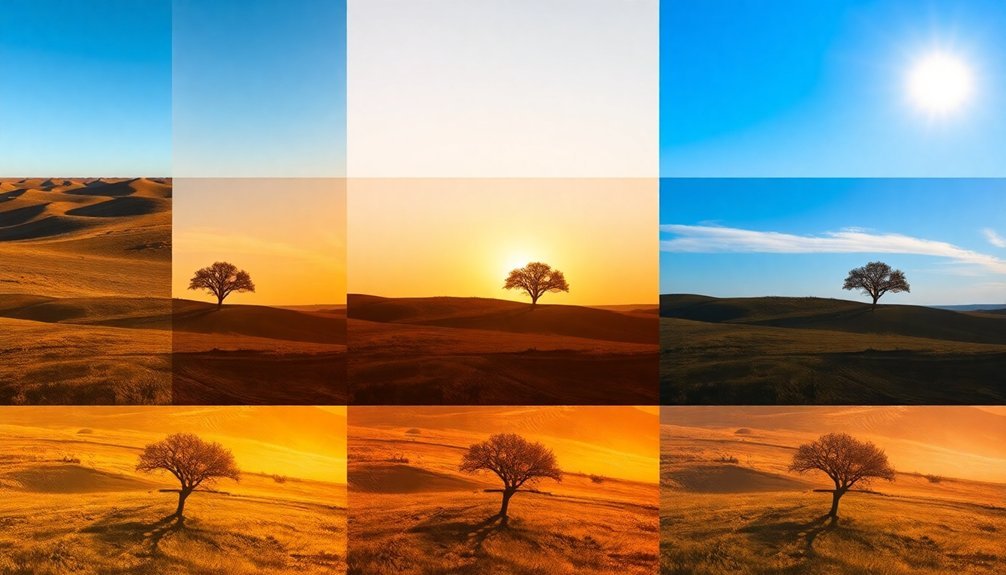
Position your solar equipment directly south and adjust the angle based on your latitude for ideal sun exposure. You'll want to tilt boxes more severely the further you live from the equator. For quick seasonal adjustments, subtract 15 degrees in summer and add 15 degrees in winter from your latitude angle. Track the sun's movement by rotating your setup every 30 minutes, and schedule cooking between 10 AM and 2 PM for maximum heat. Use dark cookware and covered dishes to enhance heat retention. Calculate precise angles using shadow measurements and local coordinates. These fundamental tips just scratch the surface of maximizing your solar potential.
Finding Your Perfect Cooking Angle
How well you position your solar cooker can make the difference between a perfectly cooked meal and an undercooked disappointment. To find your ideal cooking angle, start by facing your cooker directly south for maximum sun exposure.
If you're using a box cooker, you'll need to tilt it to match your latitude and the season. The further you're from the equator, the more you'll need to adjust. For locations above the 30th parallel, tilting becomes essential, especially during winter months when the sun's rays hit at a shallower angle.
Calculate your noon sun angle by considering your latitude and the subsolar point. Rotating the cooker every 30 minutes helps maintain optimal sun exposure throughout the day.
While parabolic cookers require frequent adjustments throughout the day, box cookers can maintain effectiveness with periodic repositioning. Remember to use dark cookware and covered dishes to maximize heat retention once you've found the perfect angle.
Seasonal Solar Position Adjustments
Once you've mastered your basic cooking angle, adjusting for seasonal changes will help you maintain peak performance throughout the year.
If you're located between 25° and 50° latitude, you'll need to adjust your setup twice annually for best results.
In summer, set your angle to latitude multiplied by 0.93, then subtract 21 degrees. For winter, multiply your latitude by 0.875 and add 19.2 degrees. You can also use this simplified rule: subtract 15 degrees from your latitude for summer and add 15 degrees for winter.
Making these adjustments can significantly improve efficiency, as twice-yearly adjustments typically yield 75.2% efficiency compared to fixed panels.
Mark your calendar for these adjustments. If you're in the Northern Hemisphere, switch to your summer angle around March 30 or April 18, and your winter angle near September 10 or October 5.
These seasonal changes can boost your energy output by 10-15%.
Shadow Length Measurement Guide
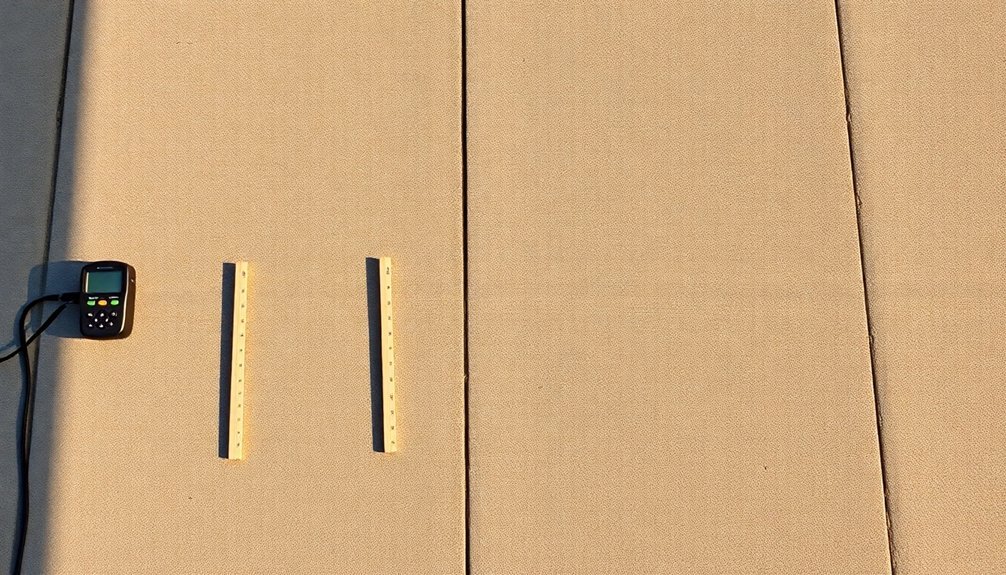
To get accurate shadow measurements, you'll need to find your shadow's length-to-height ratio by measuring both your height and the length of your shadow on level ground.
Your shadow's position matters greatly, so make certain you're measuring on a clear, unobstructed surface away from any interference that could distort the shadow's edges.
When taking multiple measurements throughout the day, mark your standing position with chalk or tape to maintain consistency in your reference point. The most precise calculations are achieved using the formula where shadow length equals the height of an object multiplied by the tangent of the sun's angle.
Measure Your Shadow Ratio
Whether you're planning outdoor photography or calculating solar panel efficiency, understanding how to measure shadow ratios can greatly improve your results.
To get started, you'll need a measuring tool and a flat surface. The key is to divide the shadow length (L) by the object's height (h) to find your ratio.
You can use the formula L = h/tan(α), where α is the sun's angle of elevation. For a simpler approach, try the proportional method: measure both your shadow and a reference object's shadow at the same time.
Remember that timing matters – take your measurements quickly since the sun's position changes throughout the day. Keep your units consistent, and verify you're working on level ground for the most accurate results.
Shadow Position Best Practices
Building on your understanding of shadow ratios, let's explore the best practices for measuring shadow positions accurately.
You'll want to start by finding a flat, level surface where shadows can be clearly seen and measured without distortion.
When you're ready to measure, position yourself perpendicular to the shadow's length to avoid parallax errors. Use a measuring tool that's appropriate for the shadow's length – a tape measure works well for longer shadows, while a ruler is better for shorter ones.
You'll need to work quickly, as the sun's position changes constantly.
For the most accurate results, take your measurements around mid-morning or mid-afternoon when shadows are distinct but not excessively long.
Always measure from the base of your object to the shadow's endpoint in a straight line.
Reflector Positioning For Maximum Heat
Proper positioning of your reflector oven is essential for achieving maximum heat and even cooking results. Place it near a teepee-style fire built to match your oven's cooking shelf height, and guarantee it's on stable, level ground to prevent accidents.
For ideal heat management and cooking control:
- Position the oven's front opening toward the fire, adjusting its distance to control temperature – move closer for more heat, farther for less.
- Monitor cooking temperature by using an oven thermometer or the hand-test method (6 seconds equals 300°F).
- Account for wind direction and adjust the oven's position accordingly to maintain consistent heat.
- If using two reflector ovens, place them opposite each other across the fire to maximize heat reflection and efficiency.
Remember to use thick potholders when handling the oven and regularly check food through the back flap.
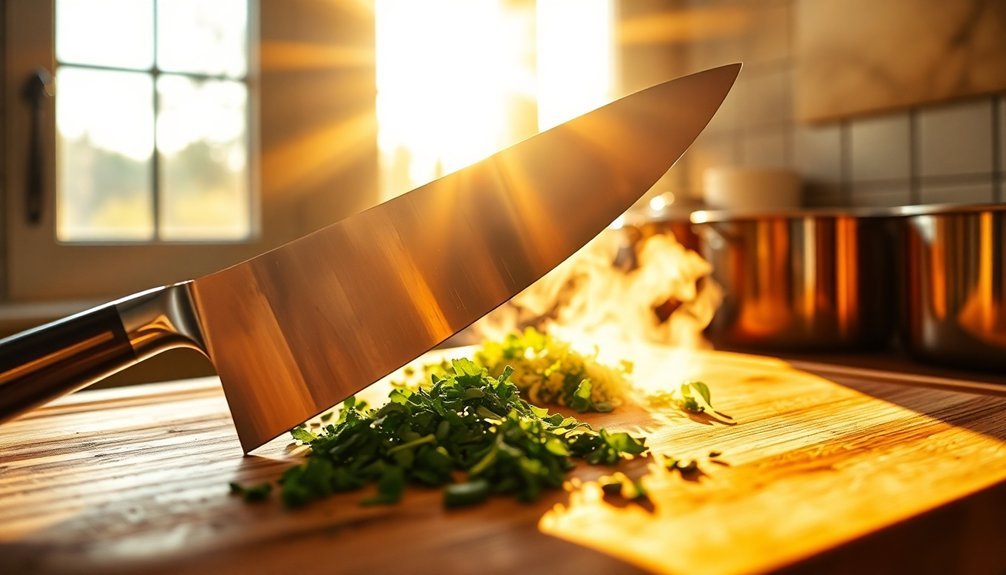
Time Of Day Cooking
Plan your solar cooking schedule around peak sunlight hours between 10 AM and 2 PM, when you'll get the most consistent and powerful heat for your dishes.
You'll want to start prepping ingredients early and have them ready to place in your solar oven as the sun reaches ideal angles, typically starting with longer-cooking items like beans or whole grains.
Keep track of cooking progress with a timer and temperature gauge, adjusting the oven's position every 30 minutes to maintain maximum sun exposure.
Peak Sun Meal Planning
When considering solar meal preparation, understanding the relationship between sun angles and cooking times becomes essential for successful results.
You'll find the most efficient cooking window between 10 AM and 4 PM when the sun's rays are most direct and intense.
To maximize your solar cooking success, follow these key planning steps:
- Prep your ingredients early in the day to be ready for peak sun hours
- Schedule main meals during prime sunlight periods for best cooking results
- Batch cook when possible to take advantage of strong midday rays
- Adjust your timing seasonally, allowing longer cooking periods during winter months
Remember to factor in your geographical location and seasonal changes, as these affect sun angle intensity and cooking duration.
Plan your menu around fresh, seasonal ingredients to enhance both nutrition and flavor.
Solar Oven Timing Guide
Building on your meal planning success, mastering solar oven timing will help you achieve consistent cooking results.
You'll get the best results between 10 a.m. and 2 p.m., when sunlight is most intense. On sunny days, you can extend cooking from 10 a.m. to 4 p.m.
Position your oven facing south and adjust it as the sun moves across the sky.
You'll need to factor in longer cooking times than with conventional ovens, typically 2-4 hours.
Watch the temperature closely – your solar oven should reach between 200°F and 300°F for safe cooking.
Don't attempt solar cooking on cloudy or rainy days unless you've got backup heat sources like fire pellets.
Instead, plan your solar meals for clear days when you can take full advantage of peak sun hours.
Weather Impact On Cooking
Weather plays a significant role in your cooking success, affecting everything from baking times to ingredient behavior.
You'll need to adapt your techniques based on humidity, temperature, and altitude to achieve the best results.
In humid conditions, your baked goods will take longer to cook and may spread faster.
When it's hot, butter and fats melt quickly, potentially ruining your carefully crafted recipes.
Here's how to handle weather challenges:
- Reduce liquids by 25% in humid weather and store dry ingredients in the fridge
- Chill your dough and use cold liquid ingredients when it's hot outside
- Adjust leavening agents and ingredient ratios at higher altitudes
- Cool your kitchen before baking by closing windows or using air conditioning
Geographic Location Considerations
Since your geographic location greatly influences solar angles, understanding these variations is essential for ideal sun-based activities. Your latitude determines how high the sun appears in the sky, with lower latitudes experiencing more direct sunlight throughout the year.
If you're in higher latitudes, you'll notice dramatic seasonal changes in sun angles between summer and winter.
Your longitude affects when you'll experience solar noon, which mightn't match your local clock time. You'll need to account for time zone differences and seasonal variations to pinpoint peak sun positions.
For precise calculations, consider your exact coordinates and use the equation of time to adjust for Earth's orbital variations. Understanding these geographic factors helps you optimize everything from solar panel placement to building orientation for maximum efficiency.
Equipment Setup And Alignment
Proper equipment setup and alignment form the foundation of successful solar installations and observations.
You'll need to choose between equatorial mounts for precise tracking and alt-azimuth mounts for simpler operation. For ideal results, establish true north using a compass or smartphone, then make necessary adjustments for magnetic declination.
- Set your mount's latitude to match your location and align with true north for basic polar alignment.
- Use GoTo functionality to center the Sun, then fine-tune with altitude and azimuth knobs.
- Consider using laser alignment systems like the SE-20 for precise positioning of solar panel supports.
- Adjust panel angles seasonally – add 15° in winter and subtract 15° in summer from your latitude angle.
Heat Distribution Techniques
Three key elements drive effective heat distribution in solar-optimized spaces: thermal mass, airflow management, and strategic design. You'll want to focus on materials like concrete and brick that can store heat effectively while ensuring proper insulation to retain it.
| Strategy | Purpose | Implementation |
|---|---|---|
| Thermal Mass | Heat Storage | Install brick or concrete in sun-exposed areas |
| Air Flow | Heat Distribution | Design open floor plans for natural convection |
| Window Planning | Solar Gain | Position windows based on hemisphere location |
To maximize heat distribution, you'll need to balance these elements carefully. Position your living spaces to capture rising warm air, and use double-glazed windows on the appropriate side of your home (north-facing in Southern Hemisphere, south-facing in Northern Hemisphere). Don't forget to incorporate seasonal shading solutions like deciduous trees or adjustable overhangs to control heat gain throughout the year.
Solar Tracking Methods
When selecting a solar tracking system, you'll need to choose between single-axis and dual-axis methods based on your specific requirements.
Single-axis trackers rotate east to west and offer a cost-effective solution that can boost power output by 25-30% compared to fixed systems.
For ideal tracking results, consider these key factors:
- Choose horizontal single-axis tracking if you want a low-profile, cost-effective solution with minimal structural requirements.
- Opt for dual-axis tracking when maximum precision is essential, as it can increase energy output by up to 40% over fixed systems.
- Consider vertical single-axis tracking for high-altitude locations, despite lower power density.
- Factor in your budget carefully, as dual-axis systems require more complex sensors and maintenance, though they offer superior sun-tracking accuracy.
Frequently Asked Questions
How Do I Protect My Solar Equipment During Severe Storms?
You'll need to install surge protectors and lightning rods, use protective covers during storms, guarantee secure mounting, and maintain high-quality panels with tempered glass. Monitor weather forecasts and adjust panel angles when needed.
Can Cooking Temperatures Be Maintained Consistently During Cloudy Intervals?
Yes, you can maintain consistent cooking temperatures during cloudy periods by using reliable thermometers, heavy-bottomed cookware, and heat diffusers. You'll need to monitor and adjust your heat settings more frequently during weather changes.
What Backup Heating Methods Work Best With Solar Cooking?
You'll find butane or propane stoves work best as solar cooking backups. They're portable, reliable, and provide instant heat when sunlight fails. Thermal mass cookers also help maintain temperatures during cloudy periods.
How Does Altitude Affect Solar Cooking Efficiency?
You'll get more intense solar radiation at higher altitudes due to less atmospheric interference, but you'll need longer cooking times since water boils at lower temperatures. Plan for double the cooking duration versus sea level.
Are Certain Foods Unsuitable for Solar Cooking Methods?
Yes, you'll find foods requiring high temperatures, rapid cooking, or precise conditions aren't suitable for solar cooking. Avoid stir-fries, fried foods, flatbreads, and dishes needing quick searing or constant temperature control.
In Summary
Follow these sun angle tips consistently, and you'll see dramatic improvements in your solar cooking results. Remember to adjust your setup based on season, location, and time of day. You've now got the tools to measure shadows, position reflectors, and track the sun effectively. By mastering these techniques, you'll achieve better heat distribution and more reliable cooking temperatures in your solar kitchen.


Leave a Reply