When preparing beans for outdoor heat recipes, you'll want to start with fresh, crisp beans that snap easily when bent. Wash them thoroughly and trim the stem ends, with optional tail trimming for uniformity. For solar cooking and other outdoor methods, cut your beans into 2-3 inch lengths for even heat distribution and consistent cooking. Use a sharp knife and non-slip cutting board for safety, and make diagonal cuts to enhance texture. Store your cut beans in airtight containers or freezer bags, removing as much air as possible. There's much more to mastering the perfect bean preparation for outdoor cooking.
Selecting Fresh Beans
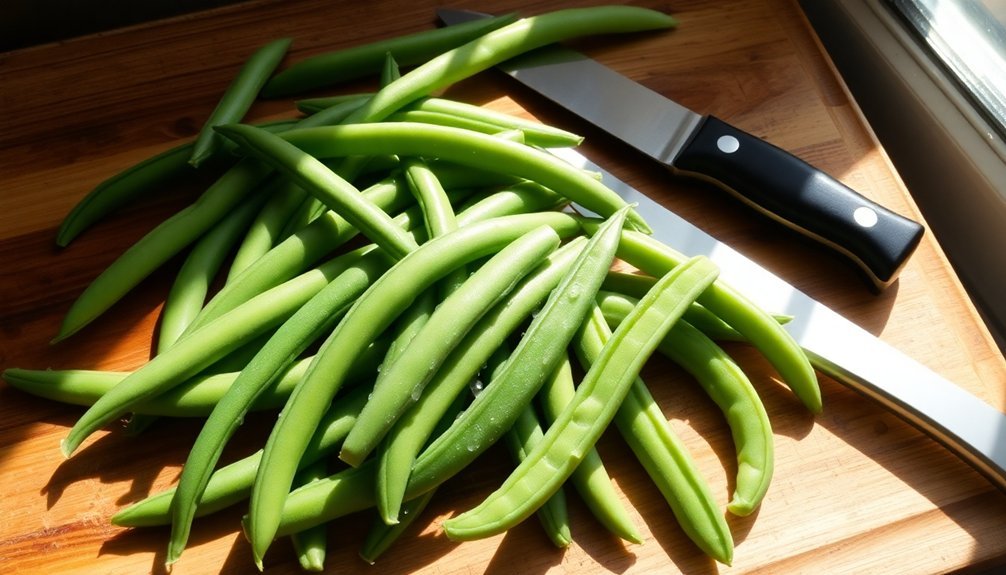
When selecting fresh beans for your recipes, it's important to know which varieties will work best for your needs. You'll find several options, including green, yellow, purple, and red snap beans, as well as lima beans and French style varieties.
Look for beans that are firm, crisp, and smooth with no bulging seeds. They should snap easily when bent, indicating peak freshness. Avoid any that appear wilted, bruised, soft, or shriveled. If you notice brown spots inside the pods, don't use them.
For the best quality, buy whole beans rather than pre-cut ones, and remember that any flabby or tough texture indicates reduced nutritional value.
Proper Bean Length
When preparing green beans, you'll want to cut them to specific lengths based on your recipe's requirements.
For most standard recipes, cutting beans into 2-3 inch segments creates ideal, bite-sized pieces that cook evenly. Similar to dry beans, it's important to bring to boil before reducing to a simmer for proper cooking.
You'll need shorter 1-inch cuts for quick-cooking methods like stir-frying, while longer 4-inch pieces work better for slow-cooking dishes where beans can maintain their shape throughout extended heating.
Standard Recipe Sizes
Three standard lengths dominate most green bean recipes, making proper sizing essential for consistent cooking results. You'll want to verify uniform cuts by first aligning your beans and removing both ends. For most dishes, cut beans into 1.5 to 2-inch segments for even cooking. Much like moment of inertia calculations used in structural engineering, precise measurements ensure optimal results when preparing beans.
| Cut Style | Length | Best Uses |
|---|---|---|
| Standard Cut | 1.5-2 inches | General cooking, steaming |
| French Cut | 2-3 inches | Salads, elegant presentations |
| Bias Cut | 1-1.5 inches | Stir-fries, Asian dishes |
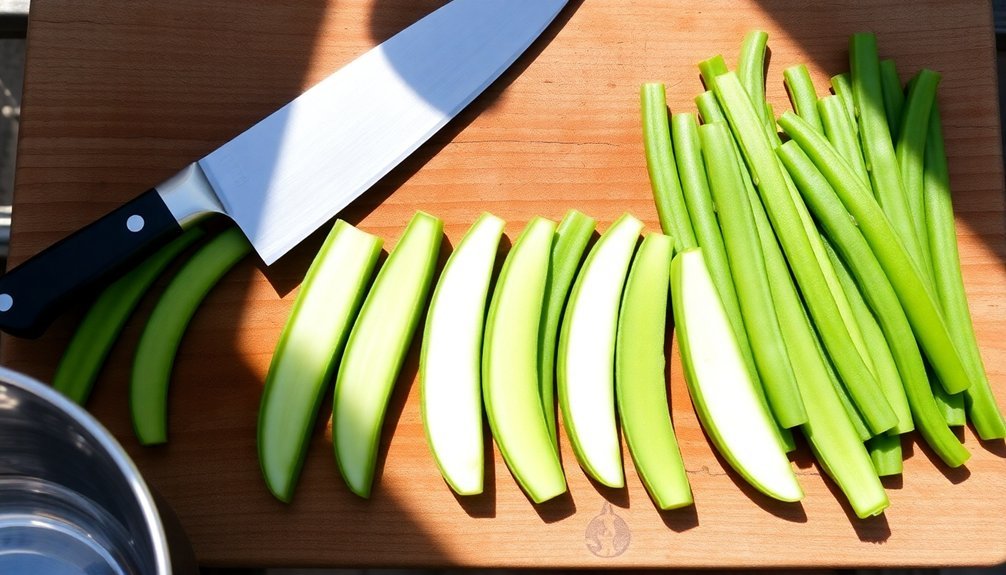
Remember that your cutting technique affects how quickly the beans will cook. Longer pieces work well for steaming and blanching, while shorter cuts are ideal for quick-cooking methods like stir-frying. For julienne cuts, aim for thin strips that'll cook rapidly and provide an elegant presentation.
Heat-Specific Bean Lengths
Different cooking methods require specific bean lengths to achieve ideal results and even heating. For grilling, you'll want to trim your beans lightly while maintaining uniform lengths to guarantee even cooking. You can leave them whole or cut them into 1 to 4-inch pieces, depending on your preference.
When you're stir-frying, cut your beans into shorter 1 to 2-inch segments or use bias cuts for better heat distribution.
If you're preparing salads, aim for 1.5 to 2-inch pieces, or try the French cut style. For dishes like bun sit or lumpia, julienne your beans at a 45-degree angle to get longer strips.
Keep beans whole for pickling or steaming, just removing the stems. Remember, whatever length you choose, use a sharp knife to prevent crushing the beans.
Equipment For Bean Cutting
You'll need a sharp knife, a sturdy cutting board, and a large bowl to prepare your workspace for cutting beans efficiently.
For easier handling, keep clean kitchen towels nearby to dry the beans after washing and prevent slipping while cutting.
Set up your workspace near good lighting with enough counter space to move comfortably as you process the beans.
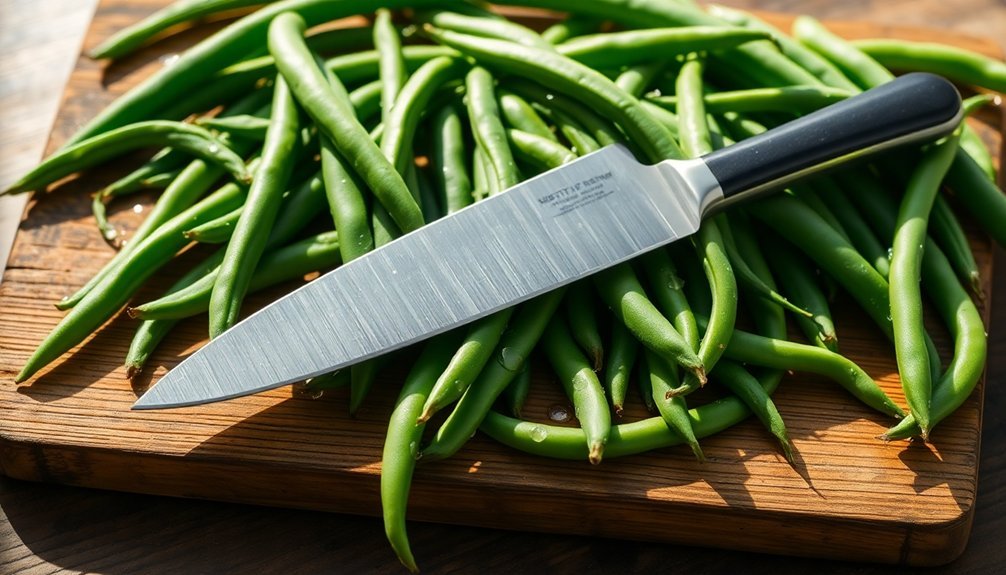
Essential Cutting Tools Required
Before diving into bean preparation, gathering the right cutting tools guarantees precise and safe results. You'll need high-carbon or stainless steel knives with comfortable handles – specifically a chef's knife or paring knife for accurate cuts. Keep your knives sharp through regular maintenance.
Select a stable hardwood or plastic cutting board with a non-slip bottom and smooth surface. This prevents accidents while handling multiple beans simultaneously.
| Essential Tool | Primary Use | Safety Tip |
|---|---|---|
| Sharp Knife | Precise cuts | Maintain sharpness |
| Cutting Board | Stable surface | Use non-slip base |
| Kitchen Towel | Bean drying | Keep workspace dry |
| Large Bowl | Sorting/rinsing | Clean thoroughly |
Consider optional tools like a bean Frencher for specialty cuts or a ruler for exact measurements. Remember to keep your hands dry and use your knuckles as a guide while cutting to prevent injuries.
Proper Workspace Setup Tips
Setting up an organized workspace guarantees smooth bean preparation and prevents cross-contamination. Position a large bowl near your cutting board for holding beans, and lay out a clean kitchen towel for drying them after rinsing. Keep a compost bin within arm's reach for discarding stems and damaged pieces.
You'll want to sort your green beans into batches, working with manageable portions at a time. Line up the stems in one direction for efficient trimming, and use your palm as a guide to maintain uniformity.
If precise lengths are needed, place a ruler or fork nearby as a sizing guide. Remember to maintain a clear separation between trimmed and untrimmed beans to avoid confusion. Having all your equipment properly arranged will help you breeze through the prep process while maintaining cleanliness standards.
Bean Preparation Before Cutting
Proper preparation of green beans guarantees clean, safe, and consistent cutting results. Start by rinsing your beans under cold water to remove dirt and debris. Sort through them carefully, removing any bruised, soft, or shriveled specimens.
You'll need to trim the stem ends of your beans, which you can do by lining up several at once and cutting them with a knife. For string beans, you can simply snap off the stems with your fingers. While optional, you might want to trim the tail ends for a more uniform appearance.
Give your beans a final triple rinse in cold water, then lay them out on a kitchen towel to dry completely.
If you're planning to blanch them, do so before cutting by boiling them for 2-8 minutes until crisp-tender, followed by an ice bath.
Solar Cooking Size Requirements

While cutting beans requires minimal equipment, solar cooking demands specific size considerations for ideal results.
You'll need to match your cooking vessel to the solar cooker's dimensions. For a box cooker, verify your pot fits within an inner box of at least 45×55 cm, while panel cookers like the CooKit can handle one large pot that feeds six people using a 0.9×1.2-meter surface.
When planning your bean portions, remember that solar cooking typically takes 3-5 hours for beans, so don't overfill your containers.
If you're using Mason jars, fill them only halfway, including water. The cooking time will vary based on your pot's thickness and the amount of beans you're preparing.
You'll get the best results by preheating your solar cooker for 30 minutes before adding your cut beans.
Heat Distribution Cutting Methods
To achieve ideal cooking results, you'll need to cut your beans in ways that promote even heat distribution.
Choose your cutting method based on your cooking technique: French cut into 1.5-2 inch pieces works best for steaming, while bias cuts are perfect for stir-fries.
For faster cooking and maximum heat absorption, opt for smaller, uniform cuts that increase surface area.
When using a solar oven, you'll want to pre-soak your beans and cut them consistently to guarantee even cooking. Julienne cuts work well for recipes like bun sit or lumpia, as the thin slices heat quickly and evenly.
If you're pickling or adding beans to salads, you can leave them whole with stems intact.
Storage After Cutting
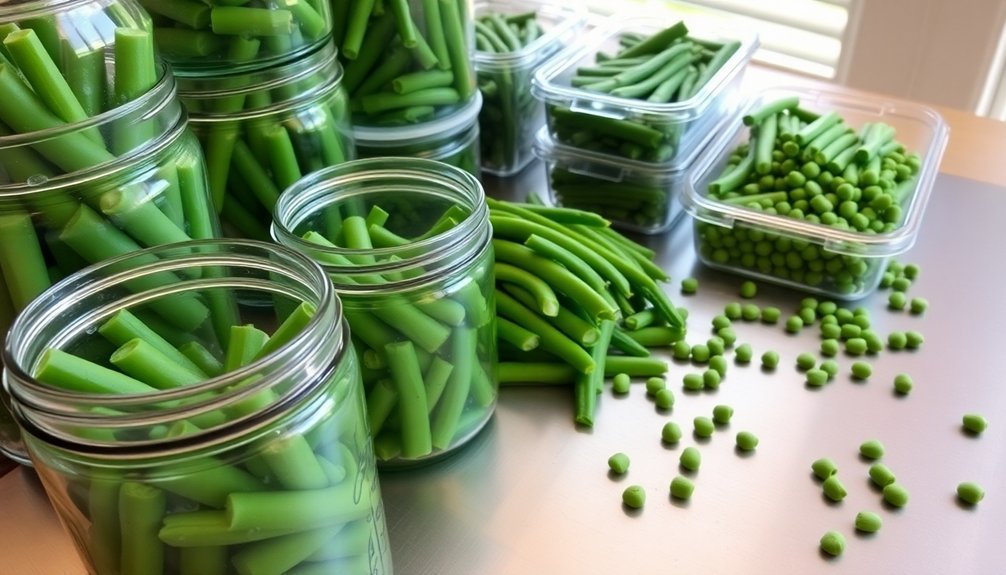
Storing cut green beans correctly can greatly extend their usability and prevent spoilage.
You'll want to keep them unwashed in your refrigerator until you're ready to use them, making certain to remove any brown or damaged pieces first. For the best results, store them on a paper towel-lined tray or in an open deli container at 1° to 4°C.
- Place cut beans in freezer bags with minimal air for up to 10 months of storage
- Use a dehydrator at 140°-145°F for 8-10 hours to create crisp, dried beans
- Store dried beans in sealed plastic bags inside glass jars
- Can your beans in hot jars with 1" headspace for year-round storage
- Check seals regularly on canned beans to verify they remain airtight
Each storage method offers different benefits, so choose the one that best fits your needs.
Frequently Asked Questions
Can Frozen Green Beans Be Used for Outdoor Heat Cooking Methods?
Yes, you can use frozen green beans for outdoor heat cooking! They work great in an air fryer or oven roasting, without needing to defrost first. Just coat them with oil, add seasonings, and cook until crispy.
How Do Altitude Changes Affect the Bean Cutting Sizes for Solar Cooking?
You'll need to cut beans smaller at higher altitudes since they take longer to cook. It's best to cut them 1/4 inch shorter for every 3,000 feet elevation to guarantee even cooking throughout.
Which Bean Varieties Maintain Shape Best When Cut for Outdoor Cooking?
You'll find Blue Lake 274 bush beans and Monte Gusto pole beans maintain their shape best when cut. Roma II's flat pods and Orient Wonder's long pods also hold up well during outdoor cooking.
Do Different Colored Beans Require Different Cutting Techniques for Heat Retention?
You don't need different cutting techniques for different colored beans. The bean's color won't affect heat retention. Instead, focus on consistent cutting sizes to guarantee even cooking, regardless of the bean variety.
Should Beans Be Pre-Soaked Before Cutting for Outdoor Cooking Methods?
Yes, you'll want to pre-soak your beans before cutting them for outdoor cooking. It'll make them easier to cut, reduce cooking time, and help them cook more evenly when you're preparing them outdoors.
In Summary
You've now mastered the art of cutting beans for outdoor heat cooking. Whether you're using solar methods or traditional grilling, your properly sized cuts will guarantee even cooking and ideal heat distribution. Remember to store your cut beans in an airtight container with a damp paper towel to maintain freshness. With these techniques, you'll be ready to create delicious outdoor bean dishes anytime.


Leave a Reply